Easy to Install Security Camera Systems
Our HD Systems are so Easy to Install You Won't Need to Pay an Expert
Installation Comparison of 4, 8, and 16 Channel systems for SCW HD and Old BNC-based Systems:
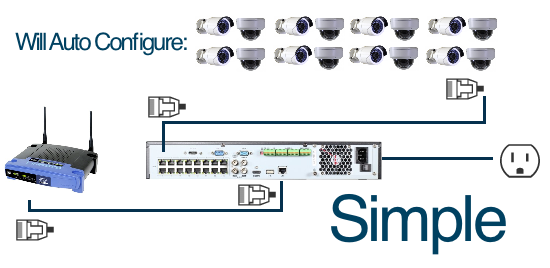
SCW HD Admiral Pro Systems: Easy
Notice how all the cameras plug into the NVR? This means that all the cameras will auto-configure and be powered by the NVR. There's no need to know how to set IP address or do any networking setup.
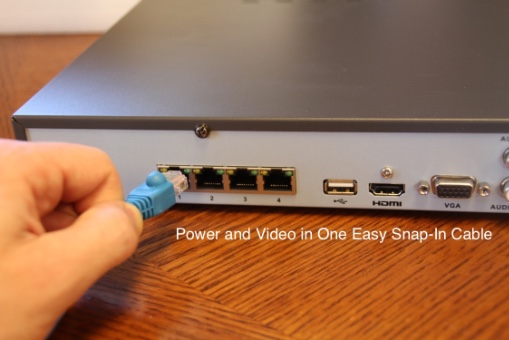
Plug in the one wire and it works.
Analog, CVI, TVI, and HD-SDI: Difficult
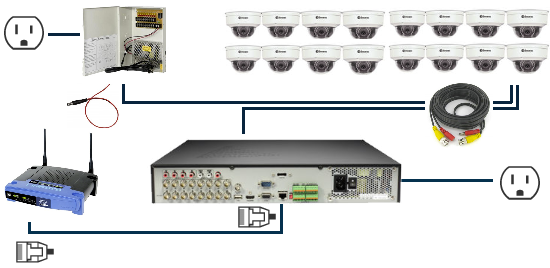
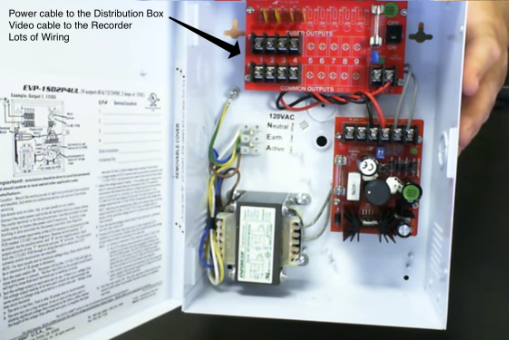
Notice how these system requires an electrician's help? Power distribution boxes are complicated and have exposed wires. You can use power plugs for each camera, but that's gets cluttered and may not have any protection from power surges.
Installation Instructions for 4, 8, and 16 Channel systems:
SCW HD Systems: Run a single Cat5 Cable to Each Camera
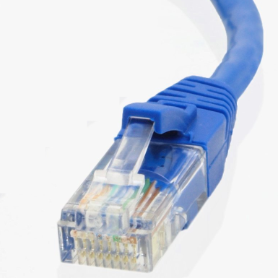
Cable type: Cat5, which snaps into place like a telephone cable.
Step 1: Plug one end into the camera and the other end into the NVR and make sure it clicks.
Step 2: Plug a monitor or TV into the NVR.
Step 3: Plug your NVR into a wall outlet and turn it on.
At this point you're done setting it up, give us our support line a call and we'll teach you how to use it.
Analog, CVI, TVI, and HD-SDI: Run a BNC Siamese Cable to Each Camera
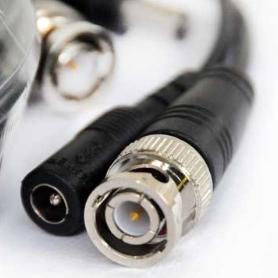
Cable type: BNC Siamese Cable, which has a power cable and a video line. The video line has a twist-on locking mechanism.
Step 1: Plug the BNC coax cable into the DVR.
Step 2: Plug the power cable into the power distribution box or power outlet adapter.
Step 3: Plug a monitor or TV into the NVR.
Step 4: Plug your NVR into a wall outlet and turn it on.
At this point you're done setting it up, give us our support line a call and we'll teach you how to use it.
