How to Mount the Hornet Pro on a Pole
In this guide we will be installing a Hornet Pro bullet camera on a pole.
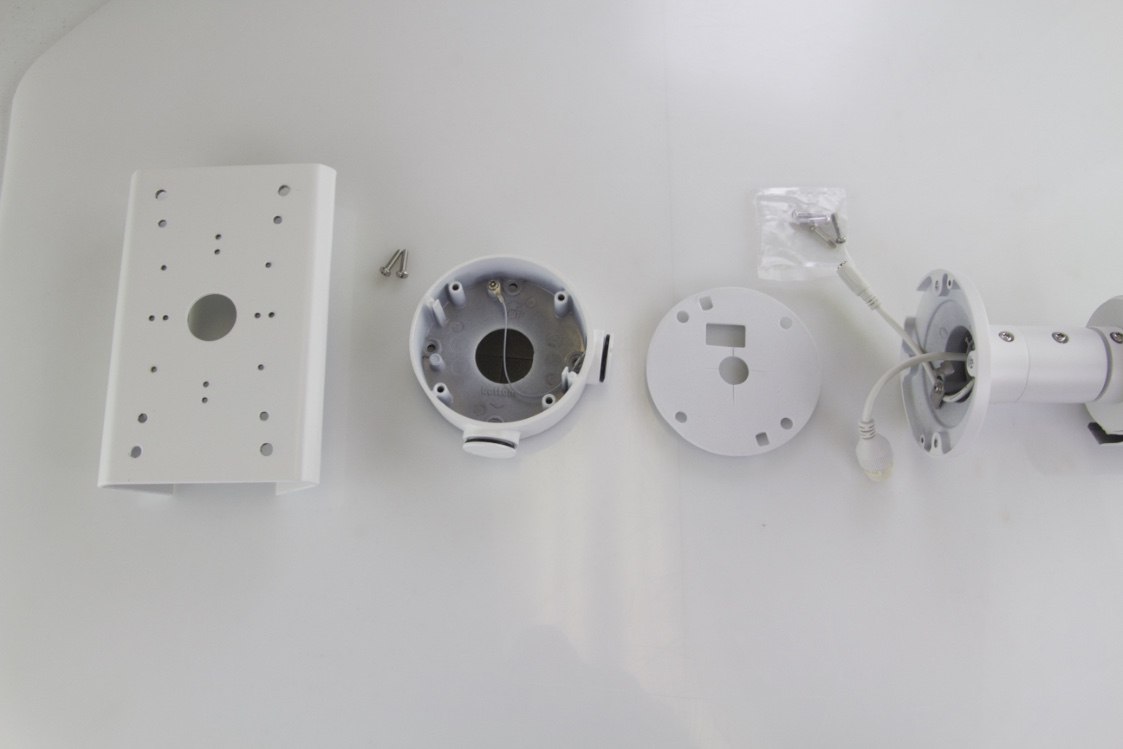
Step1: These are the Components You are Going to Use for Mounting
From left to right: pole mount bracket, screws that come in pole mount bracket box, hornet mount, foam padding from mounting box, and the camera
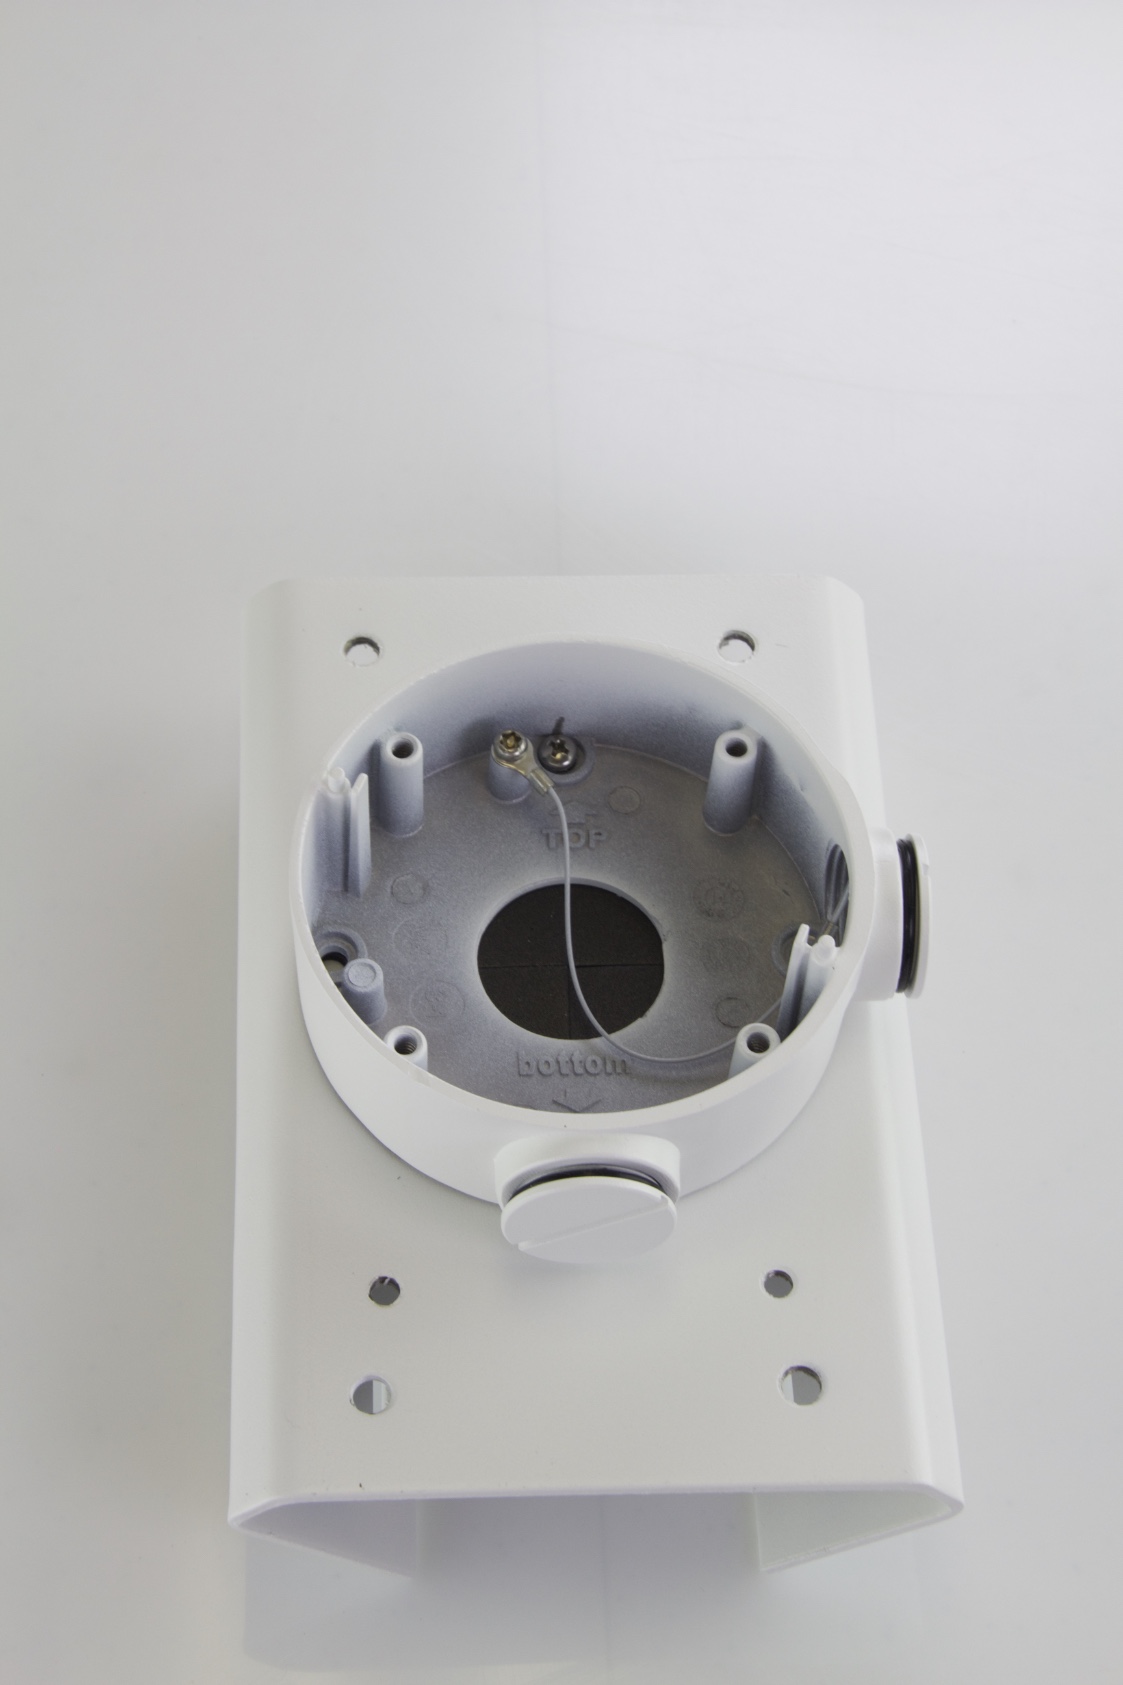
Step 2: Using the screws from step one photo, align the mounting box to match up with smallest holes on pole mount bracket
They will be an exact fit. The mounting box has labels for "top" and "bottom" as well.
Step 3: Remove Plastic from Foam Padding

Step 4: Align on the Base of the Hornet, Holes will Match Up Again, Then Pull Cables Through the Center Hole of the Foam Padding
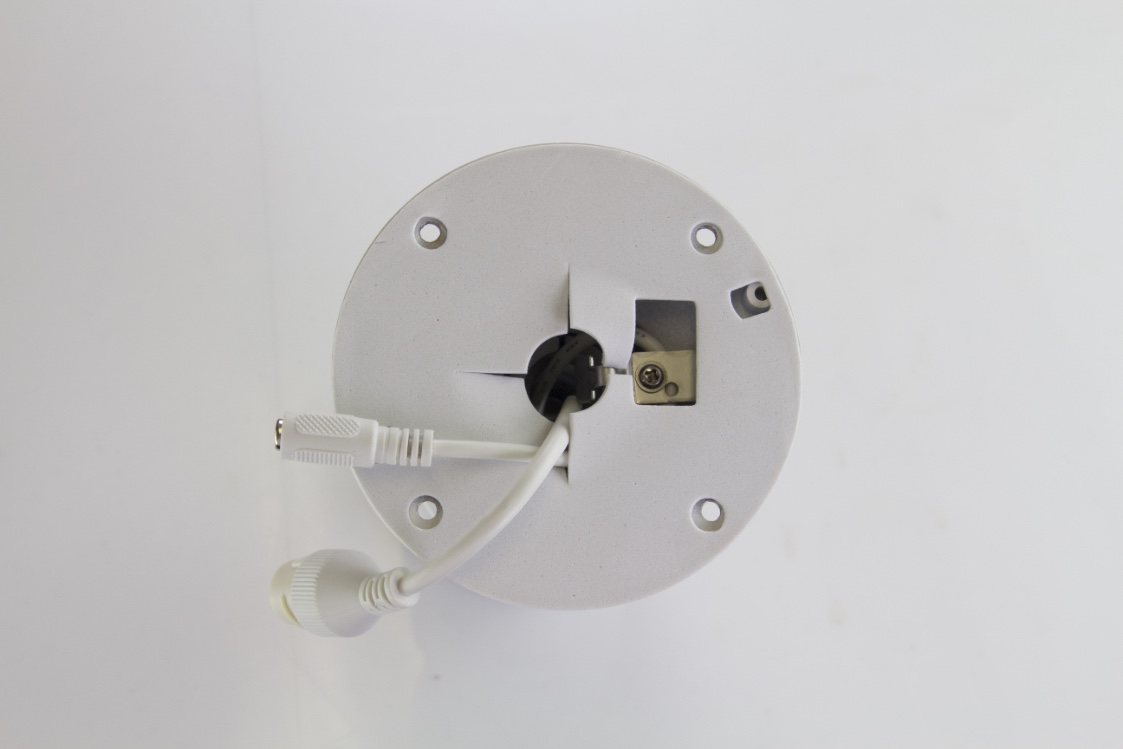
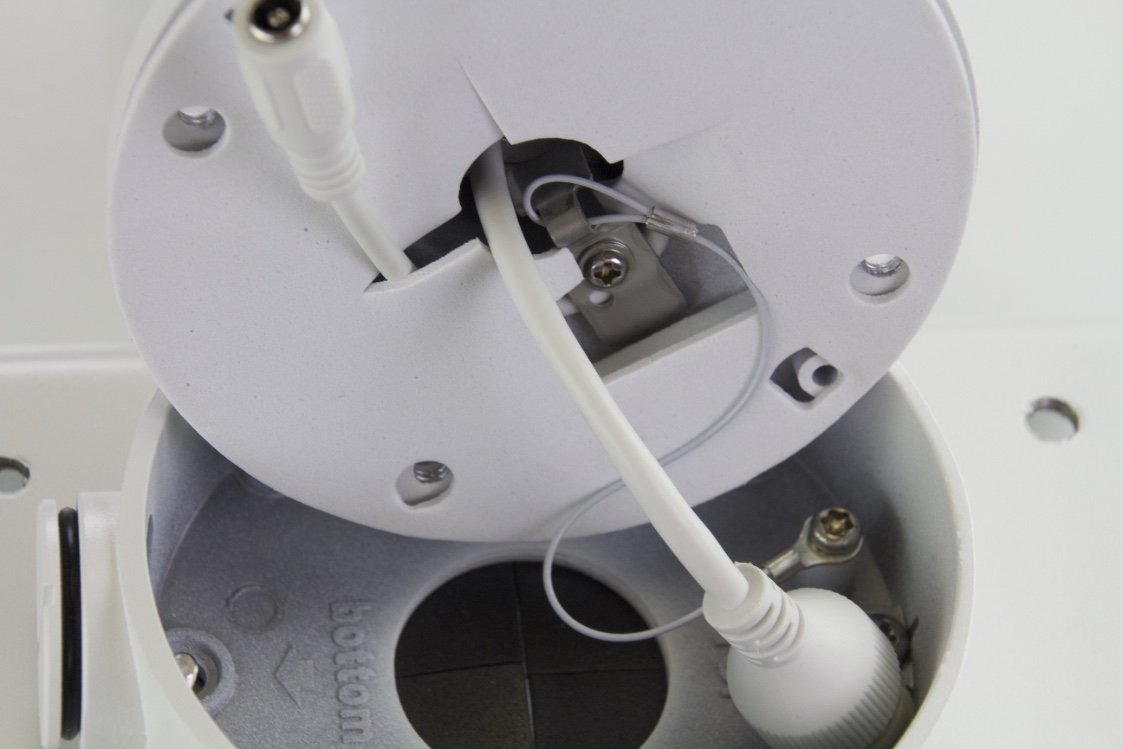
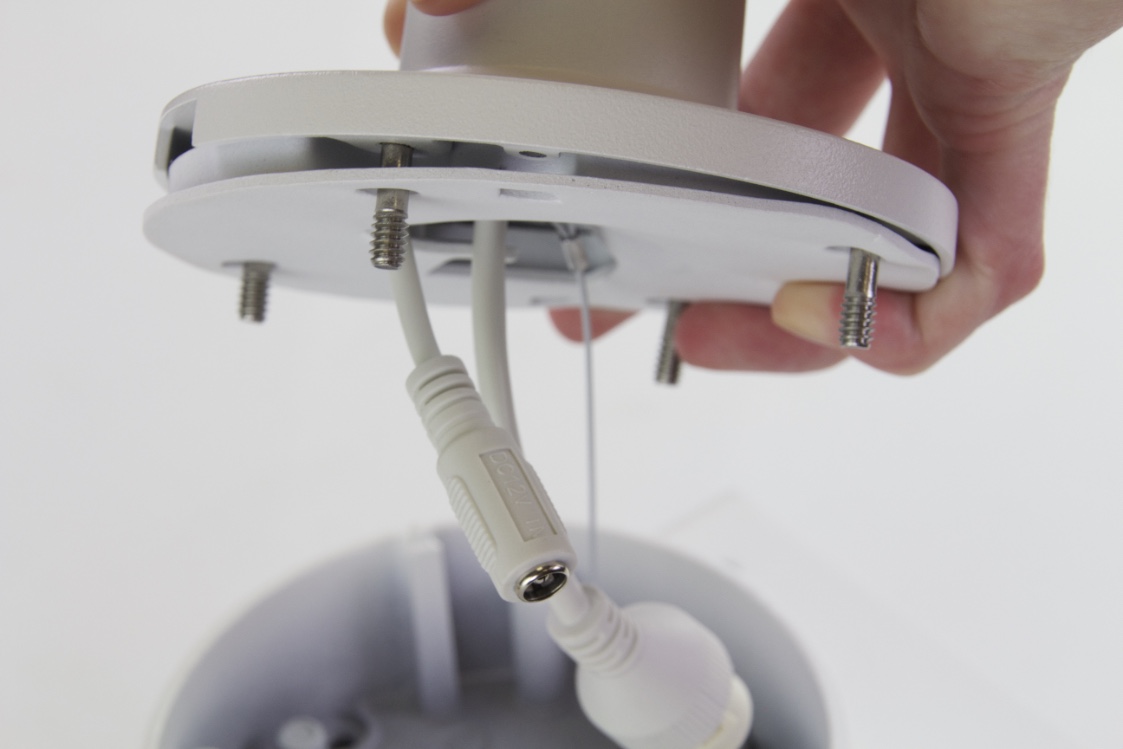
Step 5: Pull Wire Located in the Hornet Mounting Box and Clip it to the Base of the Hornet Pro Camera
This will help with putting in screws, in case you accidentally drop the camera while doing so.
Step 6: pPace the 4 Screws into the Holes of the Base
Step 7: Tighten Screws with the Included Allen Wrench
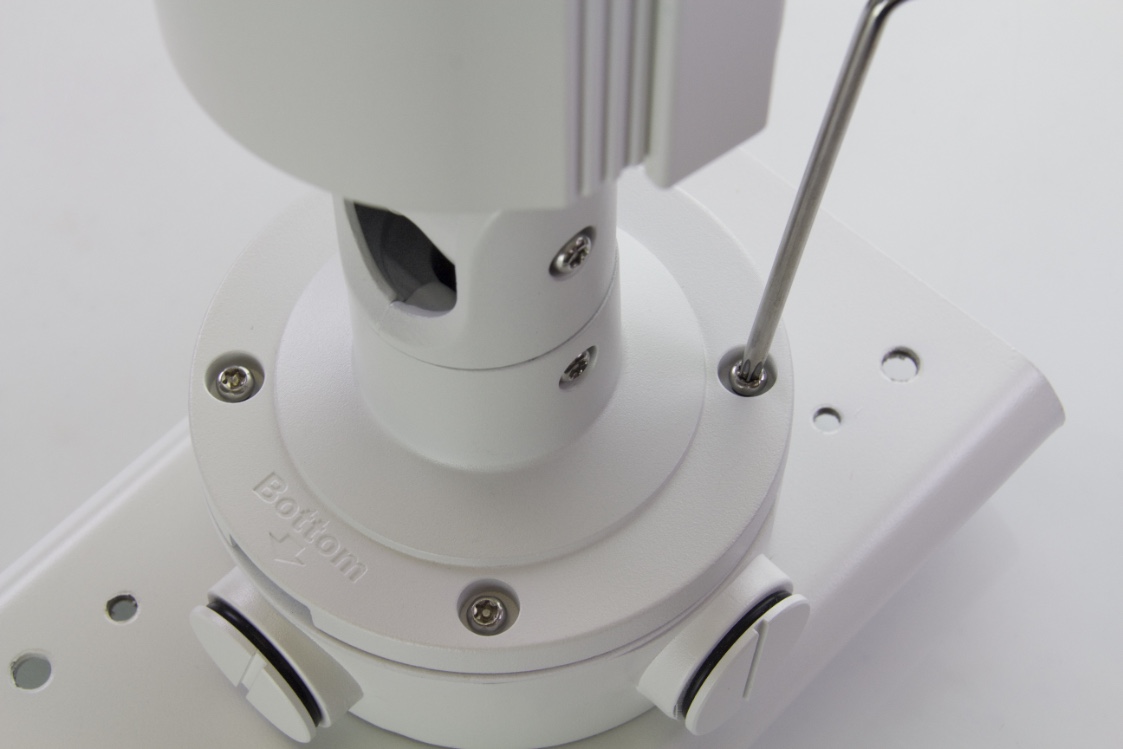
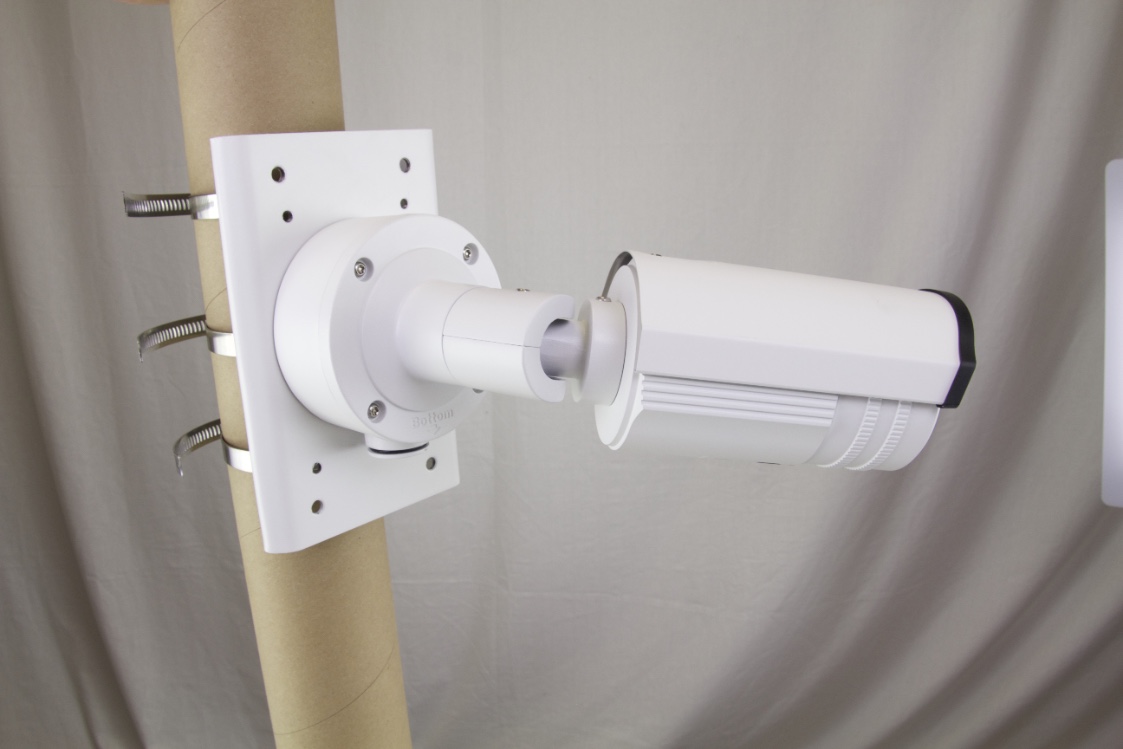
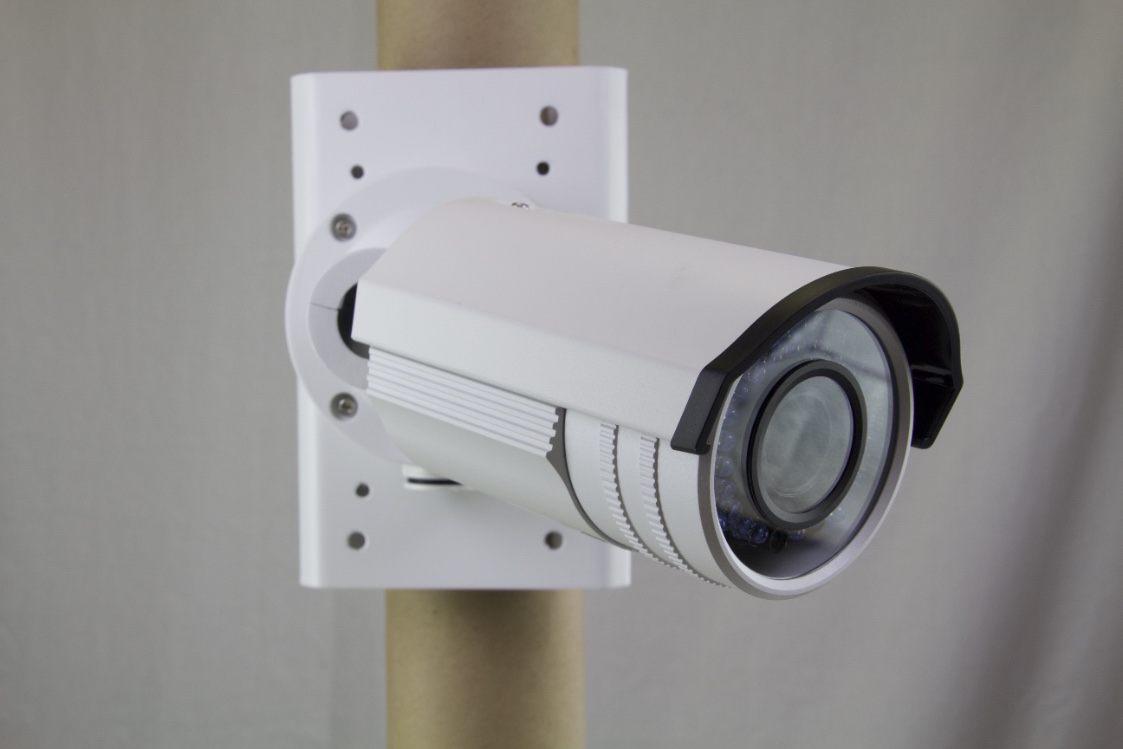
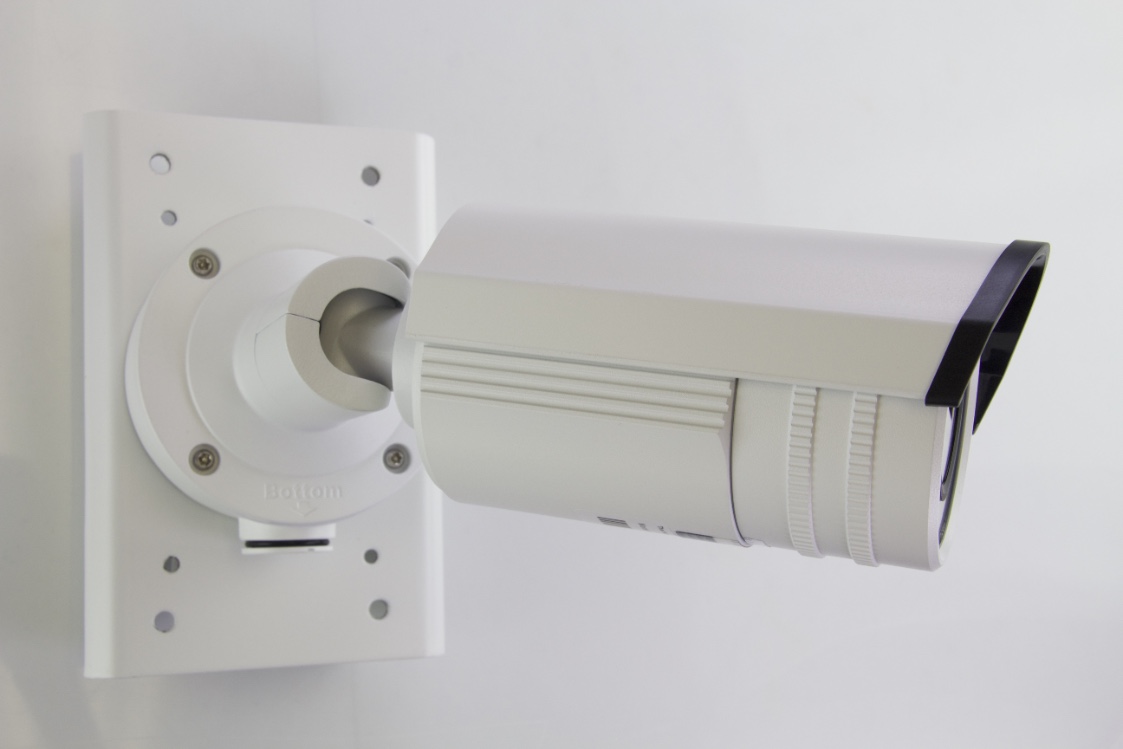
Step 8: Your Camera is Now Mounted to the Pole Bracket and Should Look Like This:
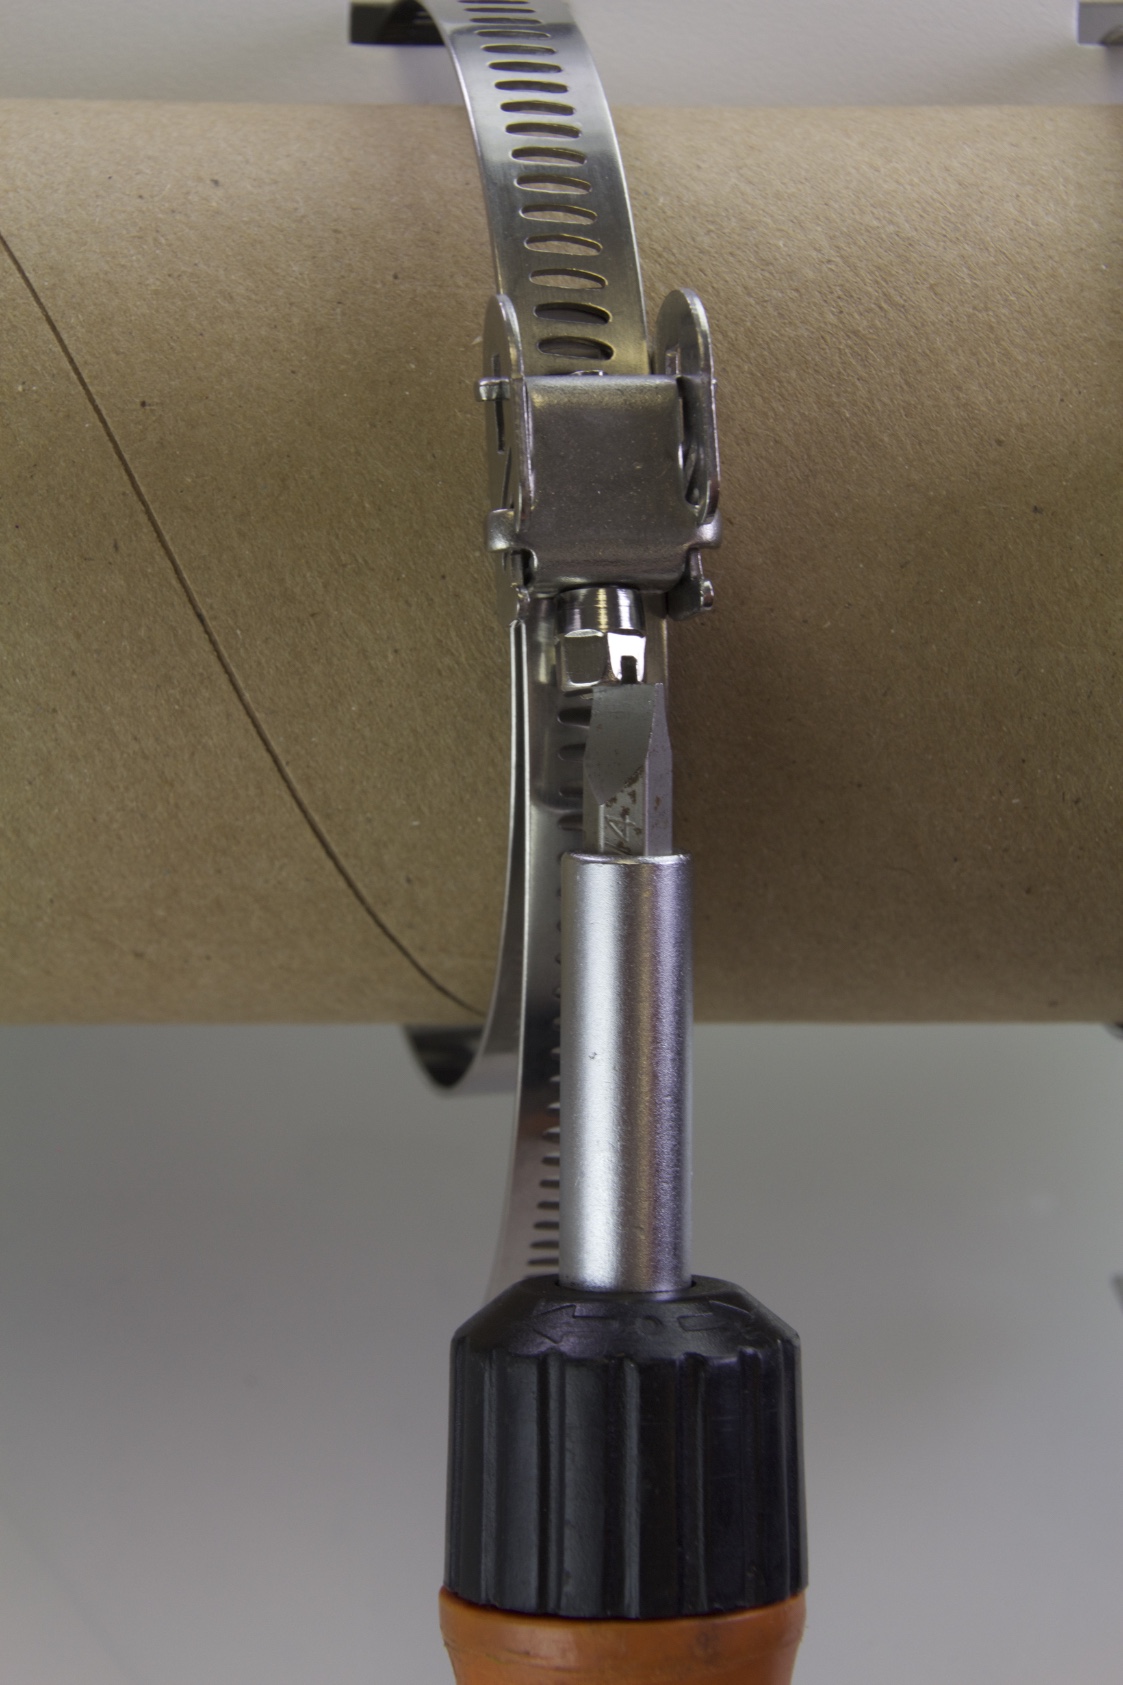
Step 9: Feed the Straps through the Pole Bracket

Step 10: Tighten Screws on the Straps Around your Pole
Congratulations, You've Successfully Mounted the Hornet Pro on a Pole