How to Install a Bullet Camera on a Wall
In this guide we will be installing The Wasp Pro 3.0 - a 75 degree angle of view bullet camera on a wall.
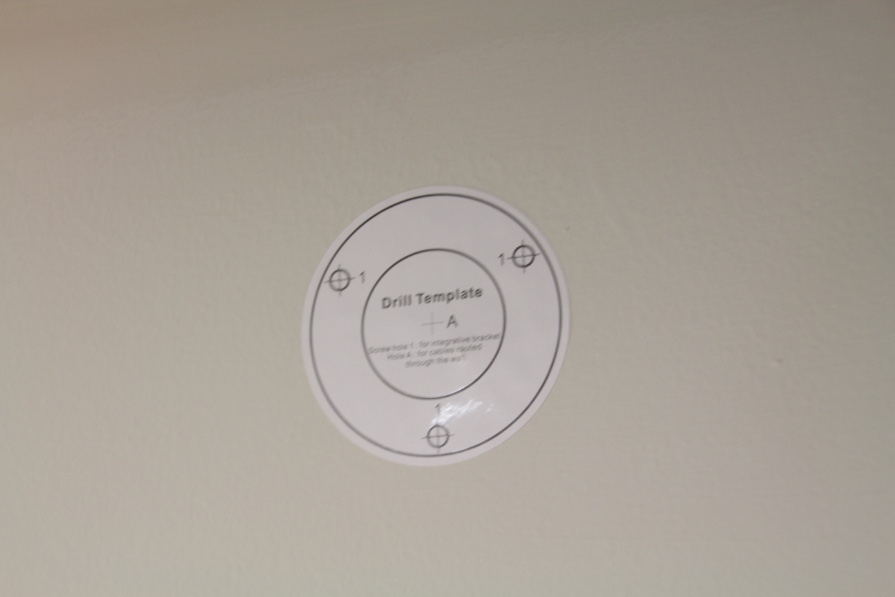
Step 1: Tape the Drill Template on the Wall
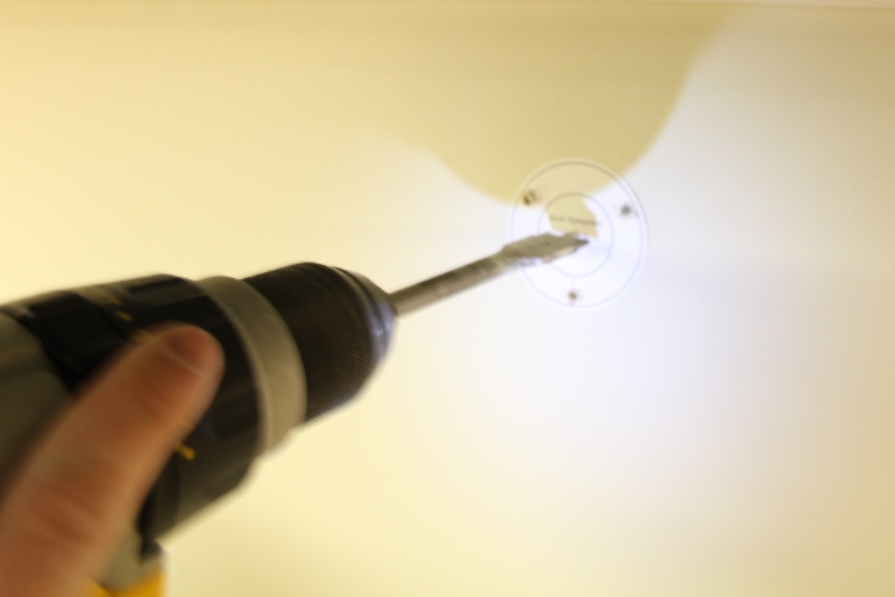
Step 2: Drill the 3 Screw Holes
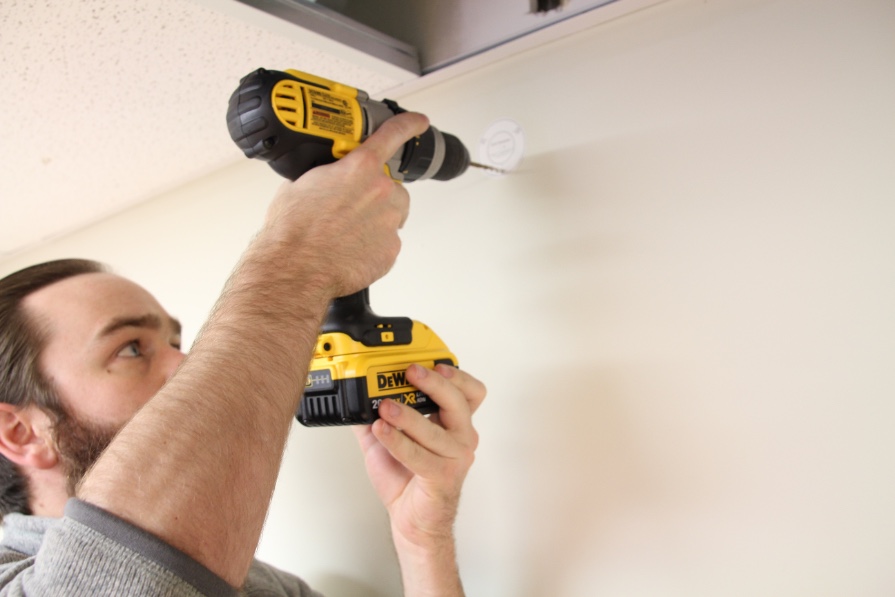
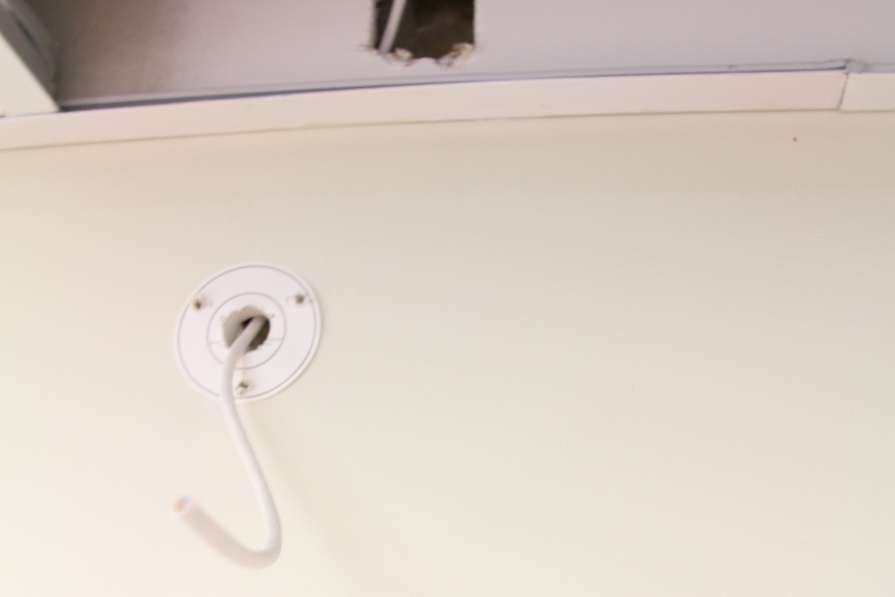
Step 3: Cut a Snug Hole for the Cabling
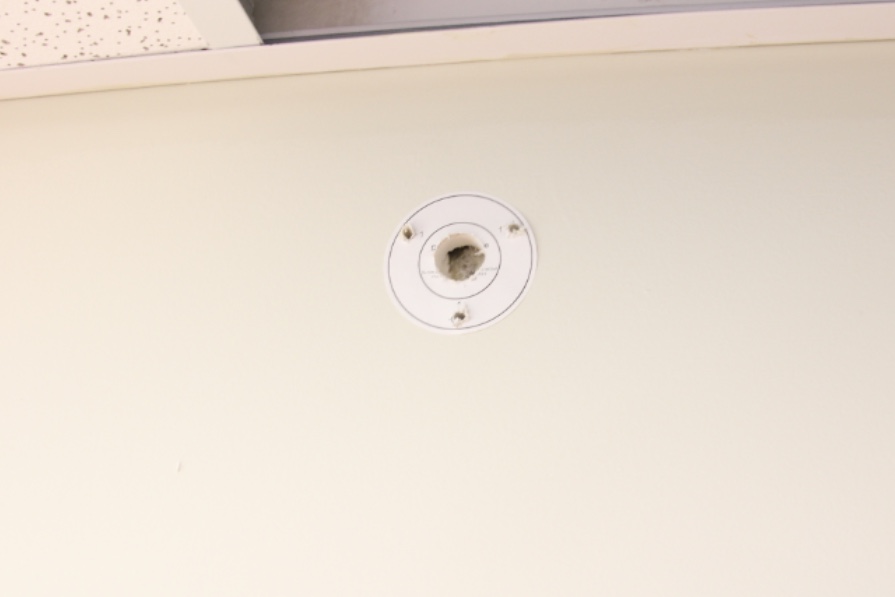
Your hole should be about this big:
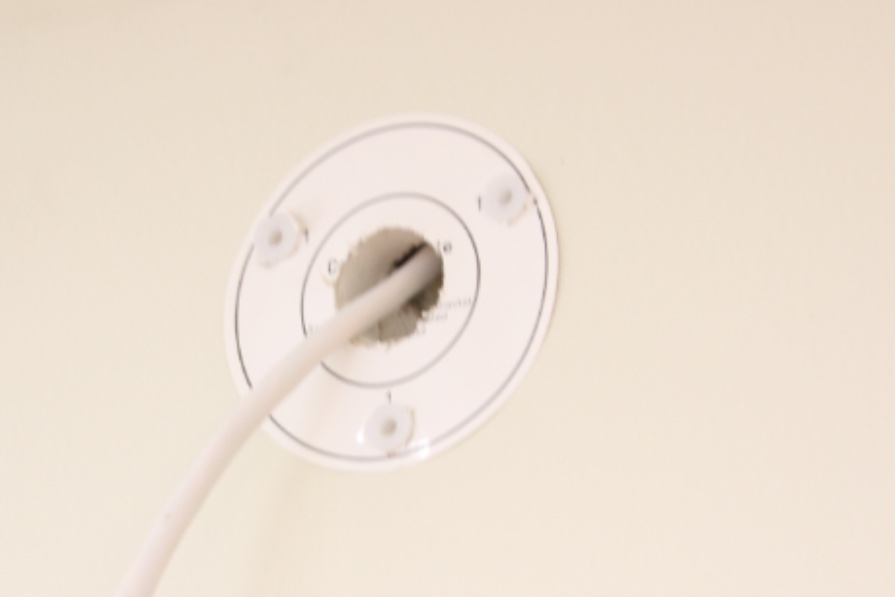
Step 4: Push the cabling through the Hole
Step 5: Hammer in the Screw Anchors
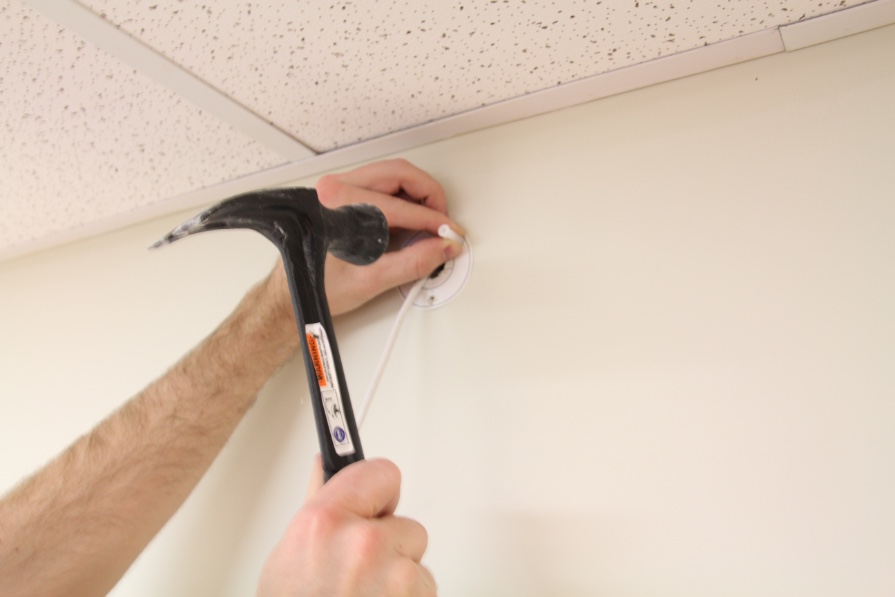
You can leave the Drill Template on the wall or peel it off
Step 6: Connect the Cat5 Cable to the Camera

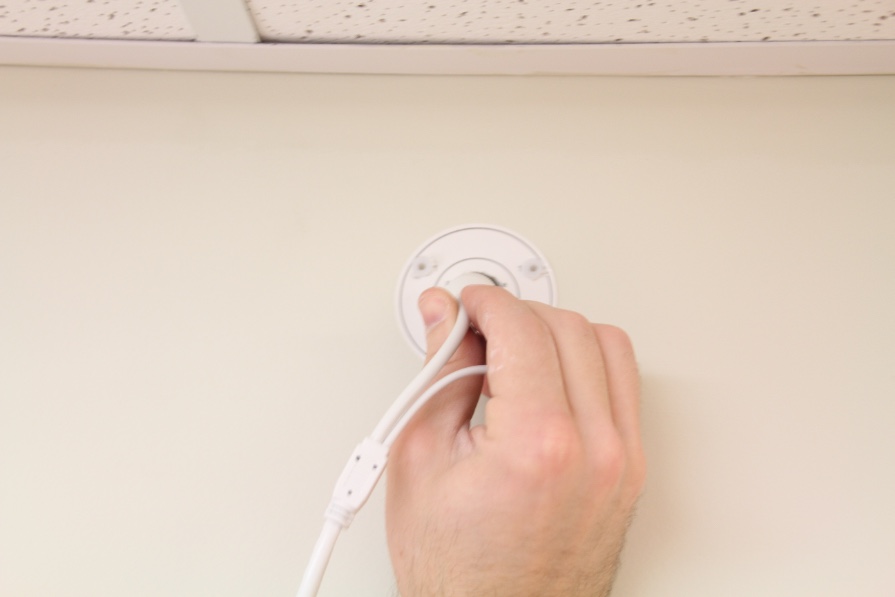
Step 7: Push the Cable into the Wall
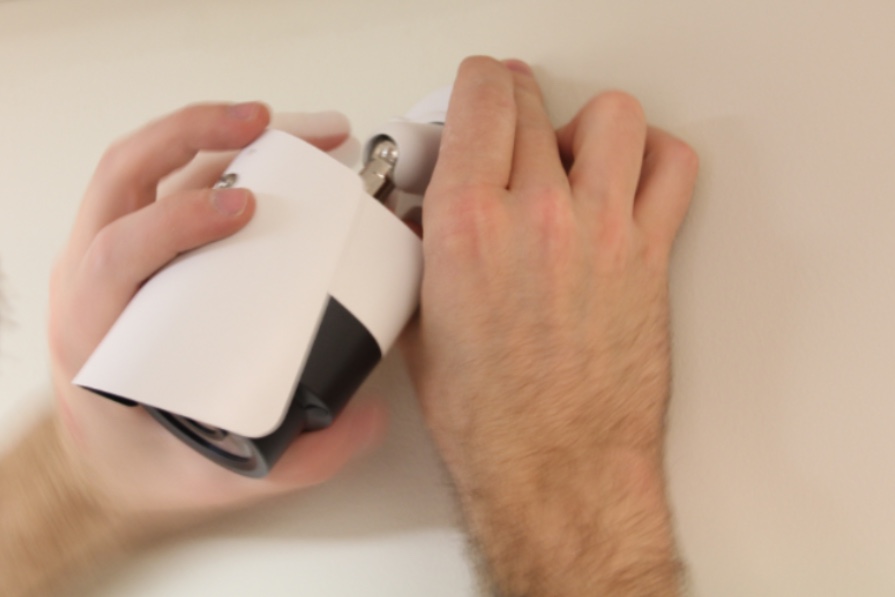
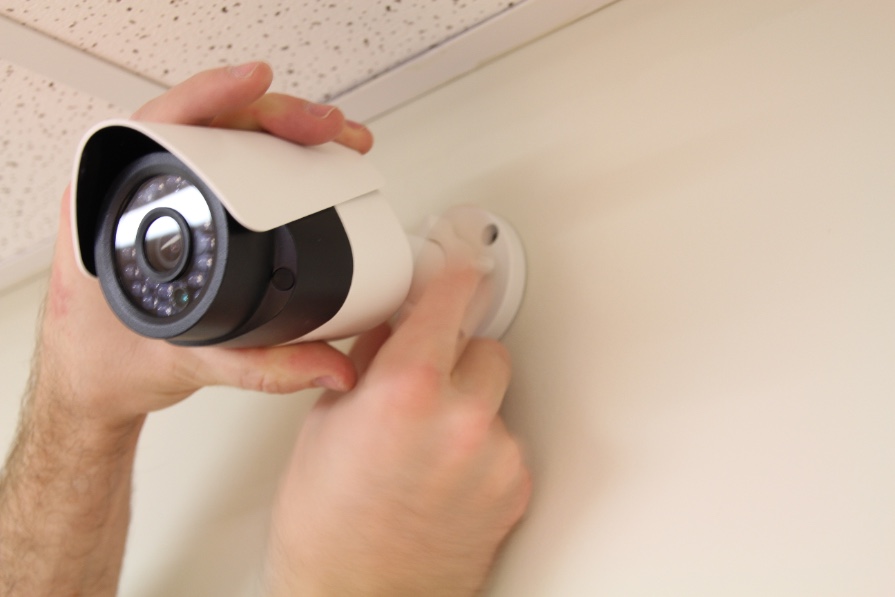
Step 8: Line up the Camera's Screw Holes with the Screw Holes You Drilled Into the Wall
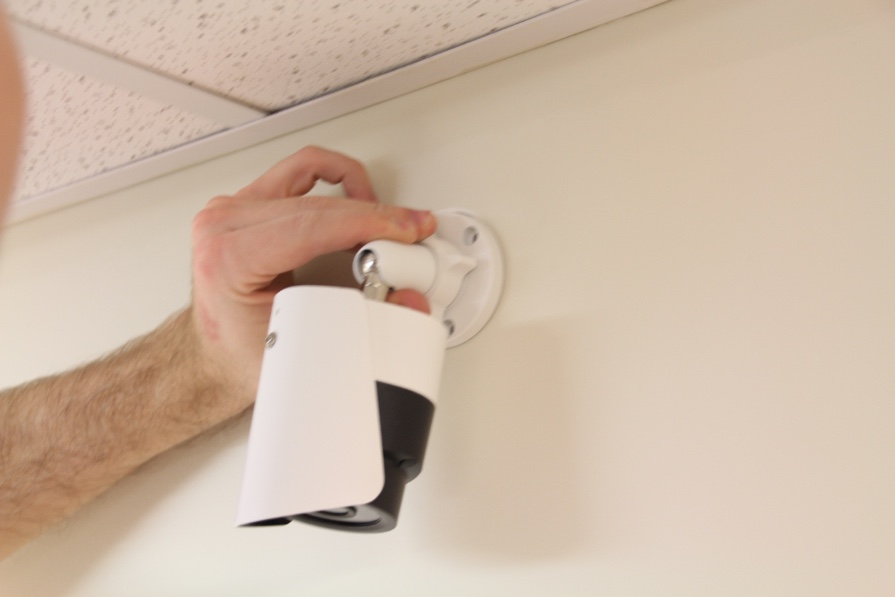
Step 9: Unscrew the Camera from the Base
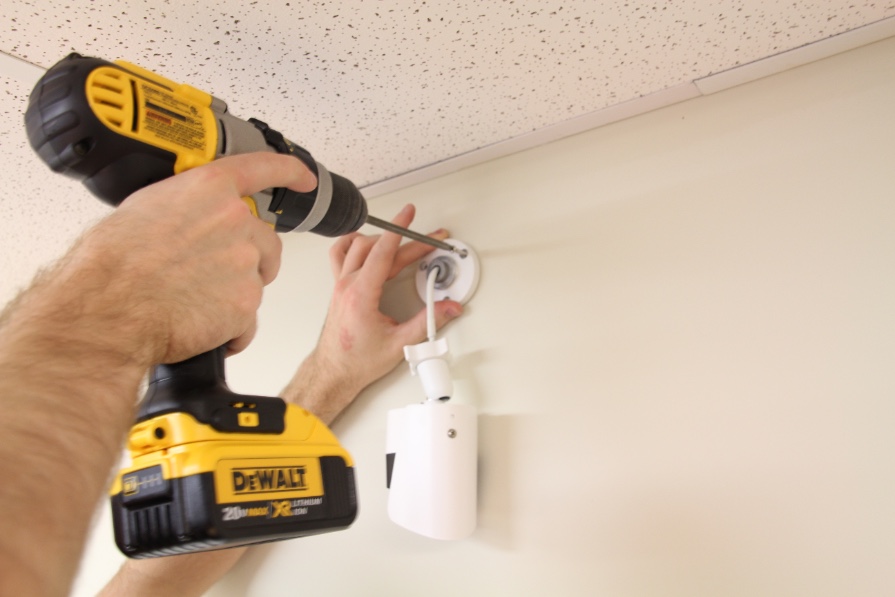
Step 10: Install the Screws
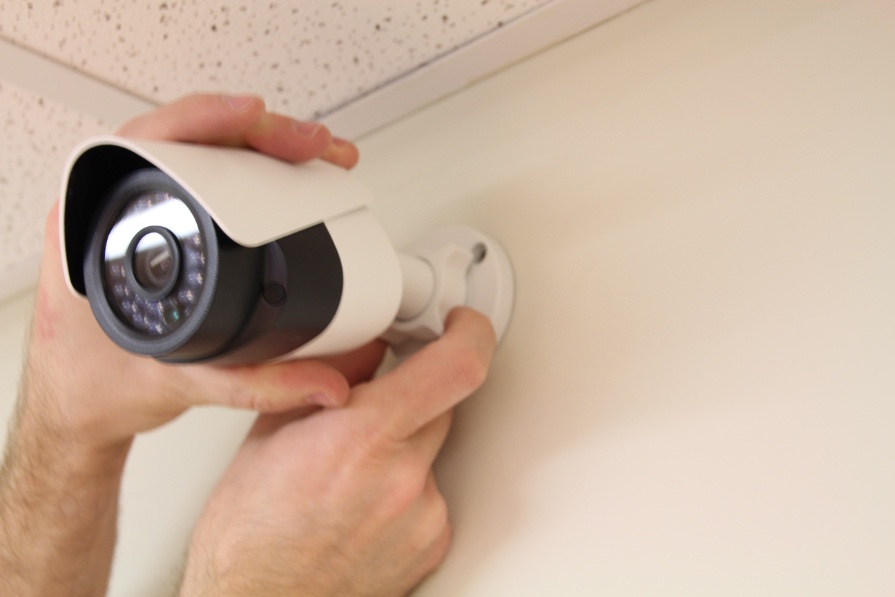
Step 11: Twist Camera back onto the Base
Step 12: Aim the Camera where You Want
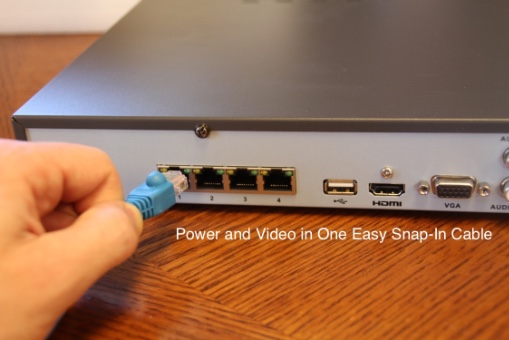
Step 13: Plug the Camera into your NVR
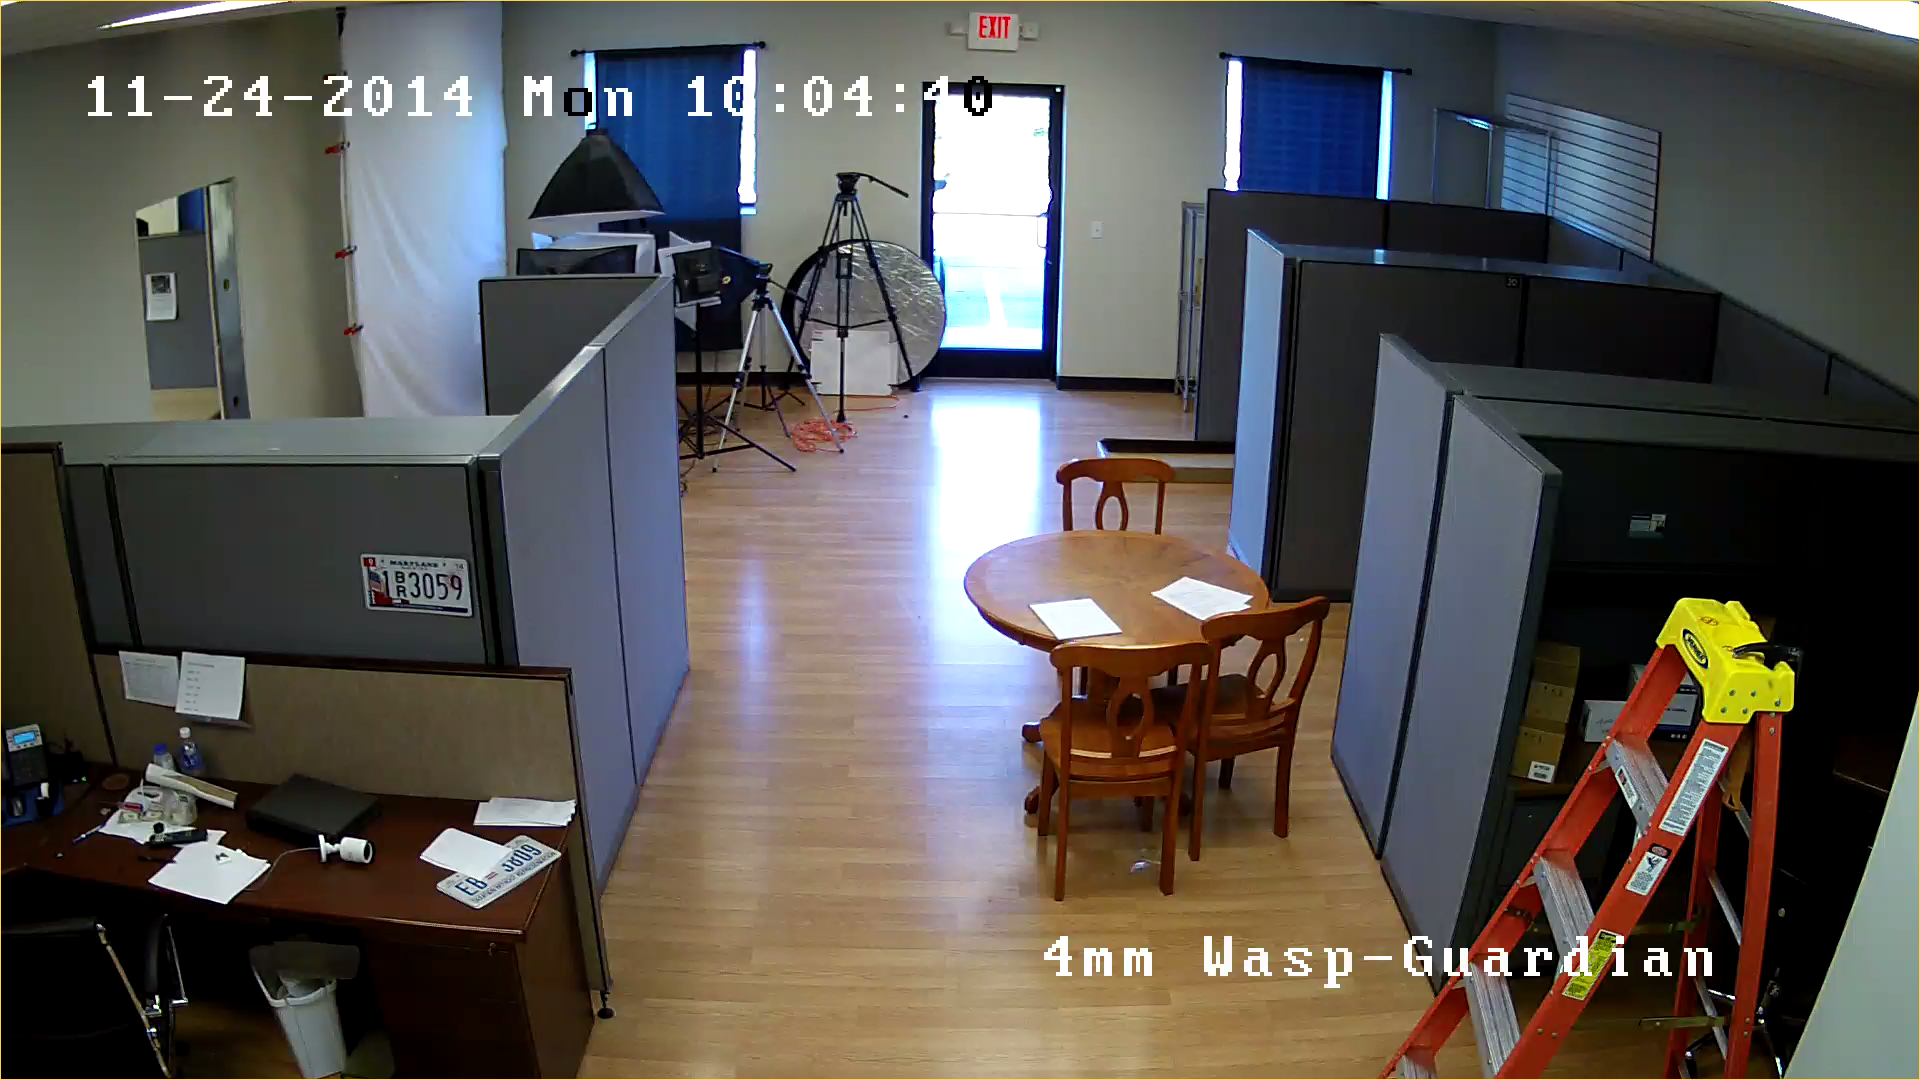
Step 14: Test your Camera Feed on the NVR
Congratulations, You've Successfully Installed a Bullet Camera on a Wall
This guide is applicable for these models: Warrior 2.0 - 26BF2, Warrior 4.0- 26BF4, Warrior 8.0 - 26BF8, Viking 4.0 - 26BV4, Knight 2.0 - 26BV2-W, Gladiator 8.0 - 26BV8, Archer 2.0 - 26BV2-L, Sharpshooter 2.0 - 26BV2-XL, Wasp Pro 2.0 - 43220, Wasp Pro 3.0 - 43230, Wasp Pro 4.0 - 43240, Hornet Pro 3.0 - 44230, Hornet Pro 4.0 - 44240, Ranger IntelliPro Camera 3.0 - 44430, Spotter IntelliPro Camera 3.0 - 44330, Sabre 4K IntelliPro - IB08V2812MI, Tomcat 12MP IntelliPro - IB12V2812MI, Hawk 532, Eagle 541 and Sparrow 531. .