Installing a Bullet Camera on the Ceiling - Installation Guide
Important: Ceiling tiles have different weight tolerance limits based on their size and thickness. If the camera is too heavy, then you will need to either have the weight held up by a harness, strap tied to the true ceiling, or you can put a wood plank across the grid to support the camera's weight. Ceiling tiles sized 2x2 or 2x4 with minimum thickness of 5/8” can be used with insulation weighing up to 0.26 lbs per square foot. B. Ceiling tiles sized 2x2 with minimum thickness of 3/4” can be used with insulation weighing up to 0.5 lbs per square foot. Please check the weight tolerance of your ceiling tile and the weight of your camera before mounting. You don't want your ceiling falling down on anyone.
Drop ceilings can make running cable very simple. For office locations, a ceiling is a very popular location to install surveillance cameras - since so many offices have drop ceilings. In this guide, we will be installing a bullet camera from a ceiling tile.
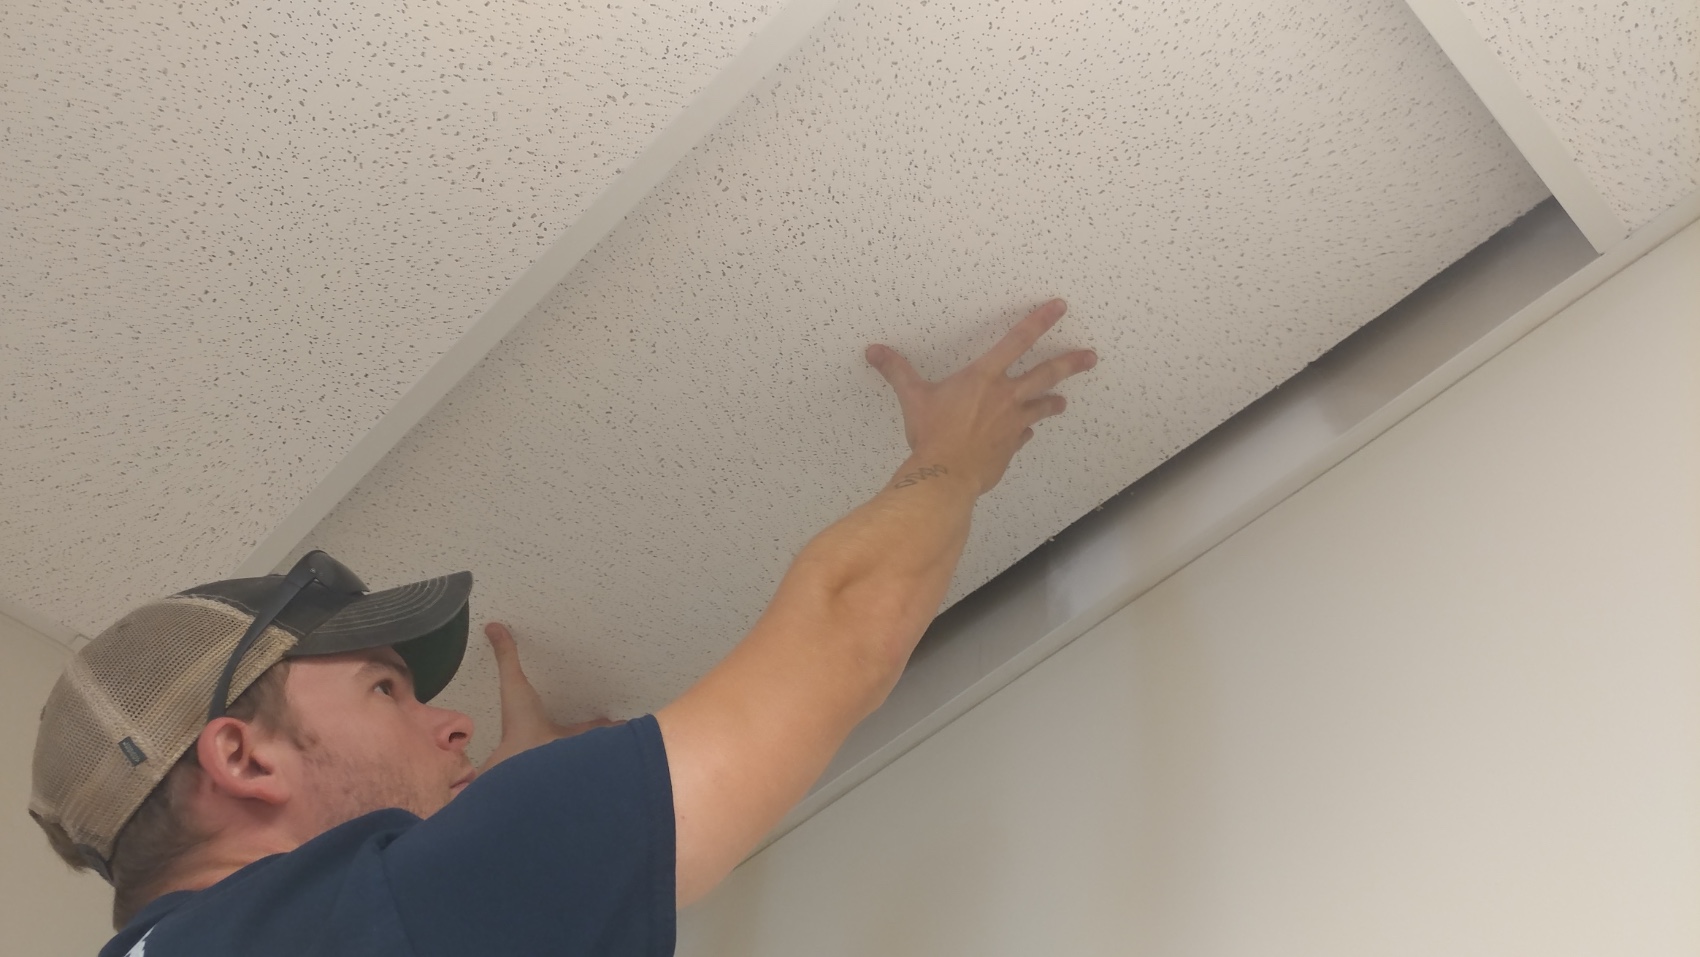
Step 1:
Remove tile from ceiling
Step 2:
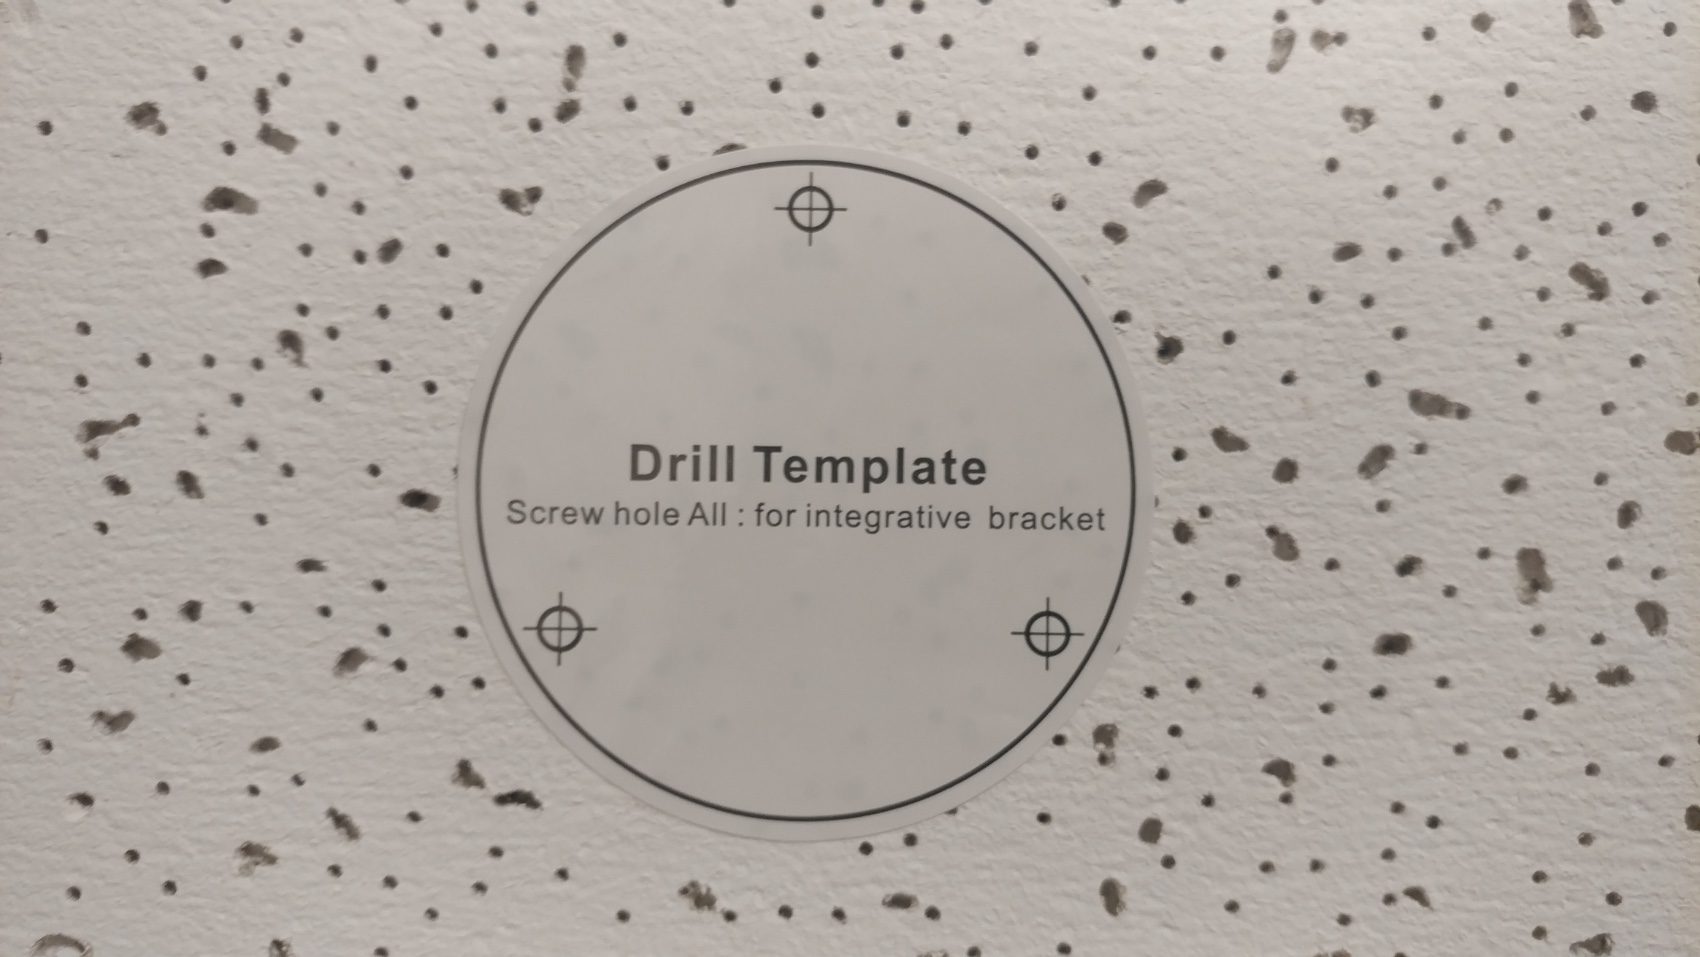
Place drill template on ceiling tile.
Step 3:
Run your cable drop to the ceiling location, install the weatherproof connector and terminate the end.
Reminder: If you are going to run cables through an area which is used by your heating, air circulation, or air conditioner systems (such as above a drop ceiling in an office), you must use Plenum rated cables, which have a special insulation that has low smoke and low flame characteristics. When securing cable in Plenum required areas, make sure your straps, cable ties, and similar fittings also are plenum rated. NEC 830; NFPA 90A

Step 4:
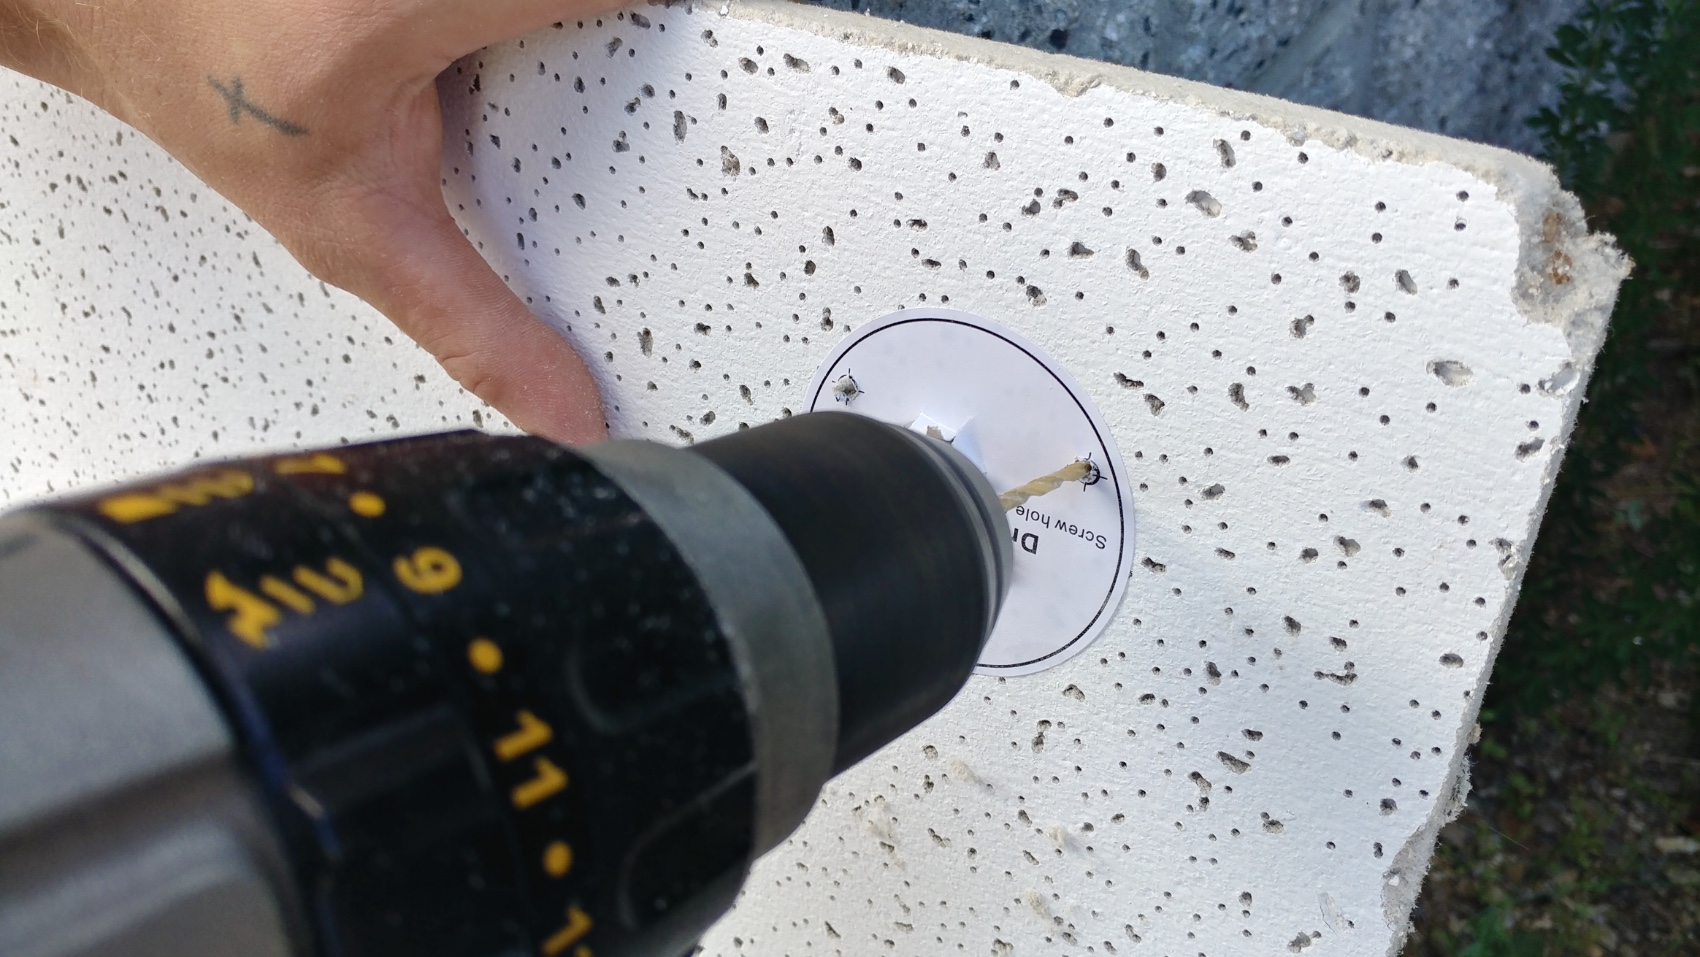
Using the template drill the mounting locations as well as a hole for the cameras lead to go through.
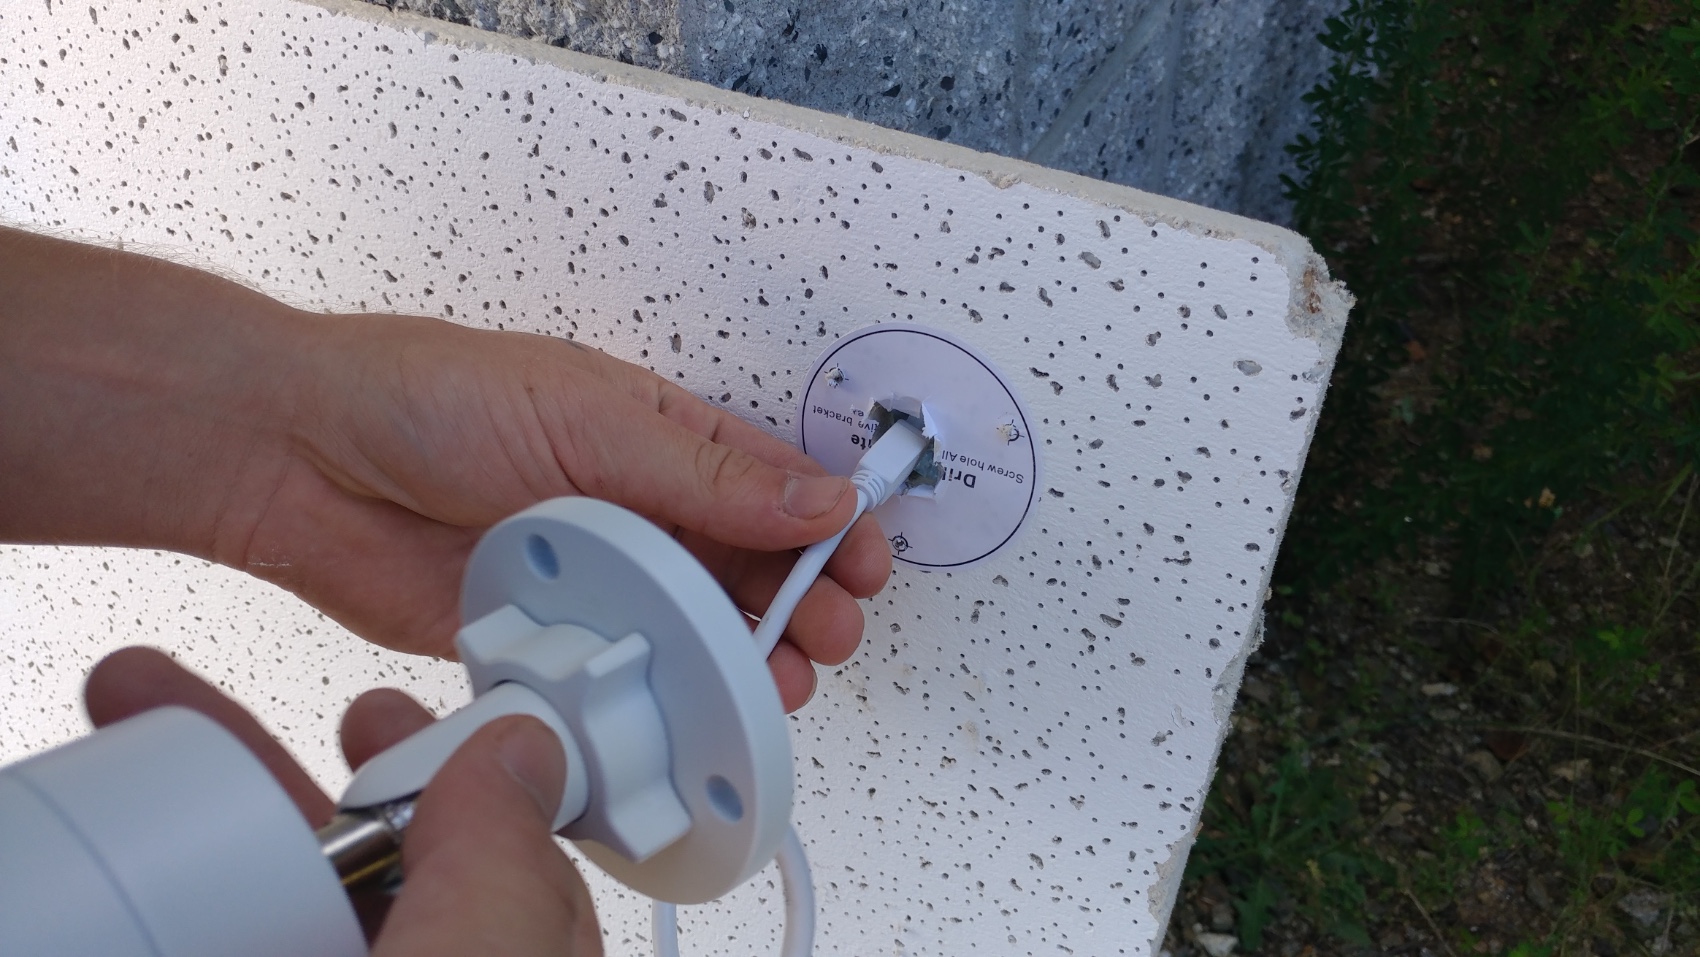
Step 5:
Push the cameras connector through the tile.
Step 6:
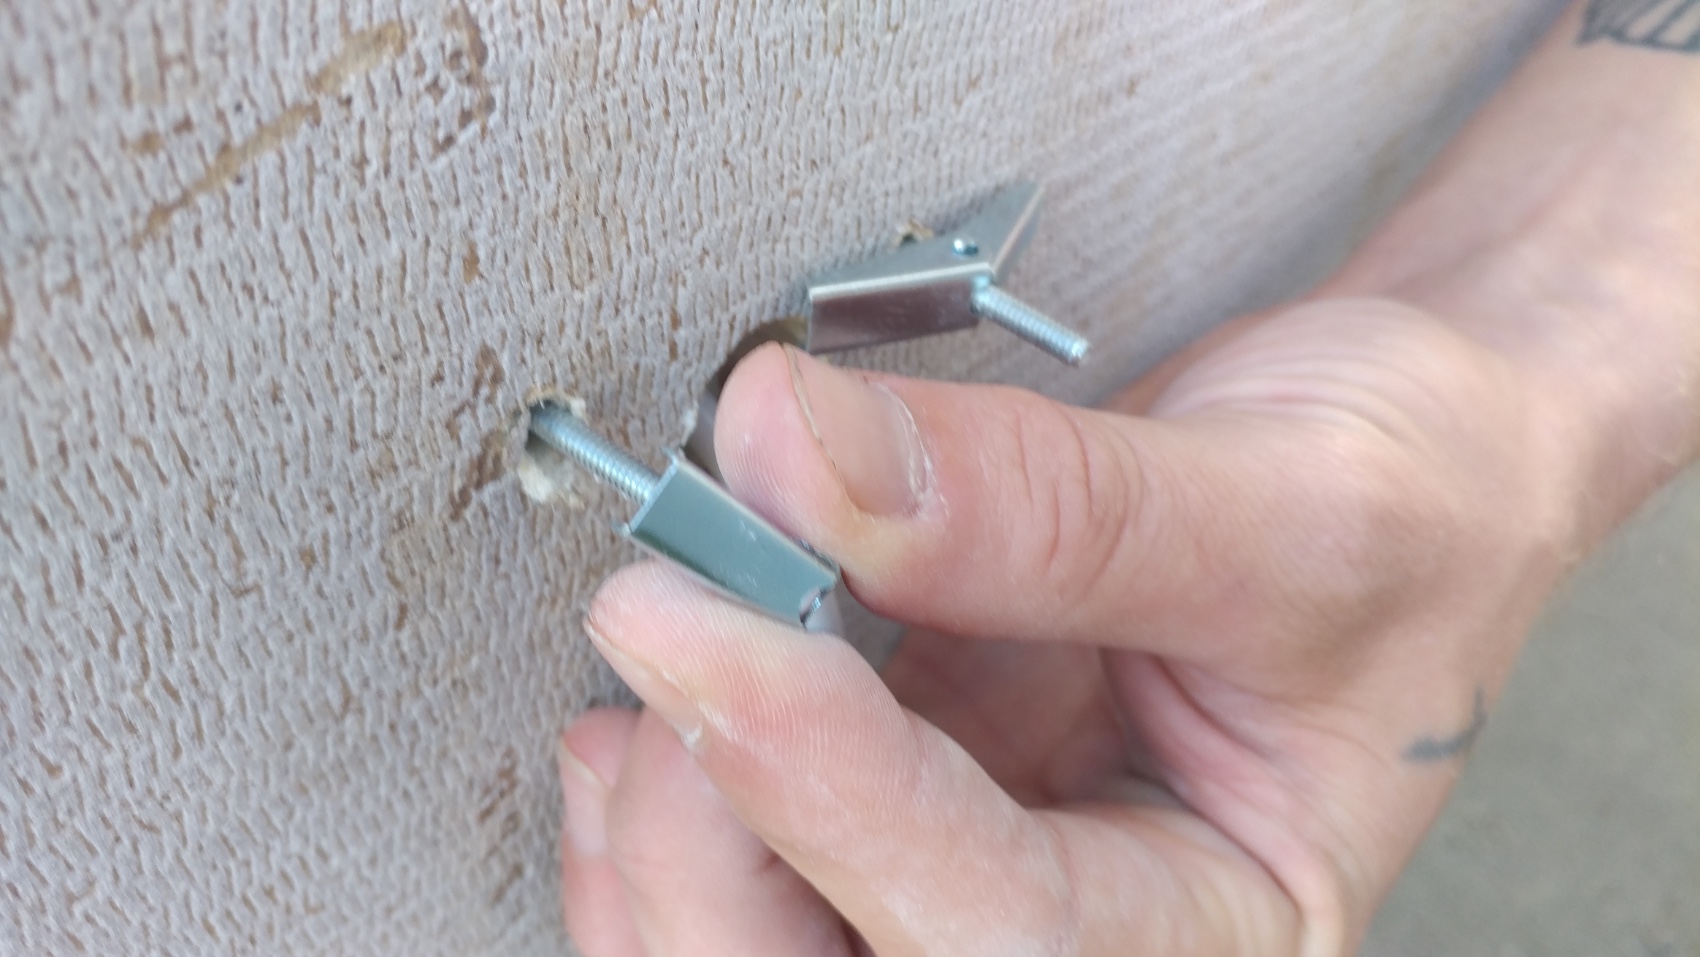
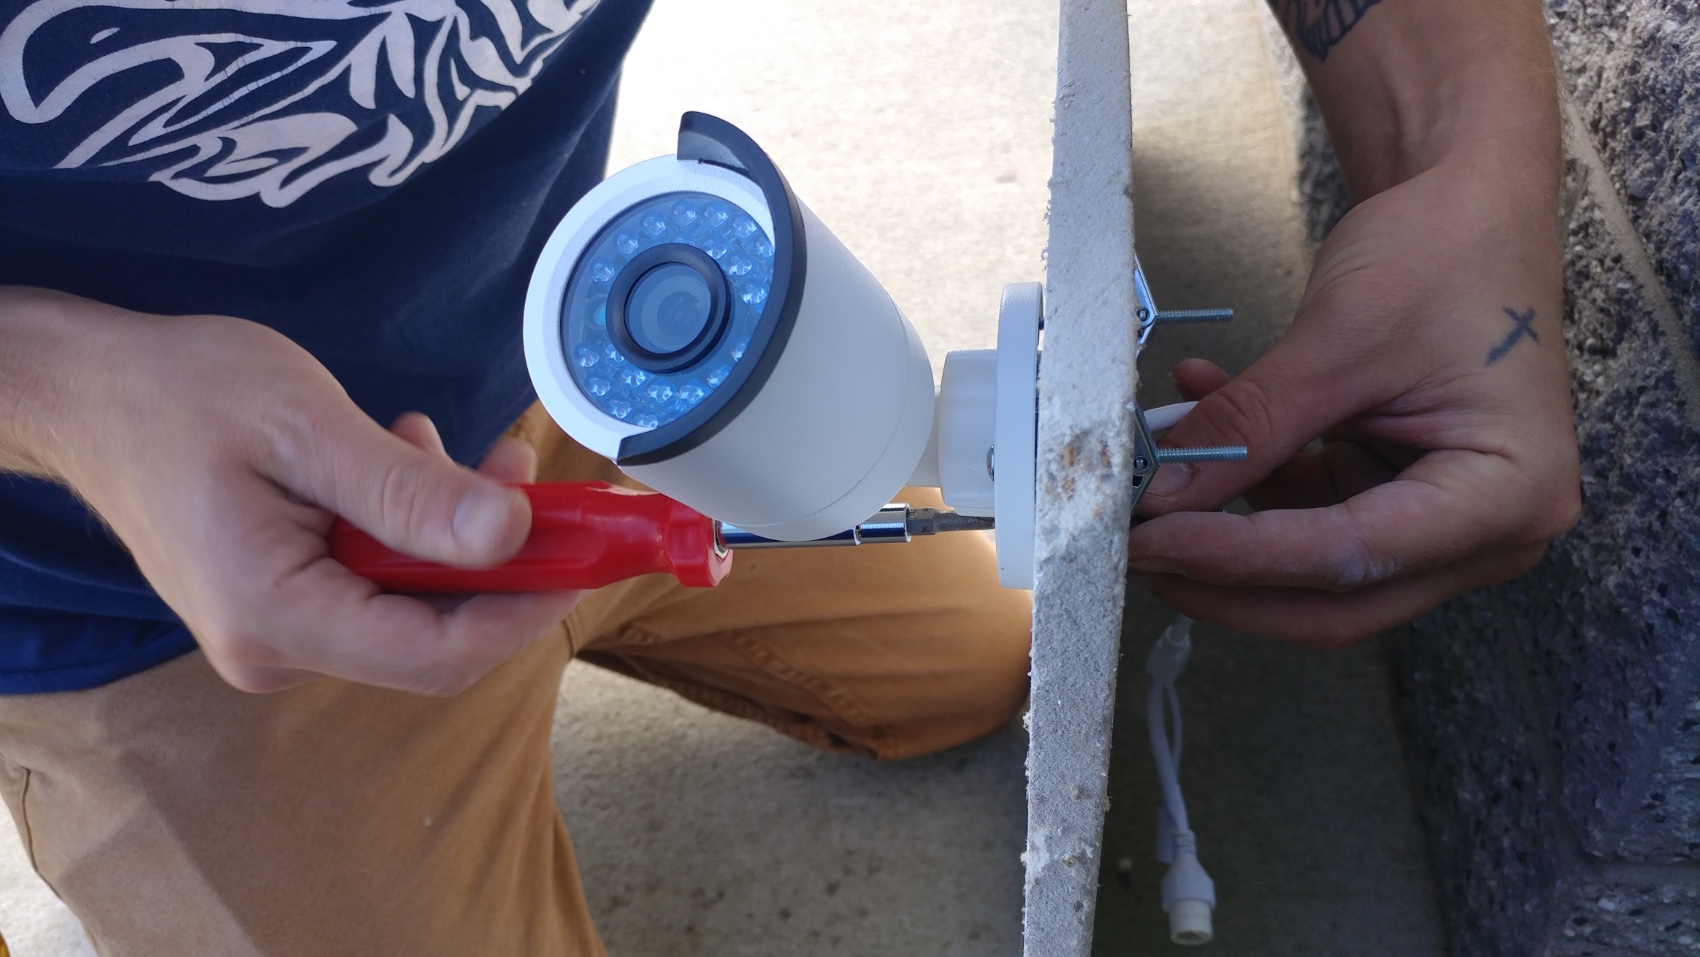
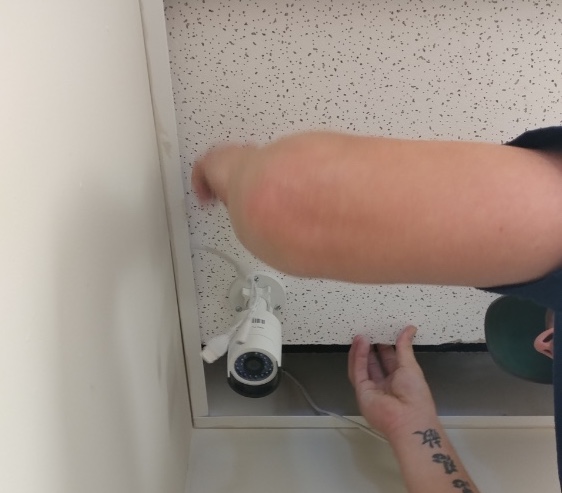
Mount the camera to the tile using toggle bolts.
Step 7:
You can now place the tile back in the ceiling, leave a little room so you can connect the camera to the pre run cable.
Finished Installation:
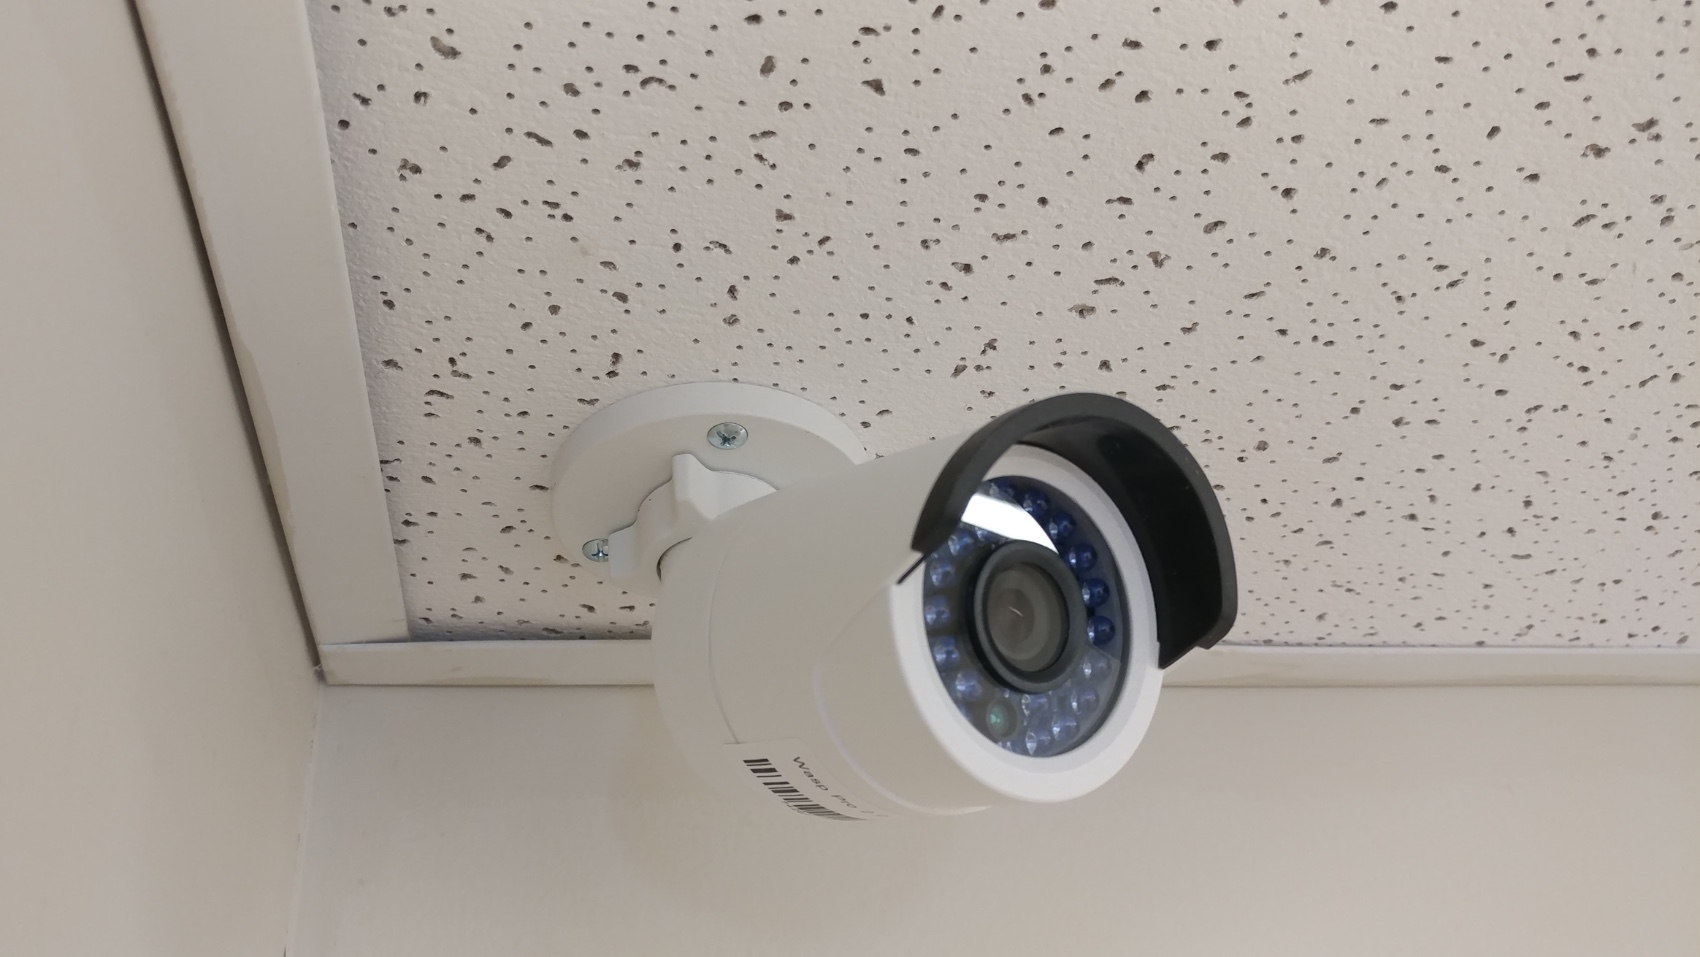
That's it. You've just installed a bullet camera from a ceiling tile.
Just Getting Started with Security Cameras?
Get the SCW Beginner Guide!
New to security camera systems? Confused by Analog vs IP? Bullet vs Dome? Indoor vs Outdoor? Don't even know what PTZ means?
No problem! Download the SCW Beginner Guide and get all your questions answered right away!