Installing Expansion Cards (LTE And Z-Wave) into an SCW Shield
Before Installation
Step 1: If your system is armed - disarm using the SCW Shield app or your pin pad.
Step 2: Disconnect your SCW Shield from power and ethernet
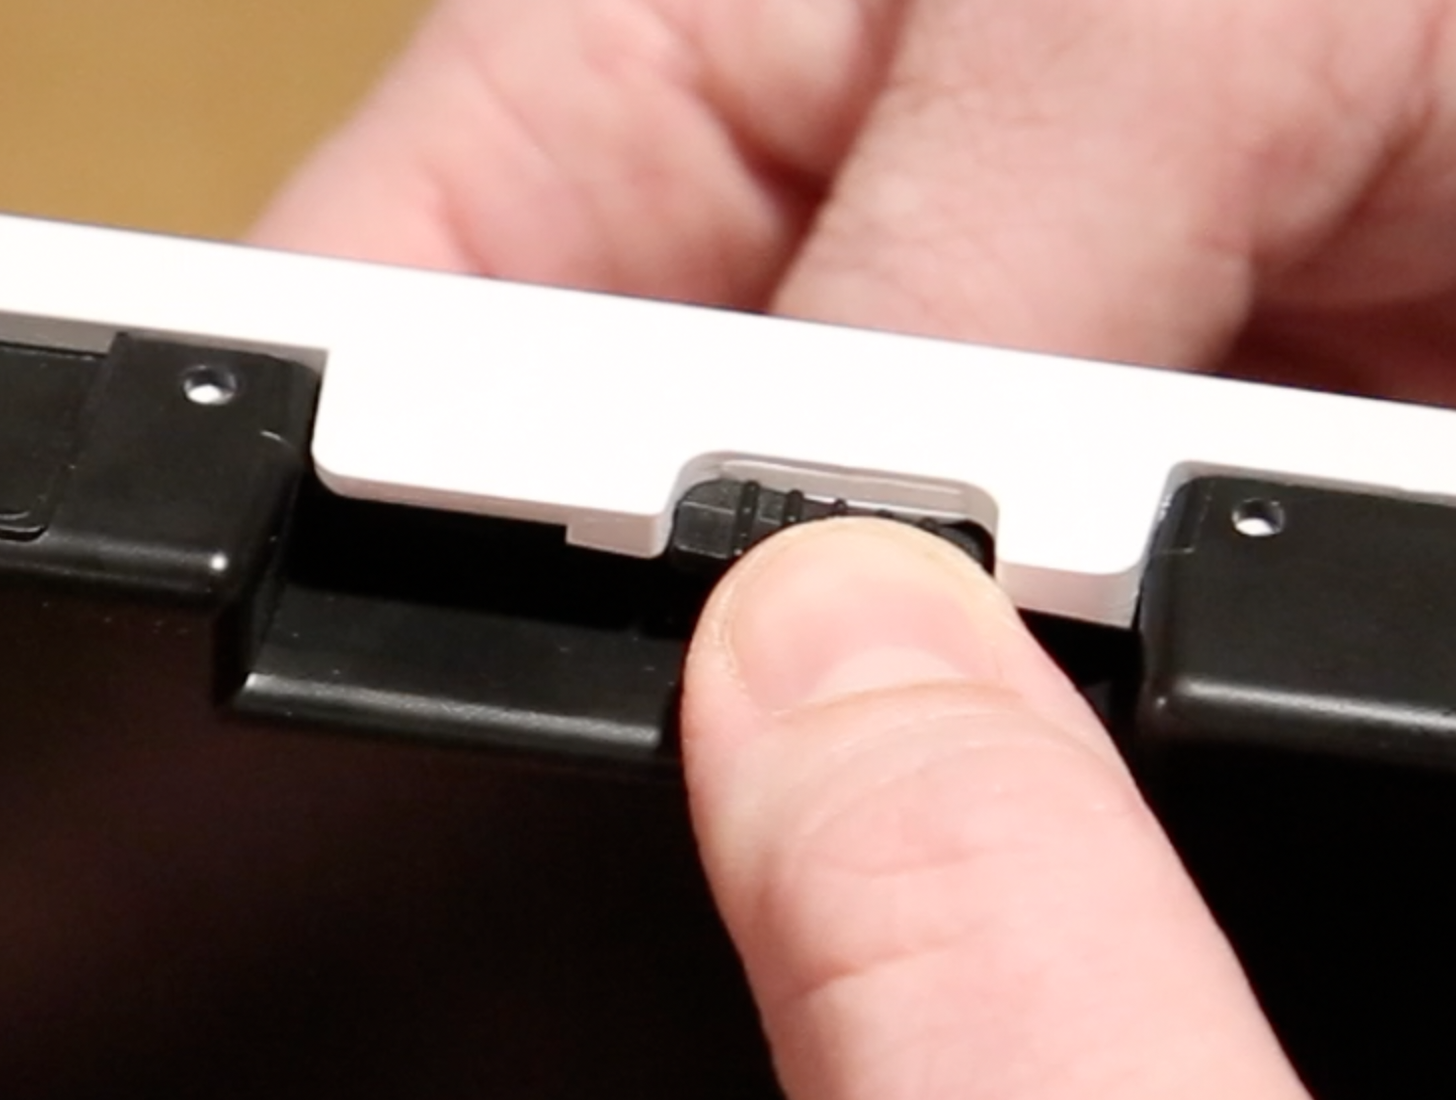
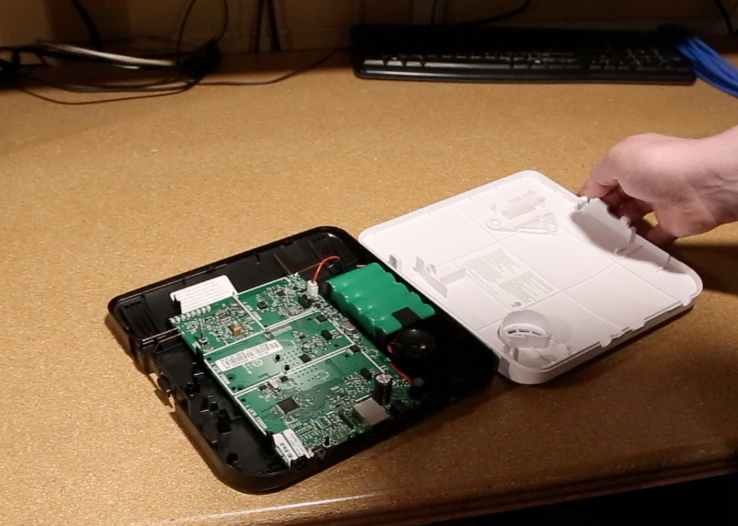
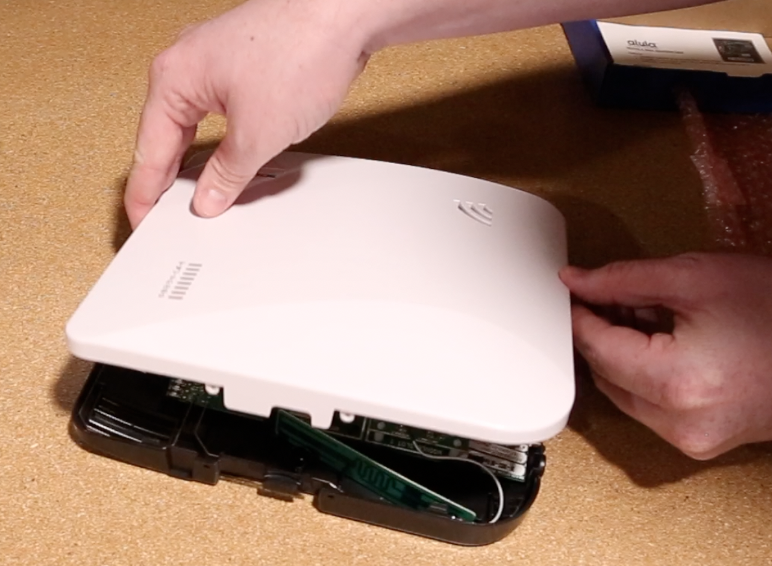
Step 3: Locate the “cover release tab” at the top of the Shield, press the button and then pull the two panels apart.
Note: The Shield hub may create trouble beeps to indicate the hub being open. These will cease when the battery is disconnected in Step 4.
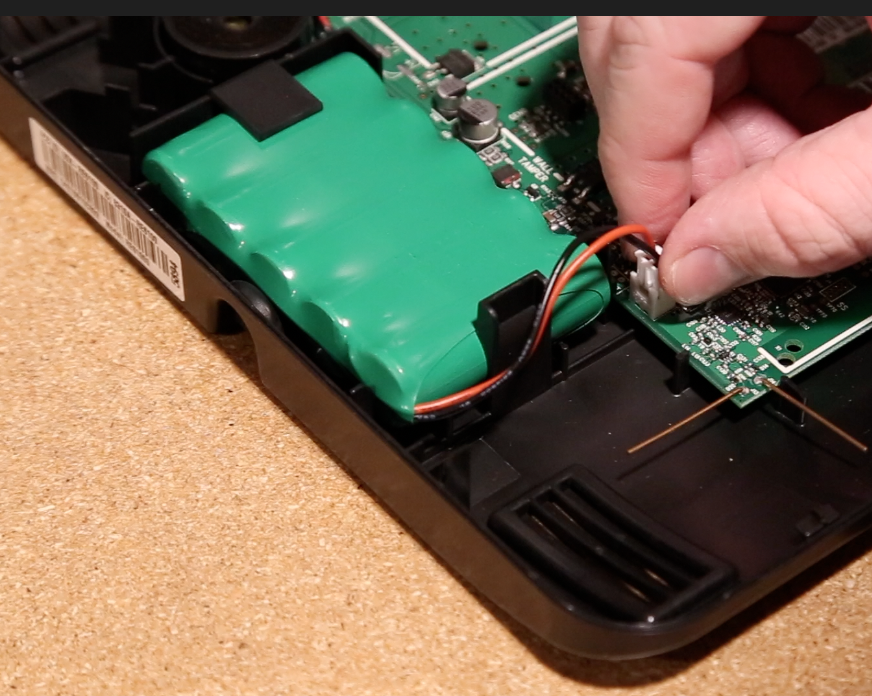
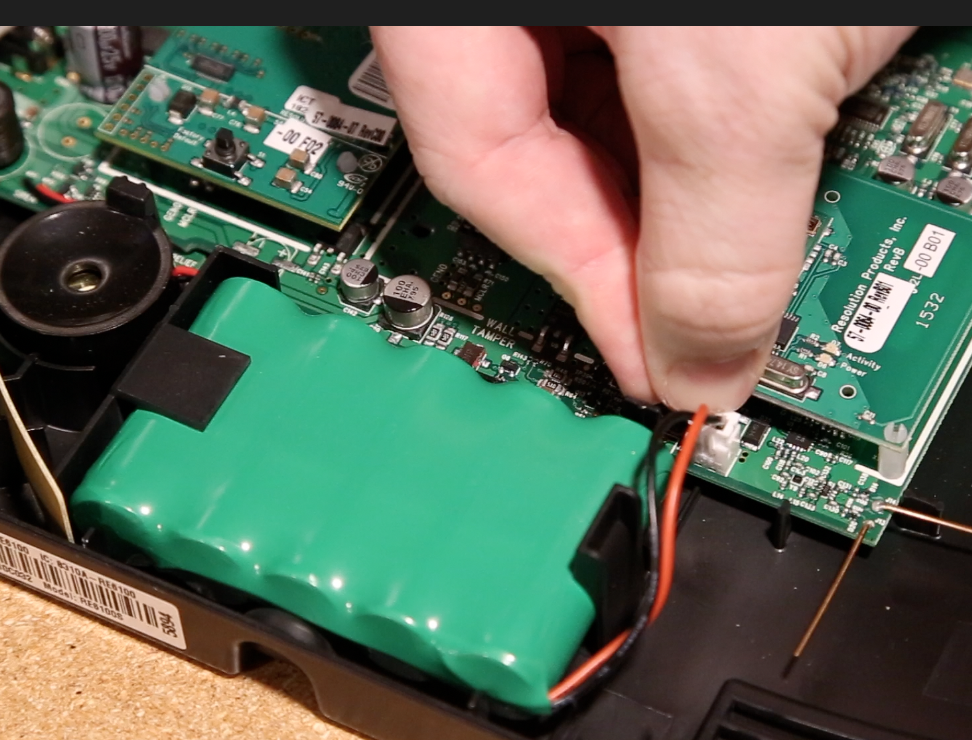
Step 4: Disconnect the battery by pulling the battery plug. The plug is usually tight on the board. Wiggle the connector left to right while gently pulling upwards to loosen the plug.
Installing Z-Wave Card
Step 1: The Z-Wave Card is installed on “Module Slot 3” on the Shield motherboard. Locate this Module Slot 3 above the battery connector.
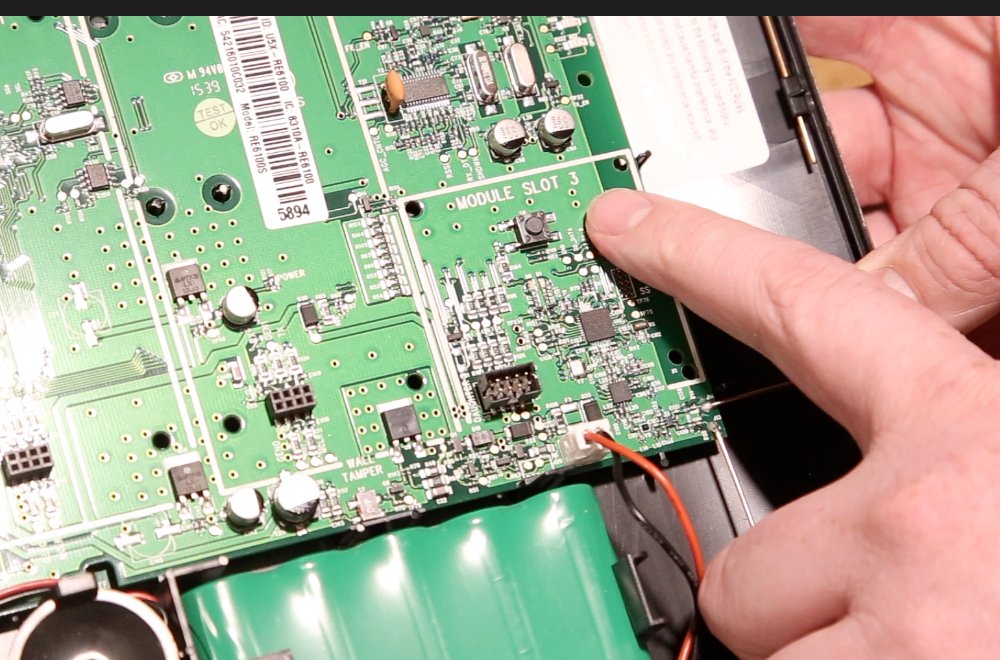
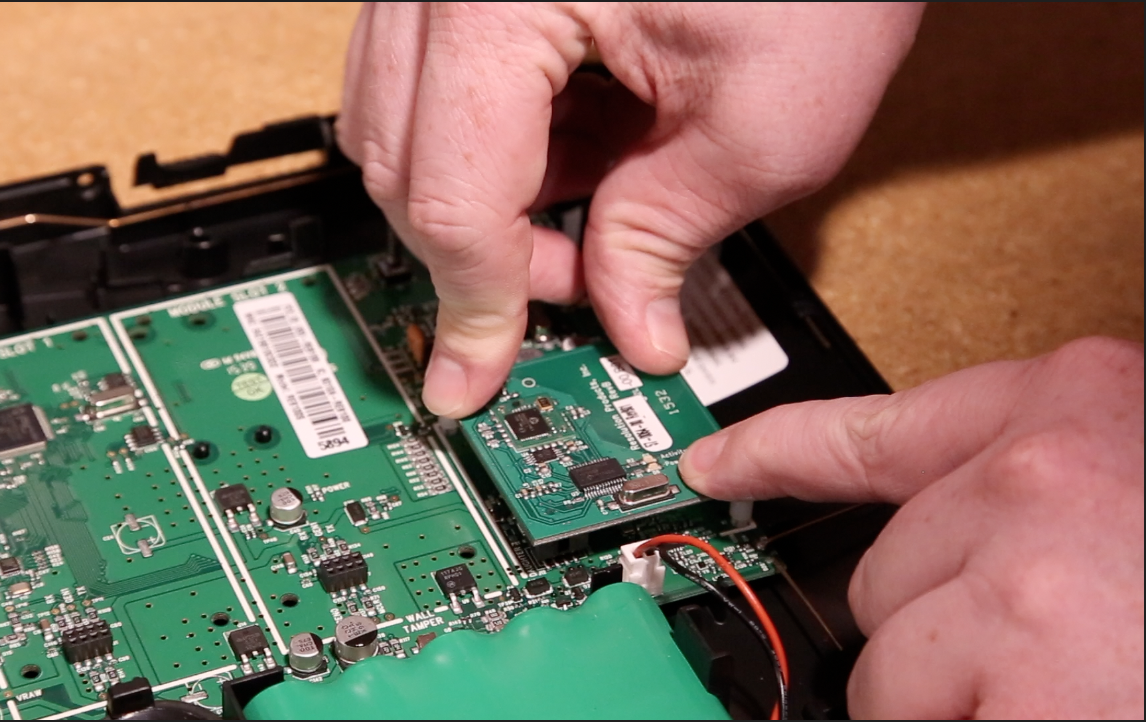
Step 2: Line up the pins on Module 3 with the pins on the Z-Wave card and place the Z-Wave card down.
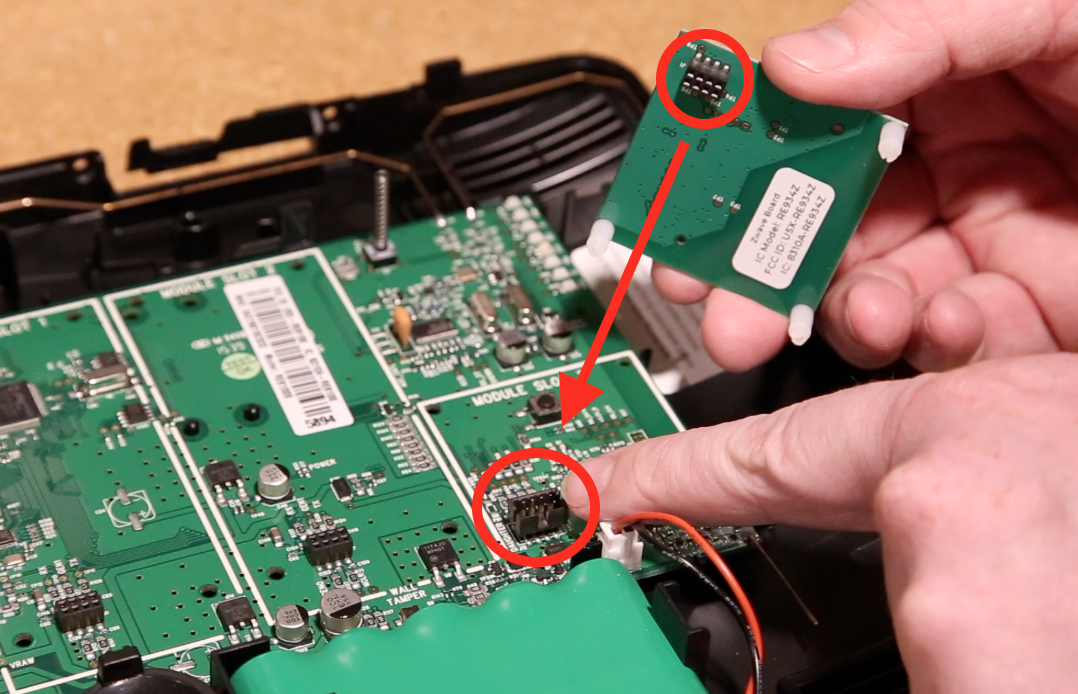
Step 3: Press the card down to install it - you will hear a “snap” sound indicating the card is locked in. Your Z-Wave card is now installed.
Installing LTE Card
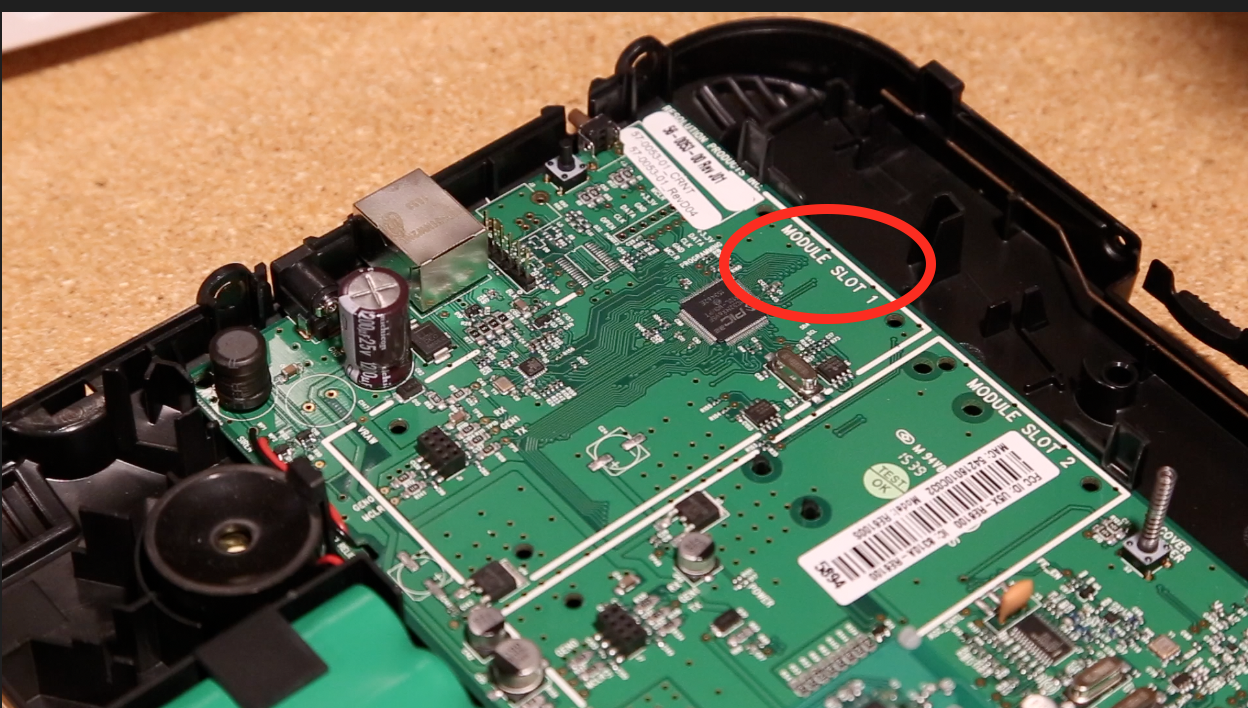
Step 1: Locate “Module Slot 1” near the bottom/power portion of the Shield motherboard.
Step 2: Line up the pins on the LTE card with the pins on module slot 1. Push the card down with even pressure. You will hear a click, indicating the card is installed securely.
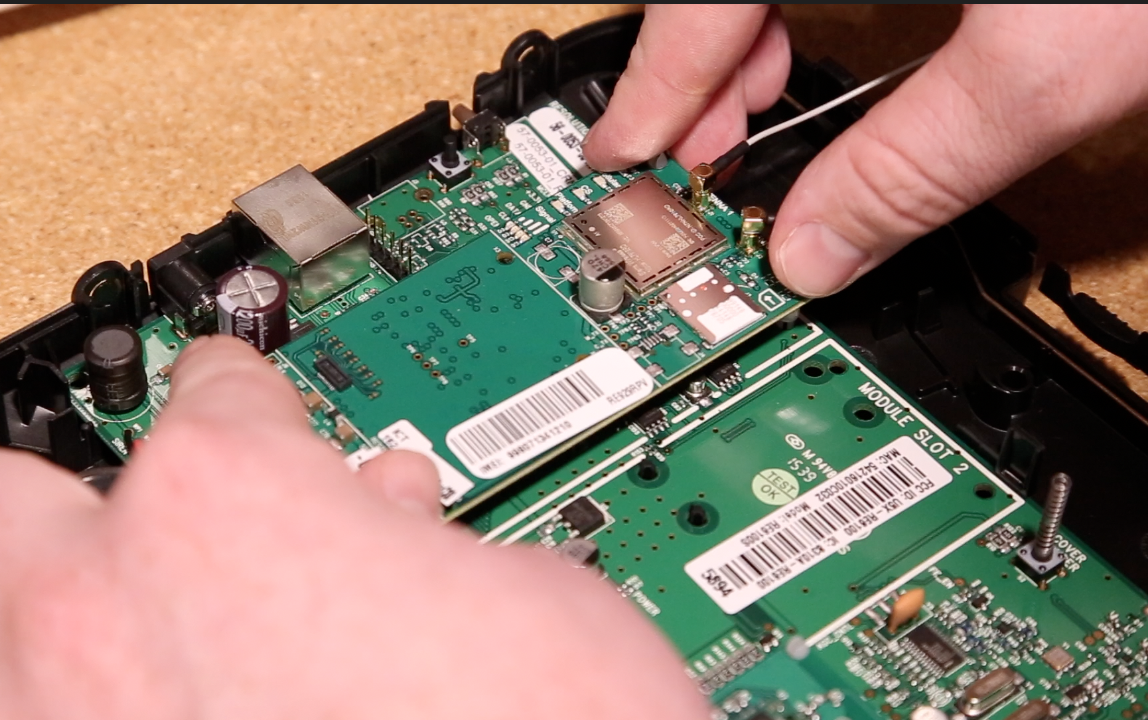
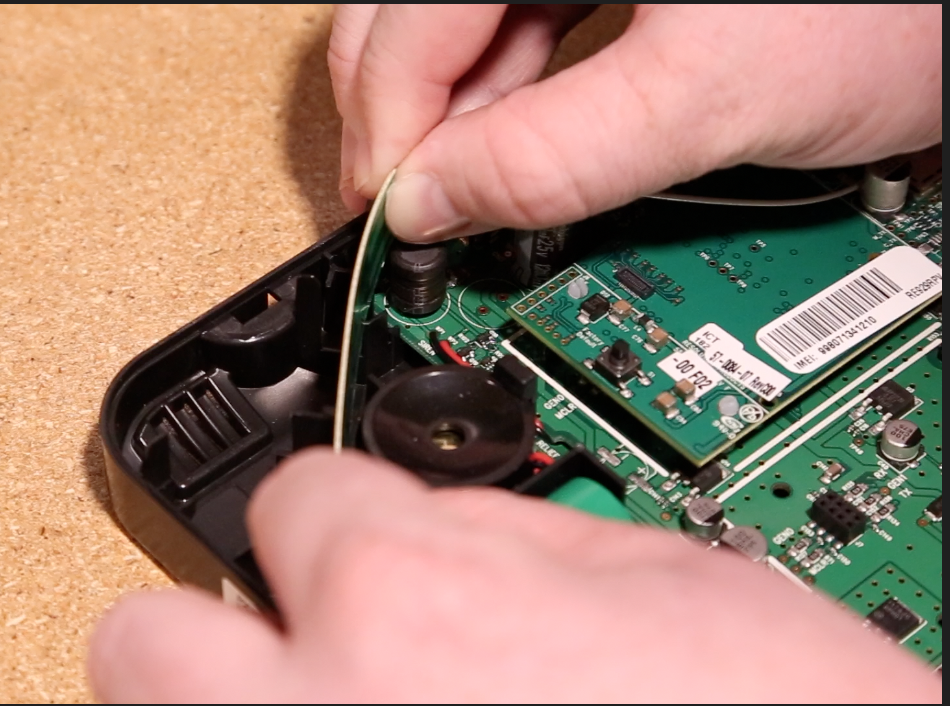
Step 3: Locate the antenna labels at the top of the LTE card. Install “Antenna 1” in the bottom corner near the siren (black circle). You will have to bend the antenna in the corner.
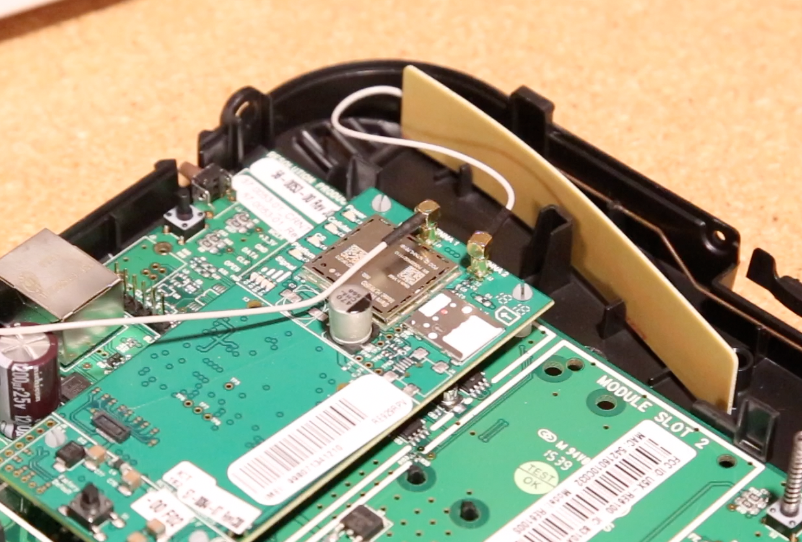
Step 4: Install “Antenna 2” in the slots above the LTE card as shown below.
Wrap Up
Step 1: Plug the battery connector back in so battery backup functions.
Step 2: Replace top cover for the Shield hub, you will hear a click indicating the hub is locked in.
Step 3: Power on and re-connect to ethernet, the LTE and Z-Wave cards should now be activated.
If you have any questions or issues - please contact us at 866-414-2553 and hit “2” for technical support.