How to Install a Dome or PTZ Camera with a Pendant Mount
In this guide we will be installing The Radius 12.0 - a panoramic dome camera - with a pendant mount. Our Sheriff model and PTZ camera models can also have pendant mounting hardware and can be installed in a similar way.
Note:
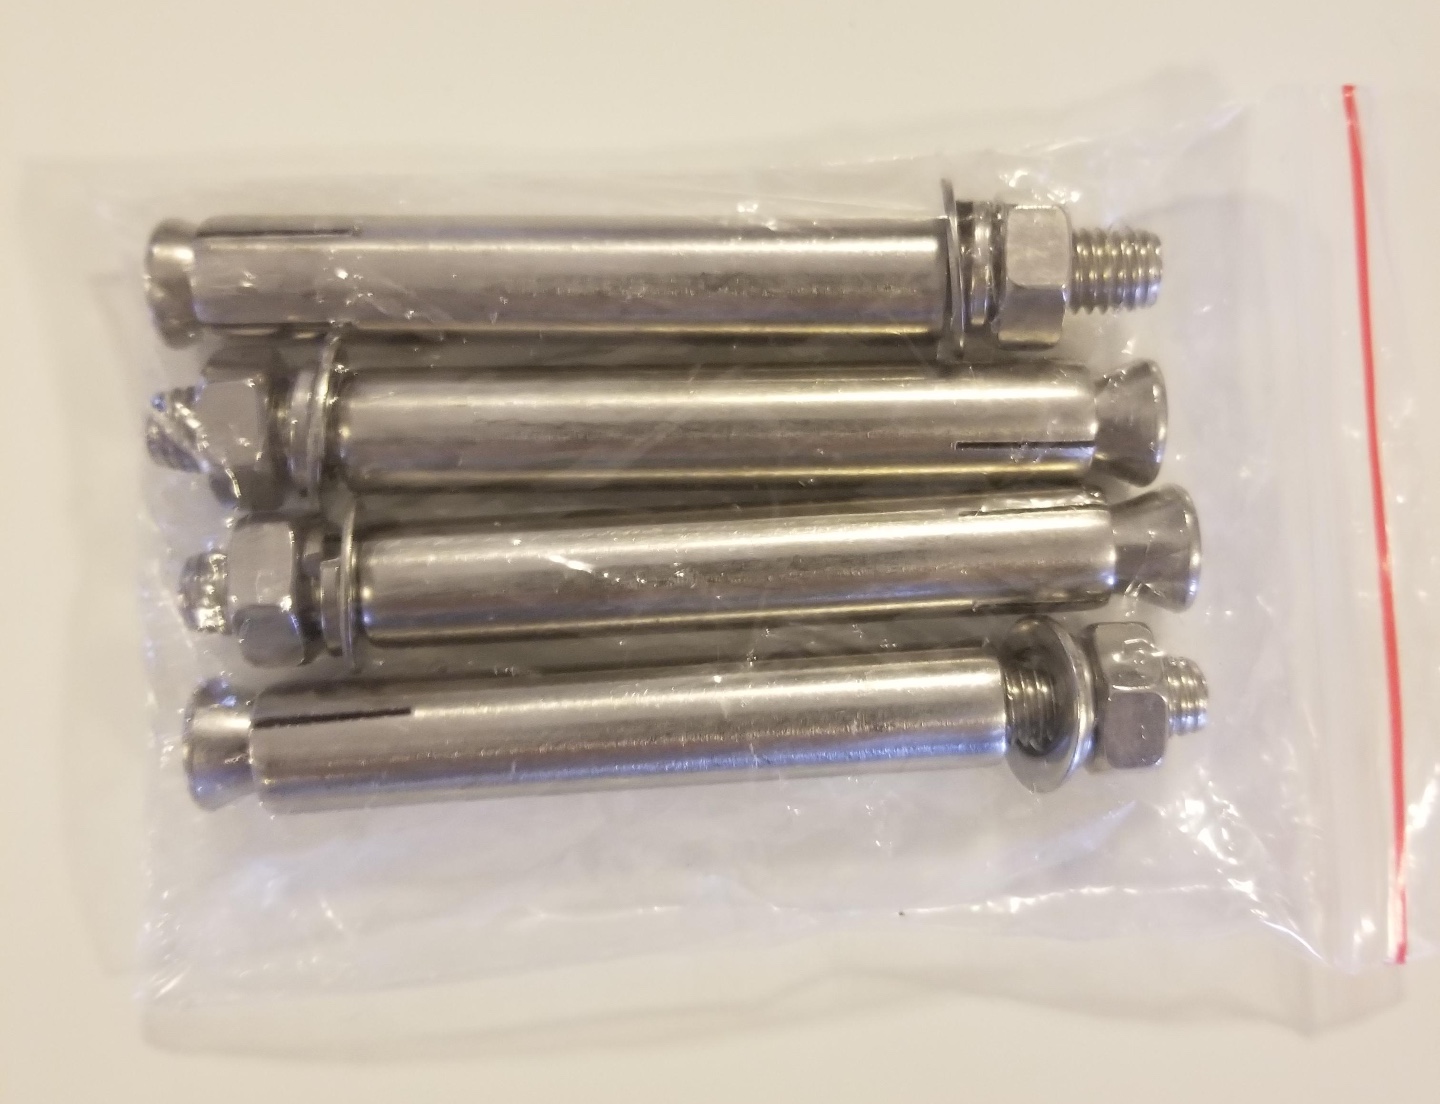
Our Pendant Mounts come with masonry anchors (image 1), which expand as you tighten them. They work especially well when drilling into drywall or cement.
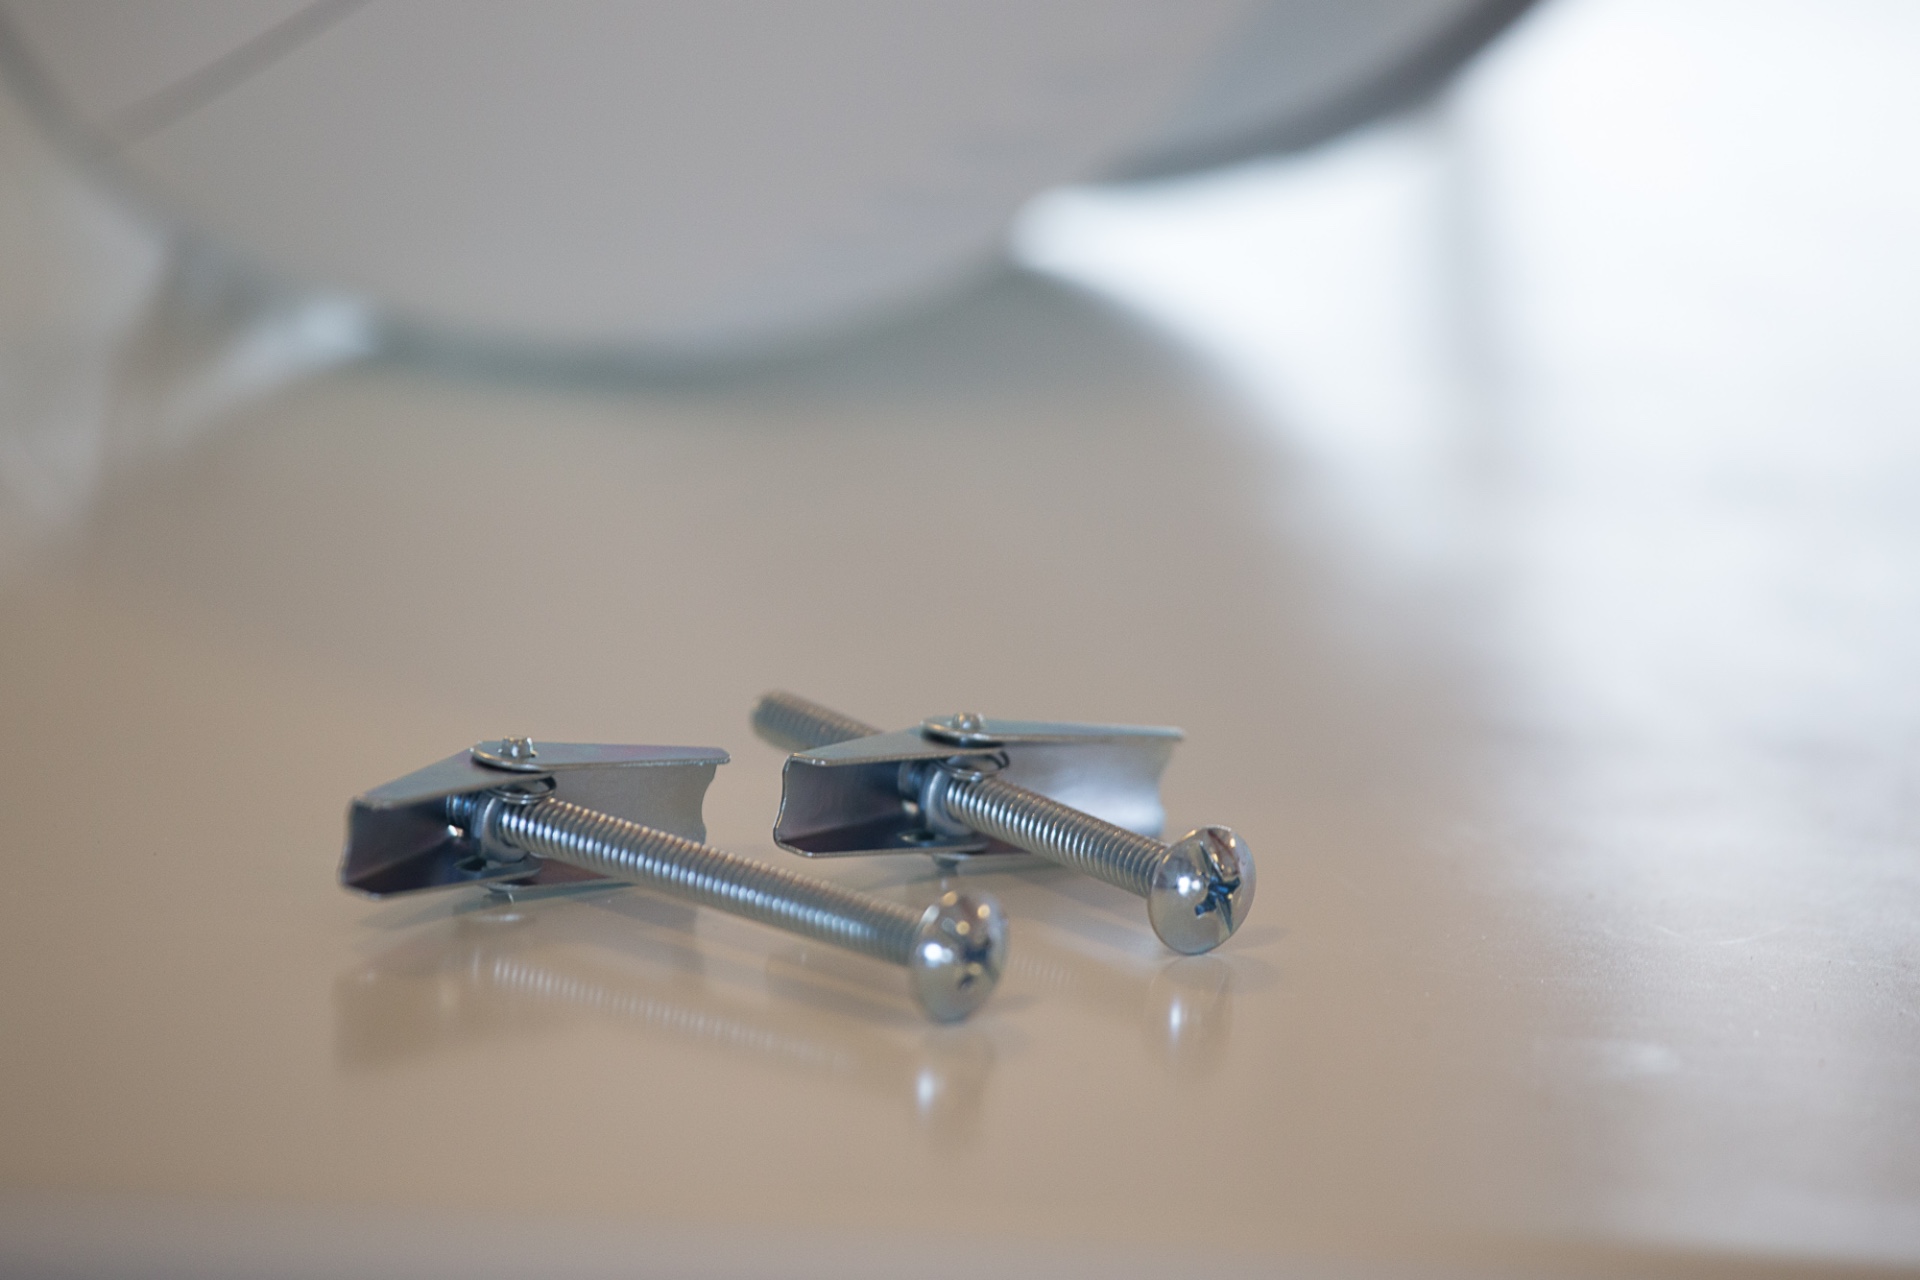
In this example, however, we are drilling into an decorative exposed beam. Since we can drill all the way through the beam, access the backside of the beam easily, and we don't want it to splinter; we used a toggle bolt instead (image 2).
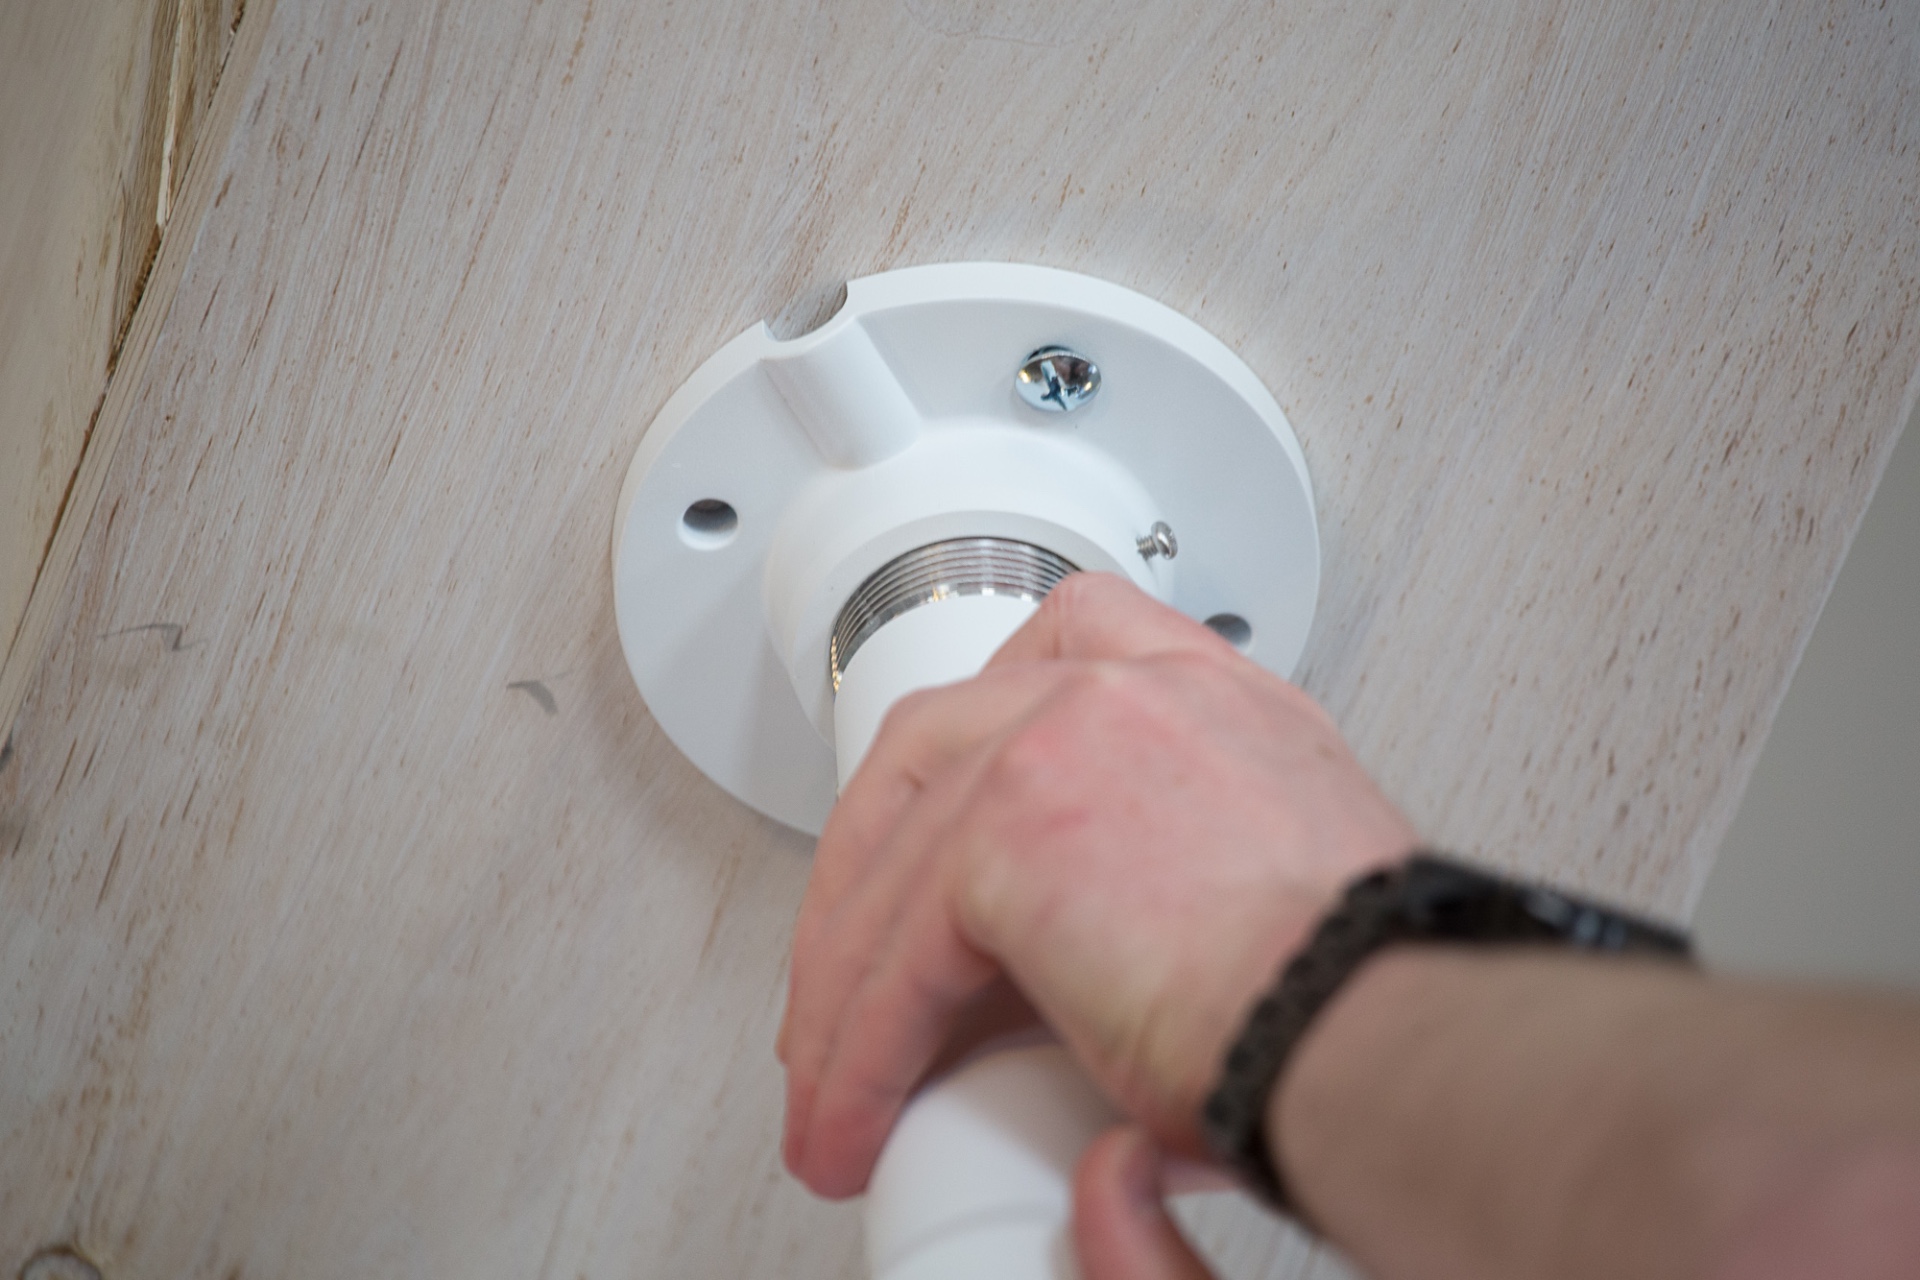
Step 1:
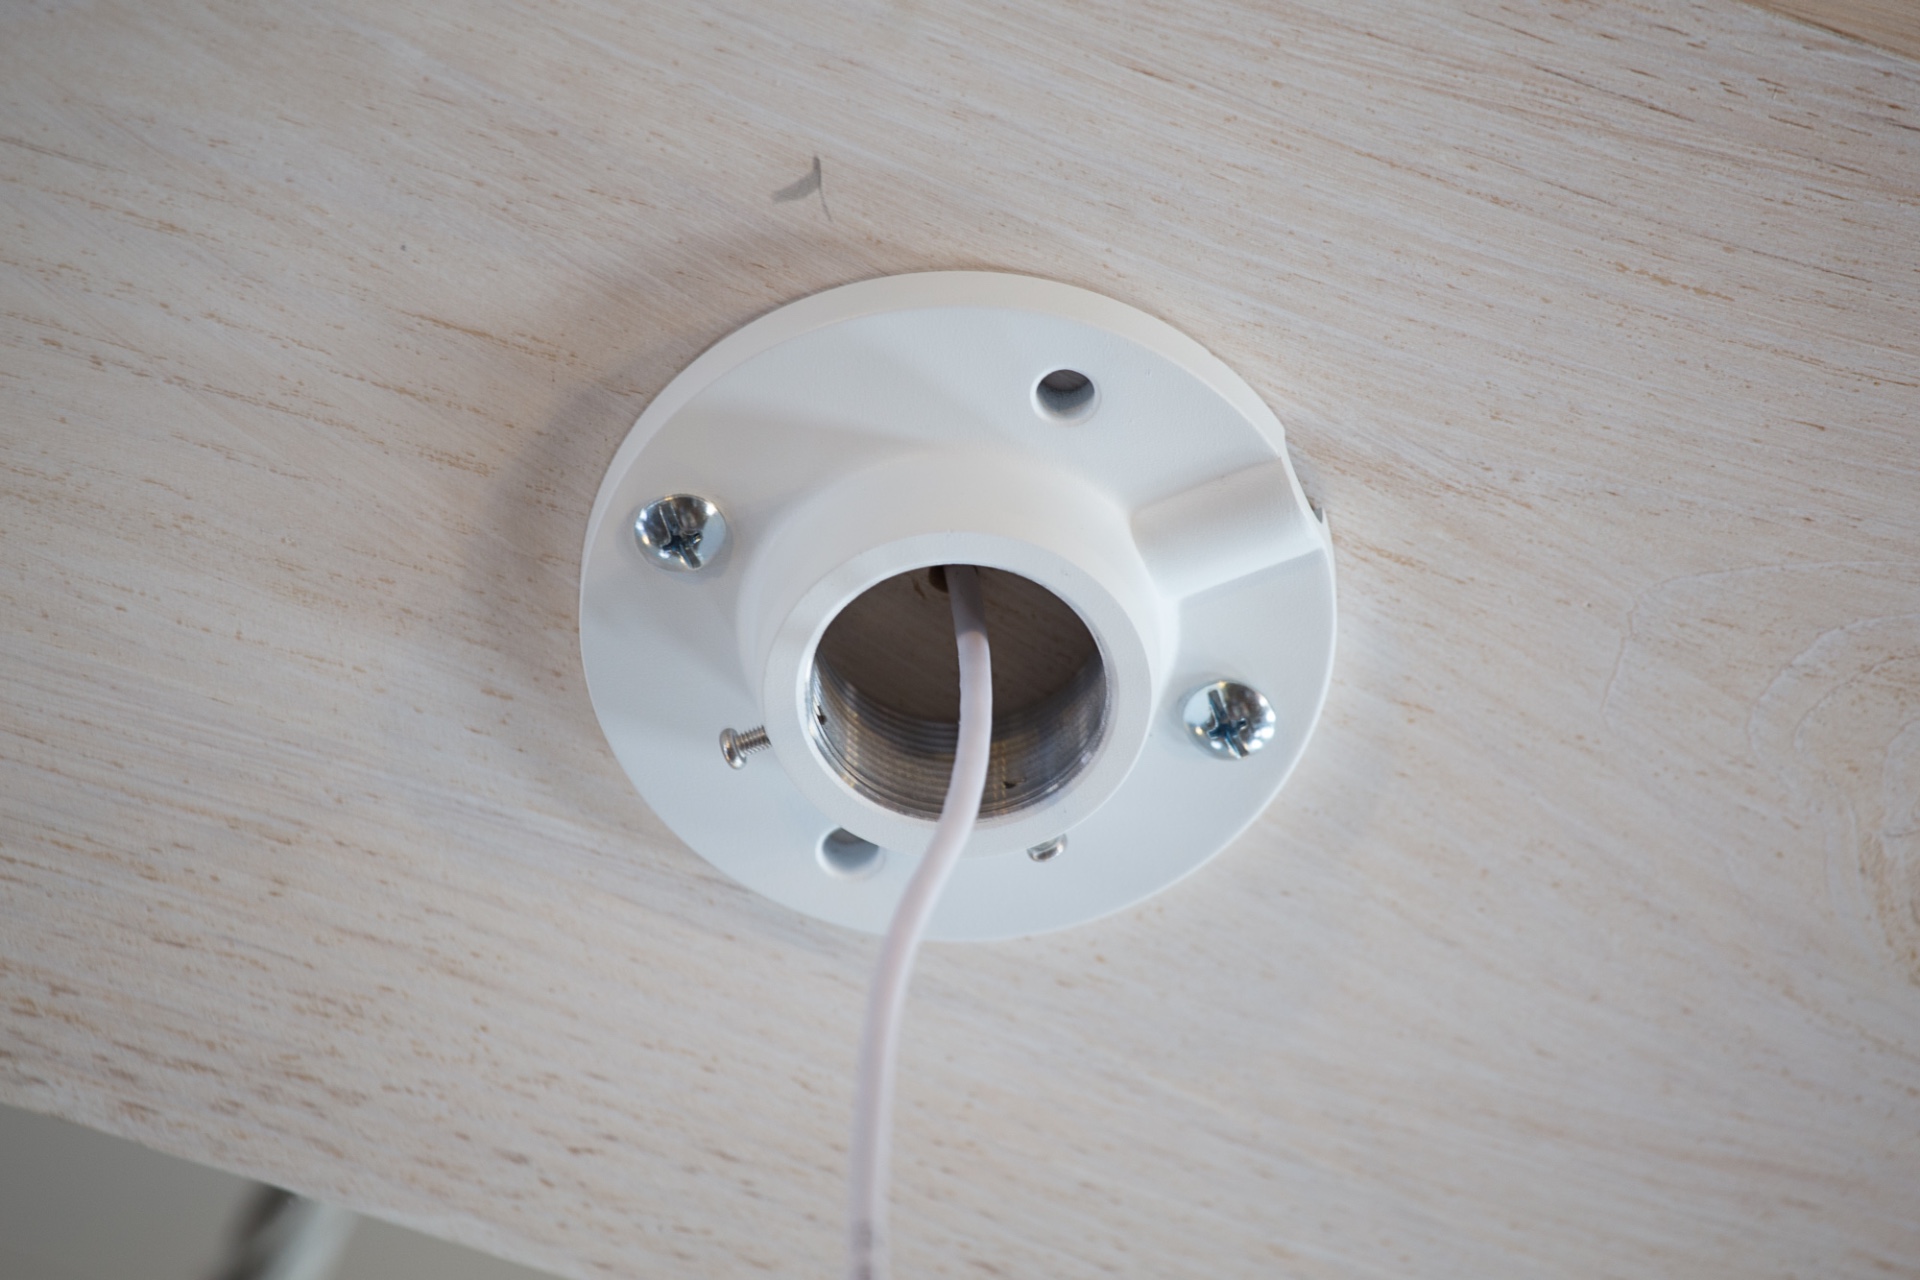
Run your cable and screw the base into the ceiling. In this example, we are using the 200mm Pendant Mount for The Radius, The Sheriff, The Lookout, The Laser, or The Spotlight - PM26ZV-200. This mount works for those 5 camera models and not any others. We will be installing a Radius in this guide.
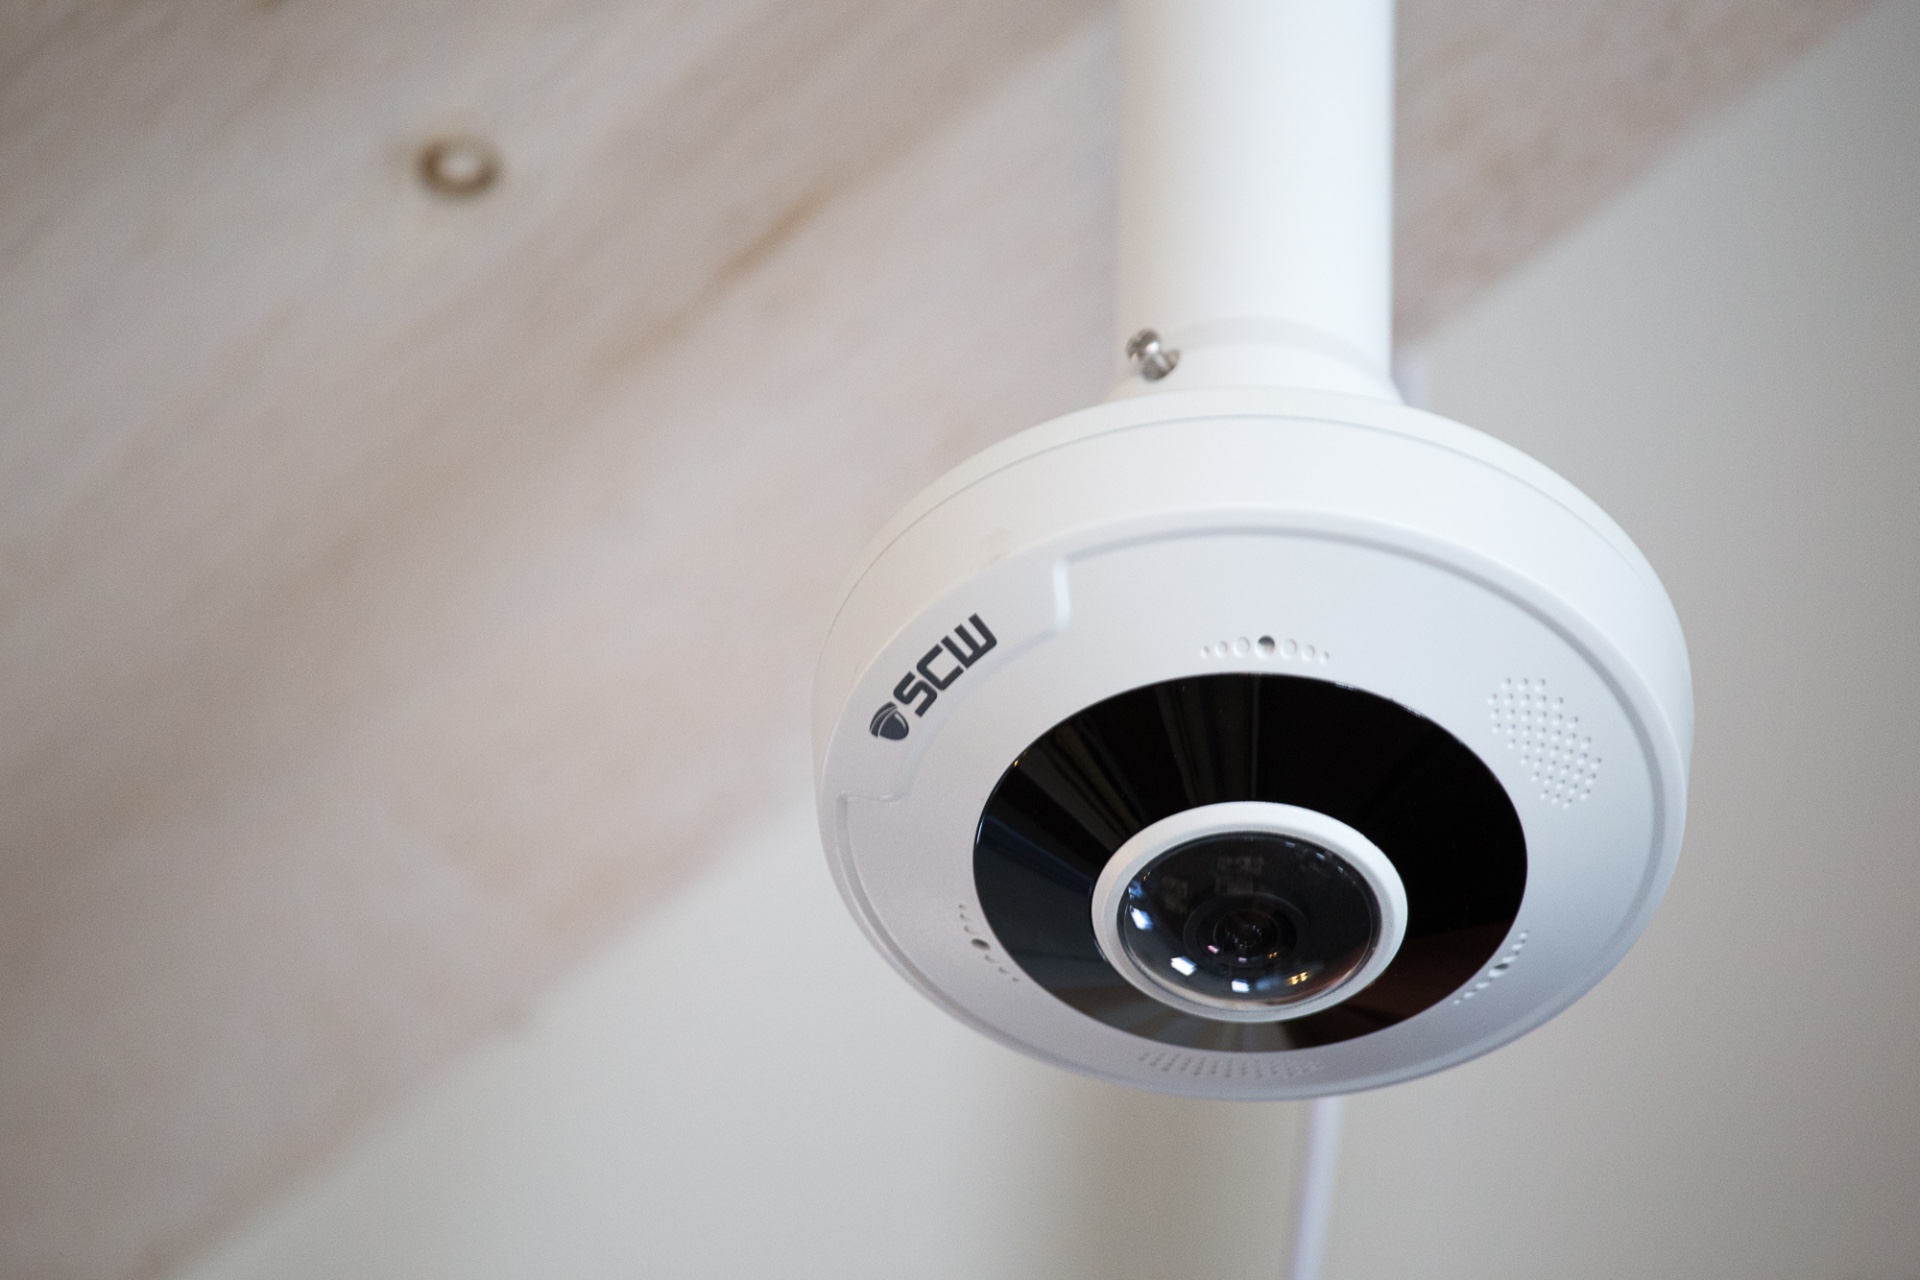
Step 2:
Next screw the pole into the base. Make sure to feed your cable carefully so that you don't accidentally catch the cable in between the pole and the pendant mount base.
Step 3:
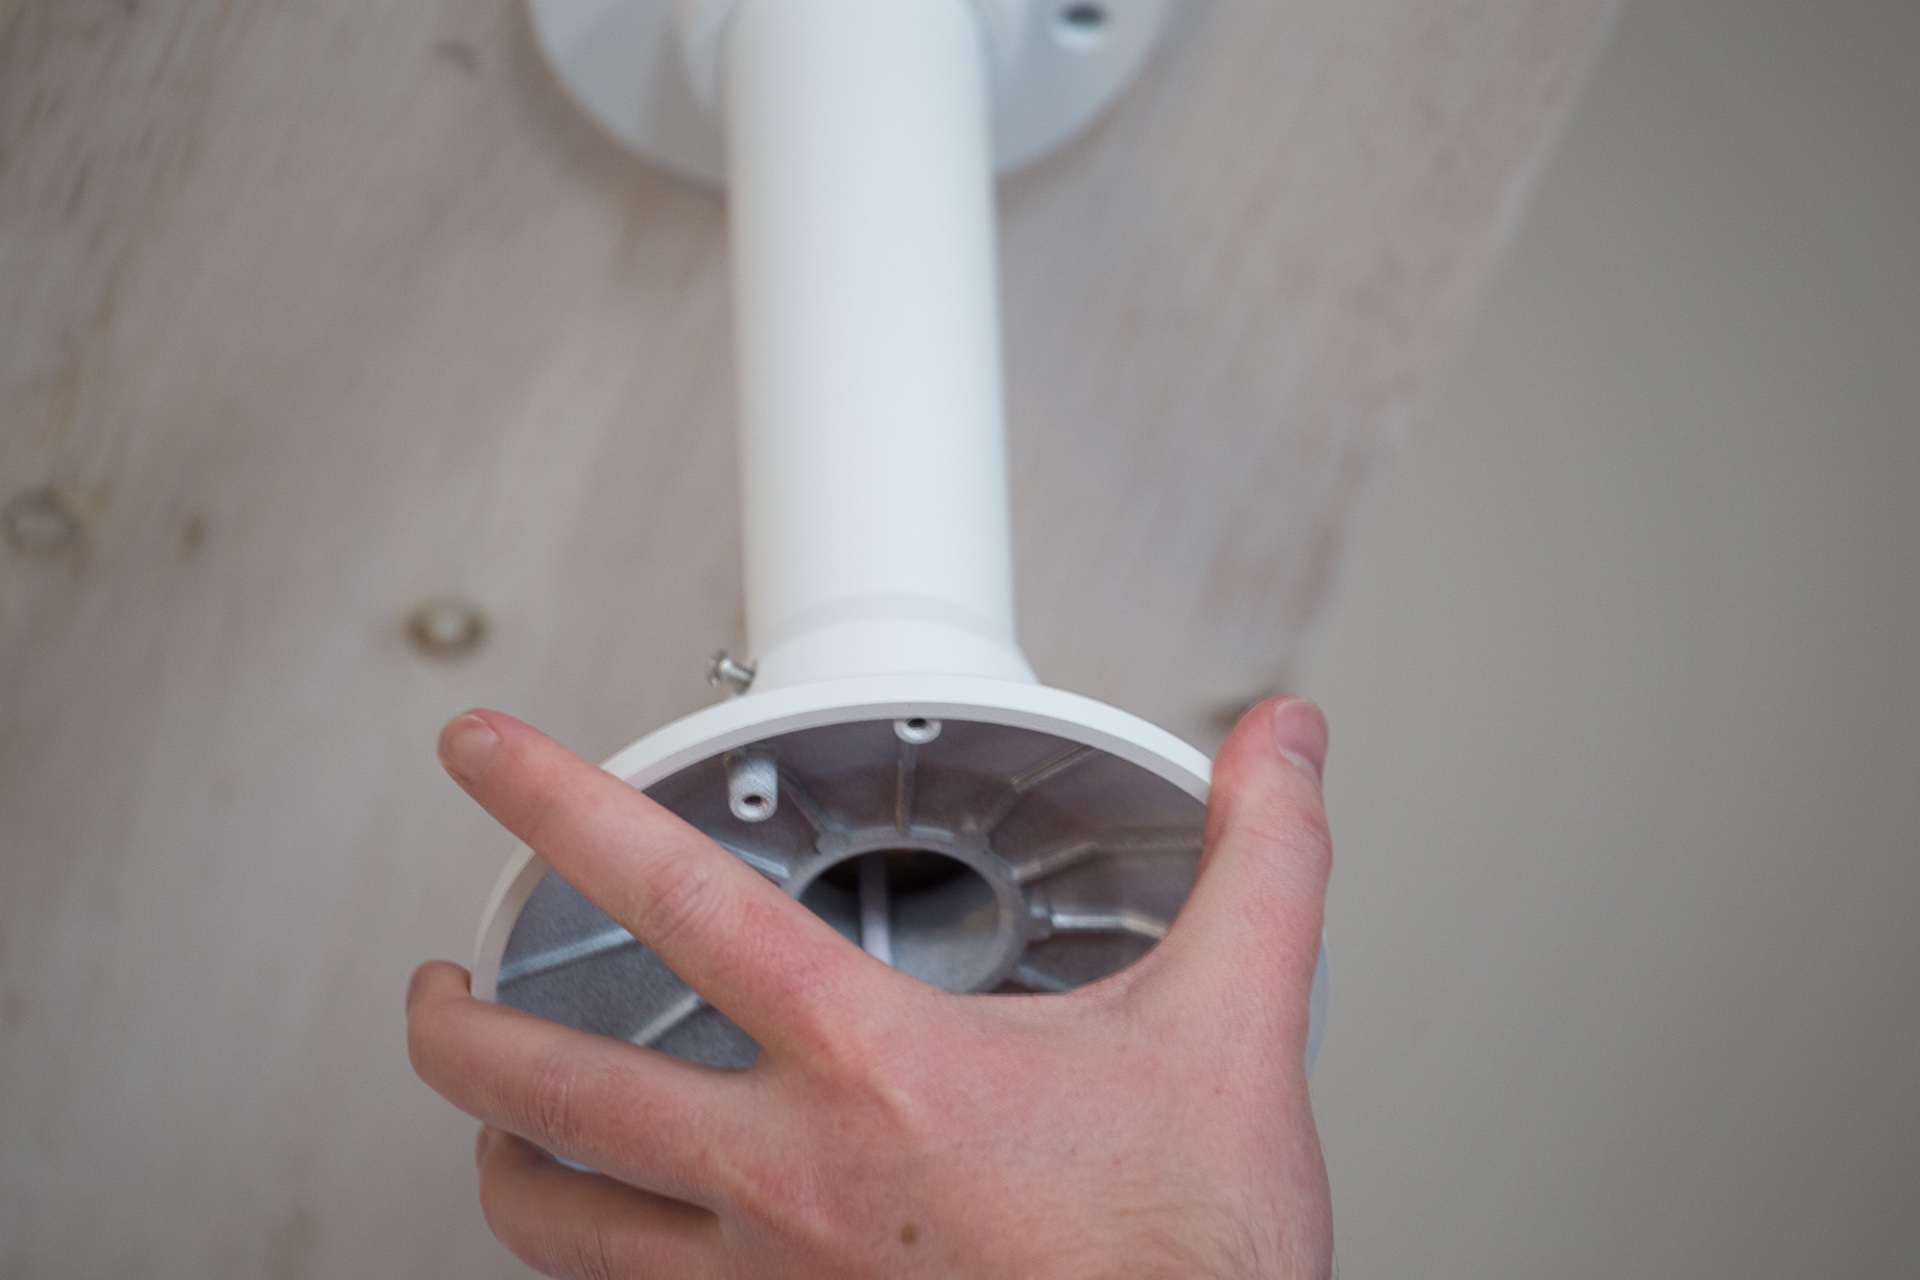
You can now attach the pendant adapter base that fits your camera model. In this example, we are using the Pendant Adapter Base for The Radius - PAB26P. Not all cameras can be pendant mounted.
Step 4:
Tighten the set screw to secure the base to the pendant pole.

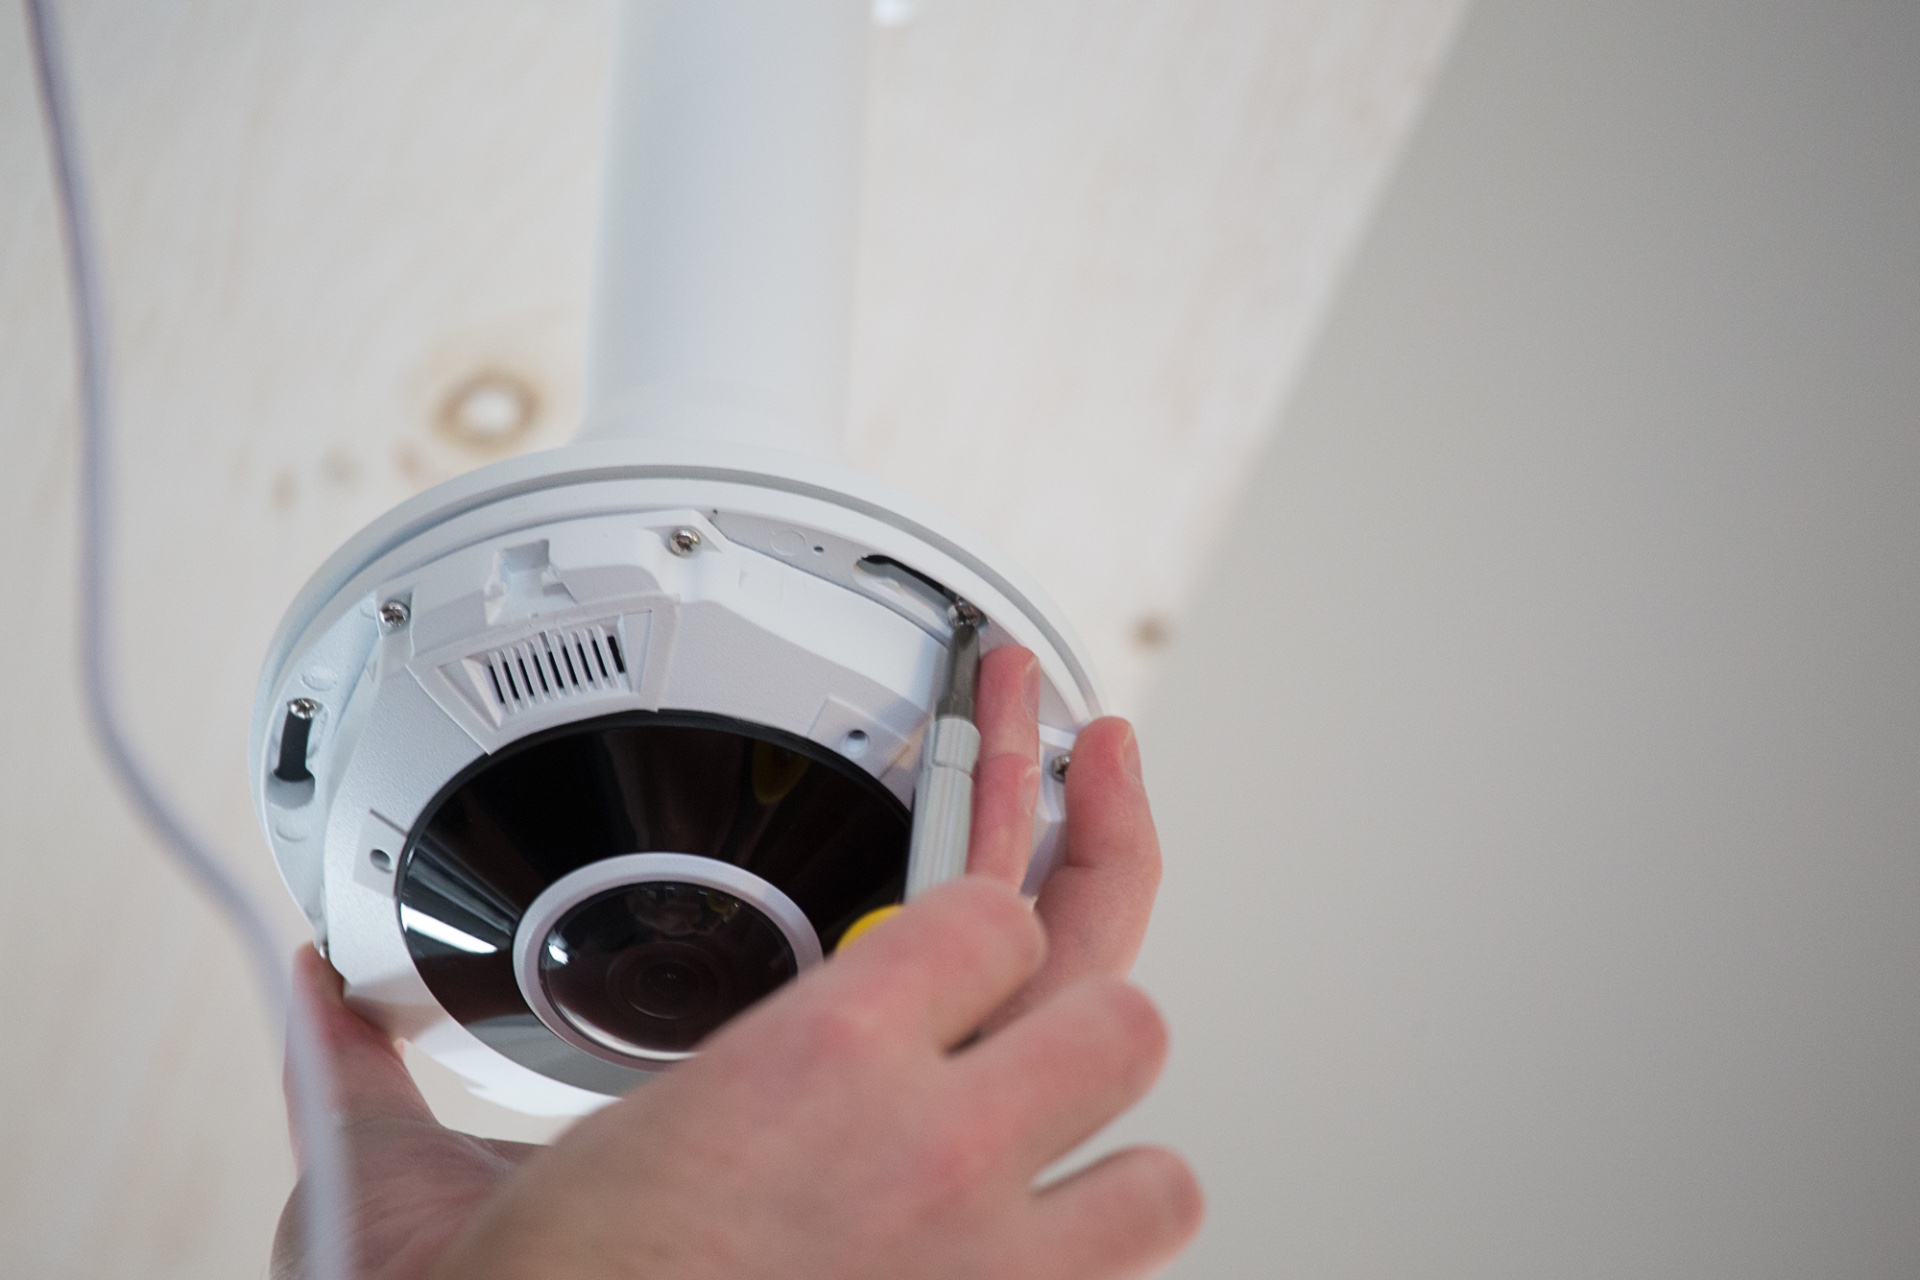
Step 5:
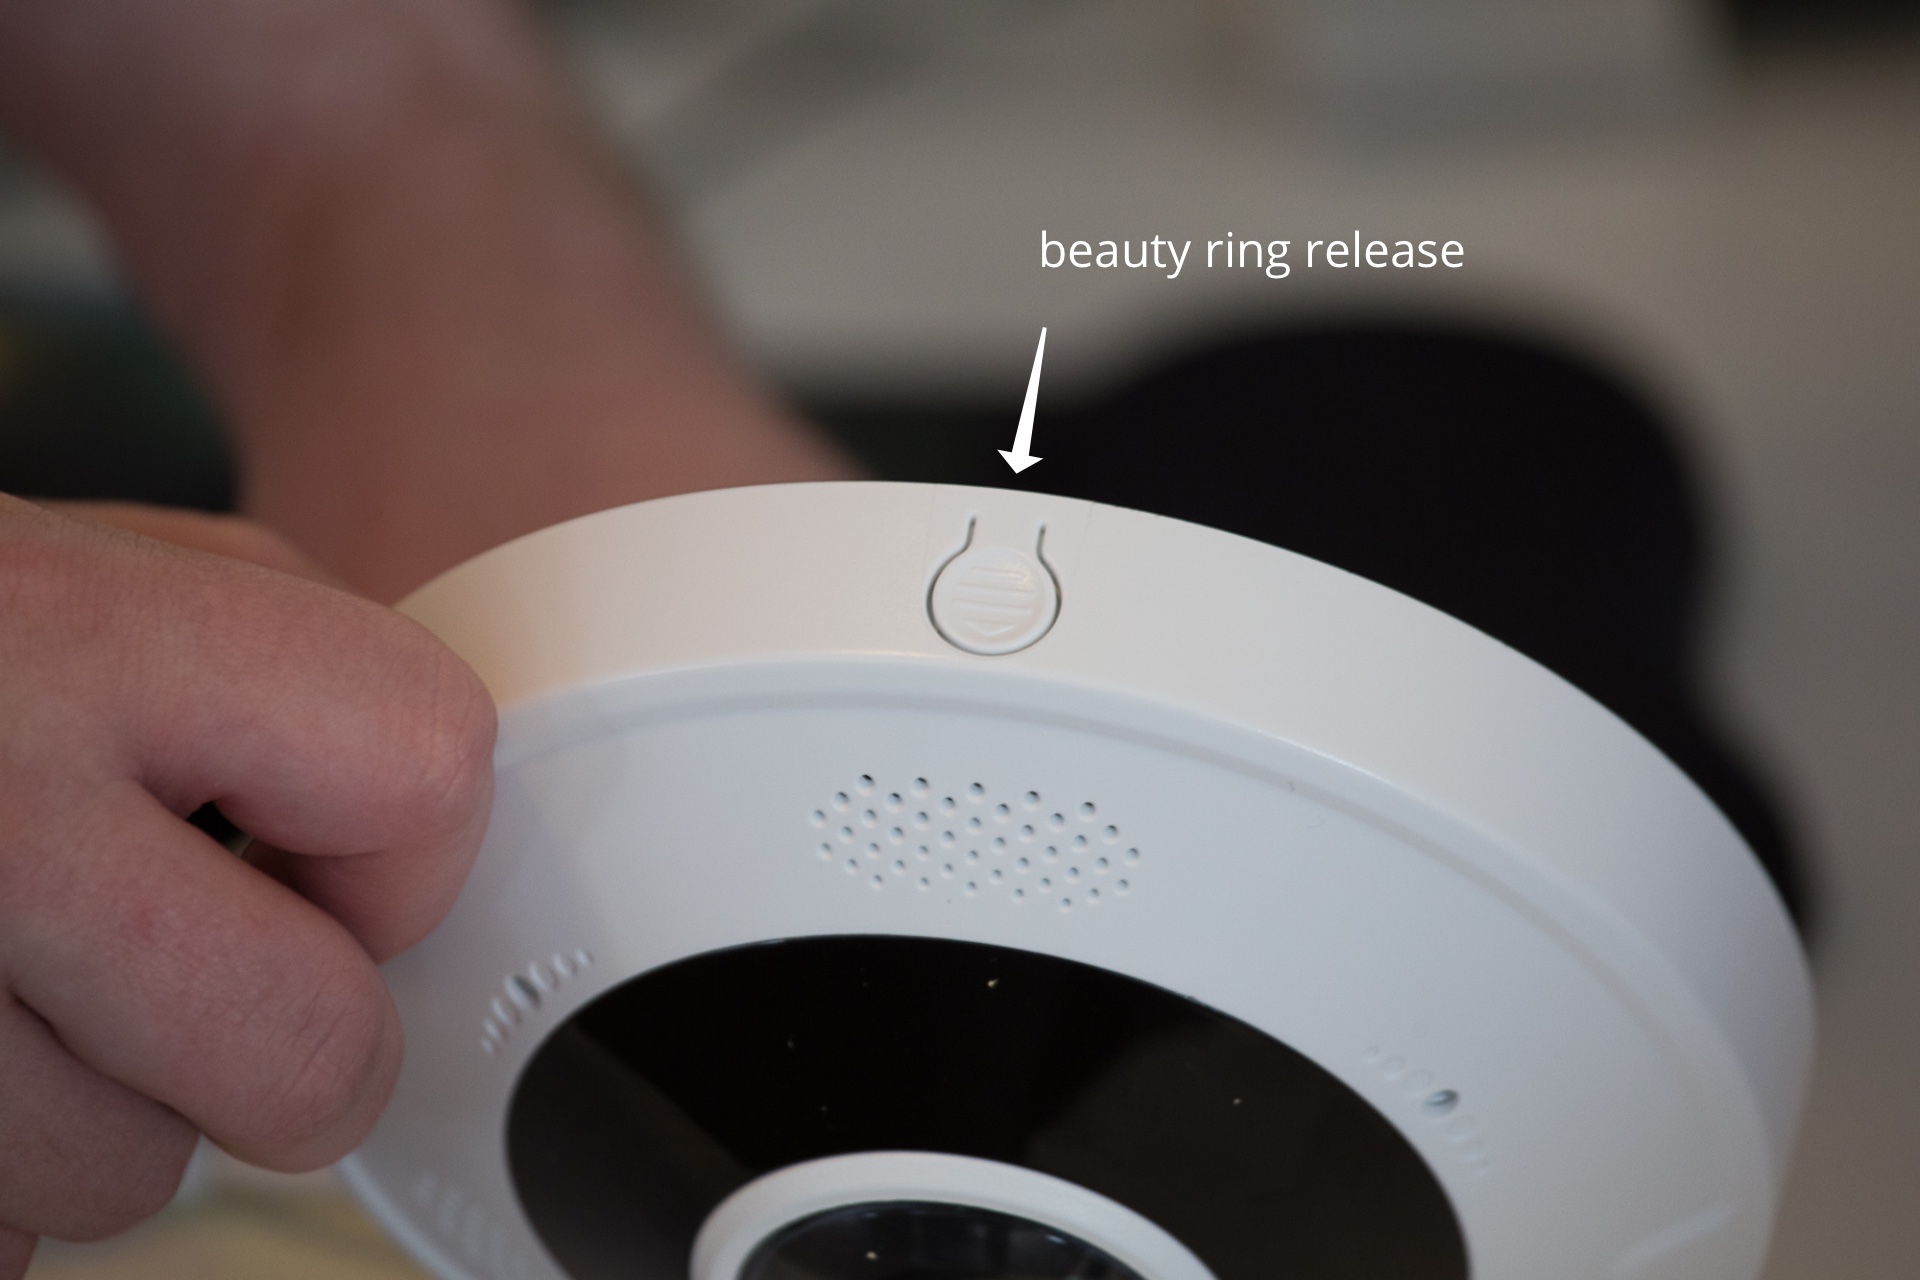
Remove the beauty ring. You will need to do this for the Sheriff and Radius dome camera models. The PTZ models do not have beauty rings. The Sheriff beauty ring justs twists off, but the Radius model requires you to press a release button.
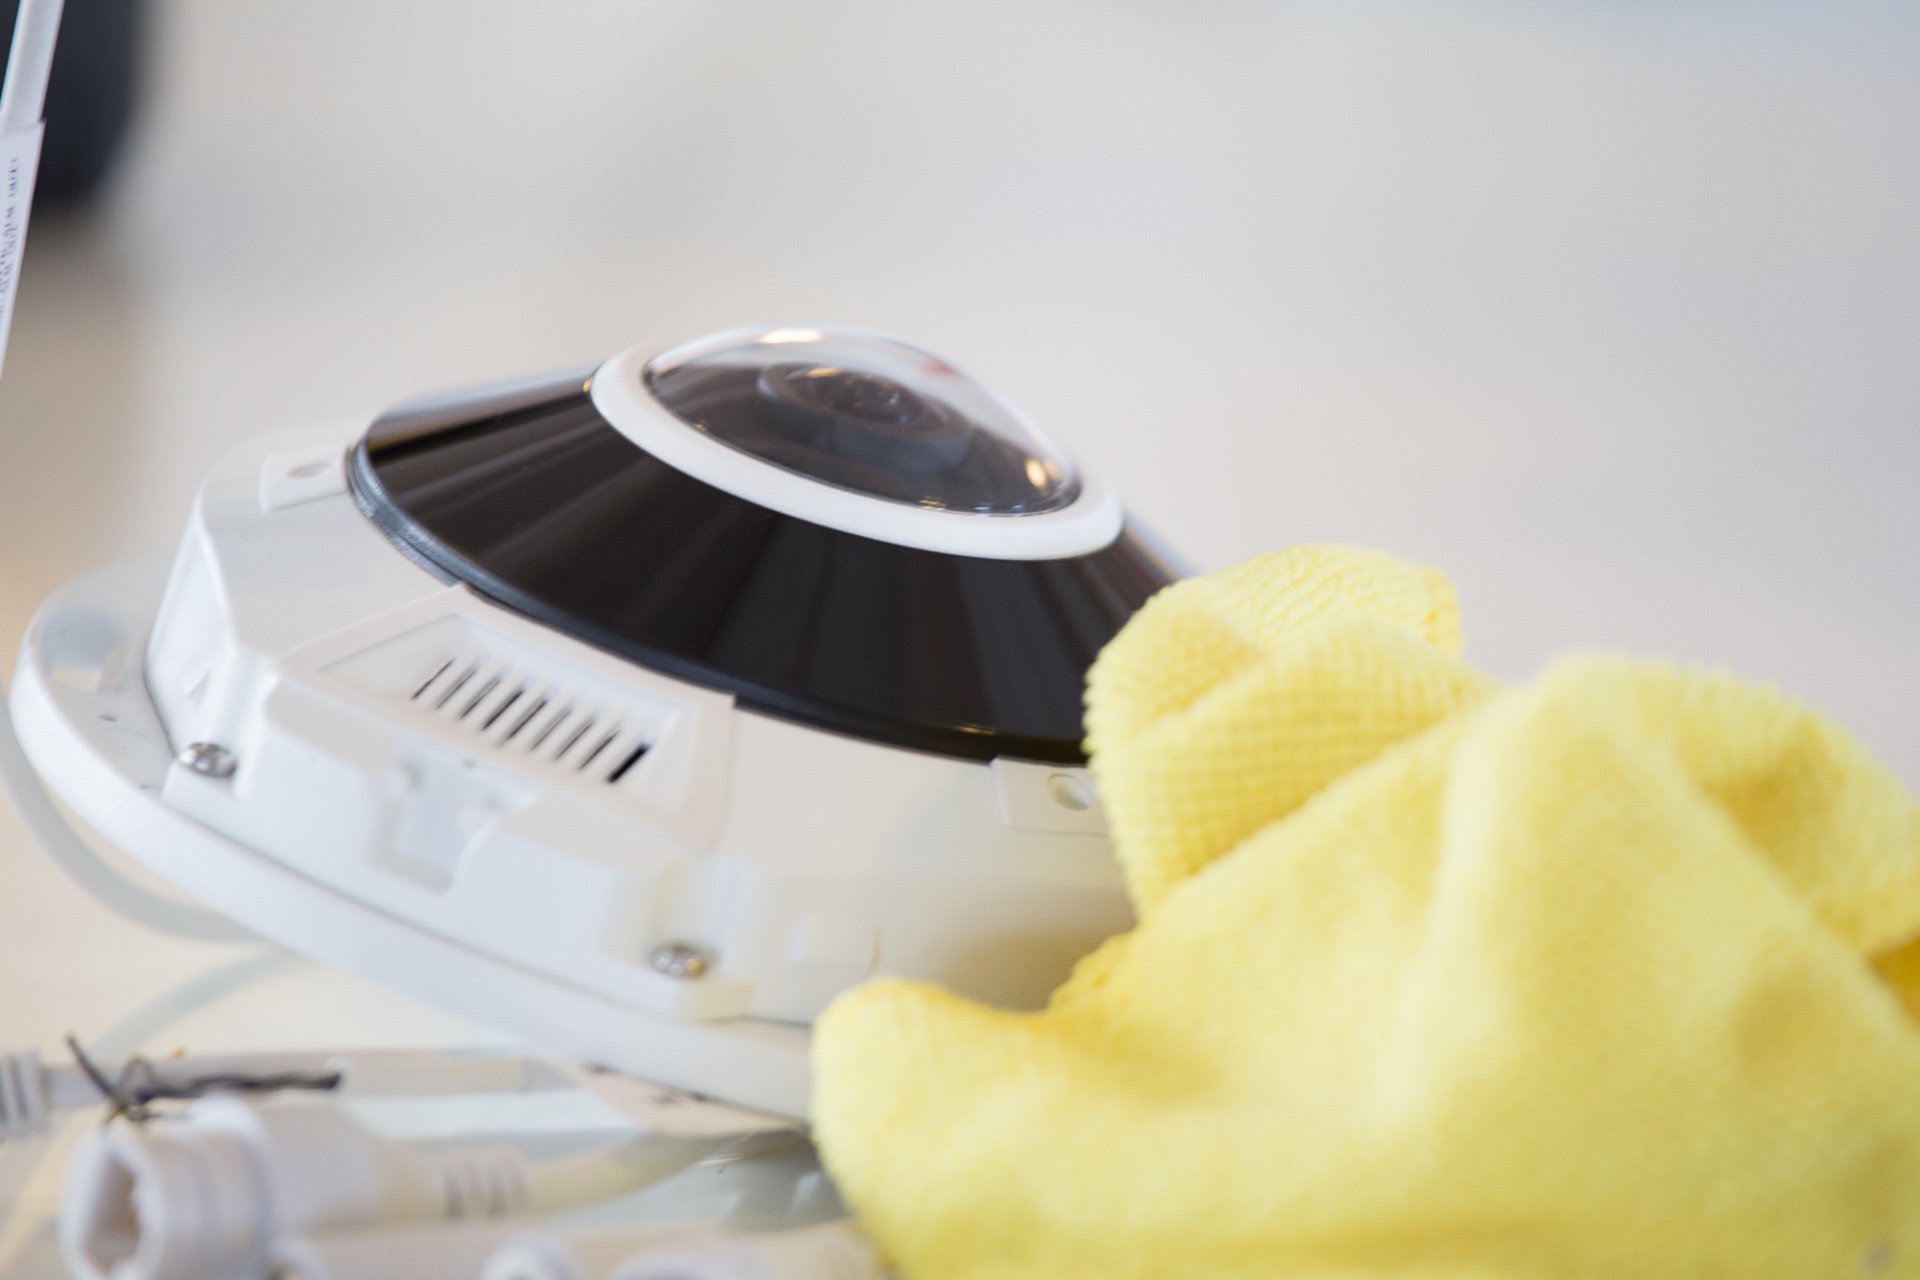
Step 6:
You probably got fingerprints and skin residue on the lens when you removed the beauty ring. Be sure to remove any residue (dirt, fingerprints, dust, grease, etc) from the lens using a lint free cloth. You should be able to complete the rest of the install without touching the lens, but if you do, you will want to wipe it down again.
Reminder: if you dome has residue on it, you will face at least one of these issues with your video.
Step 7:
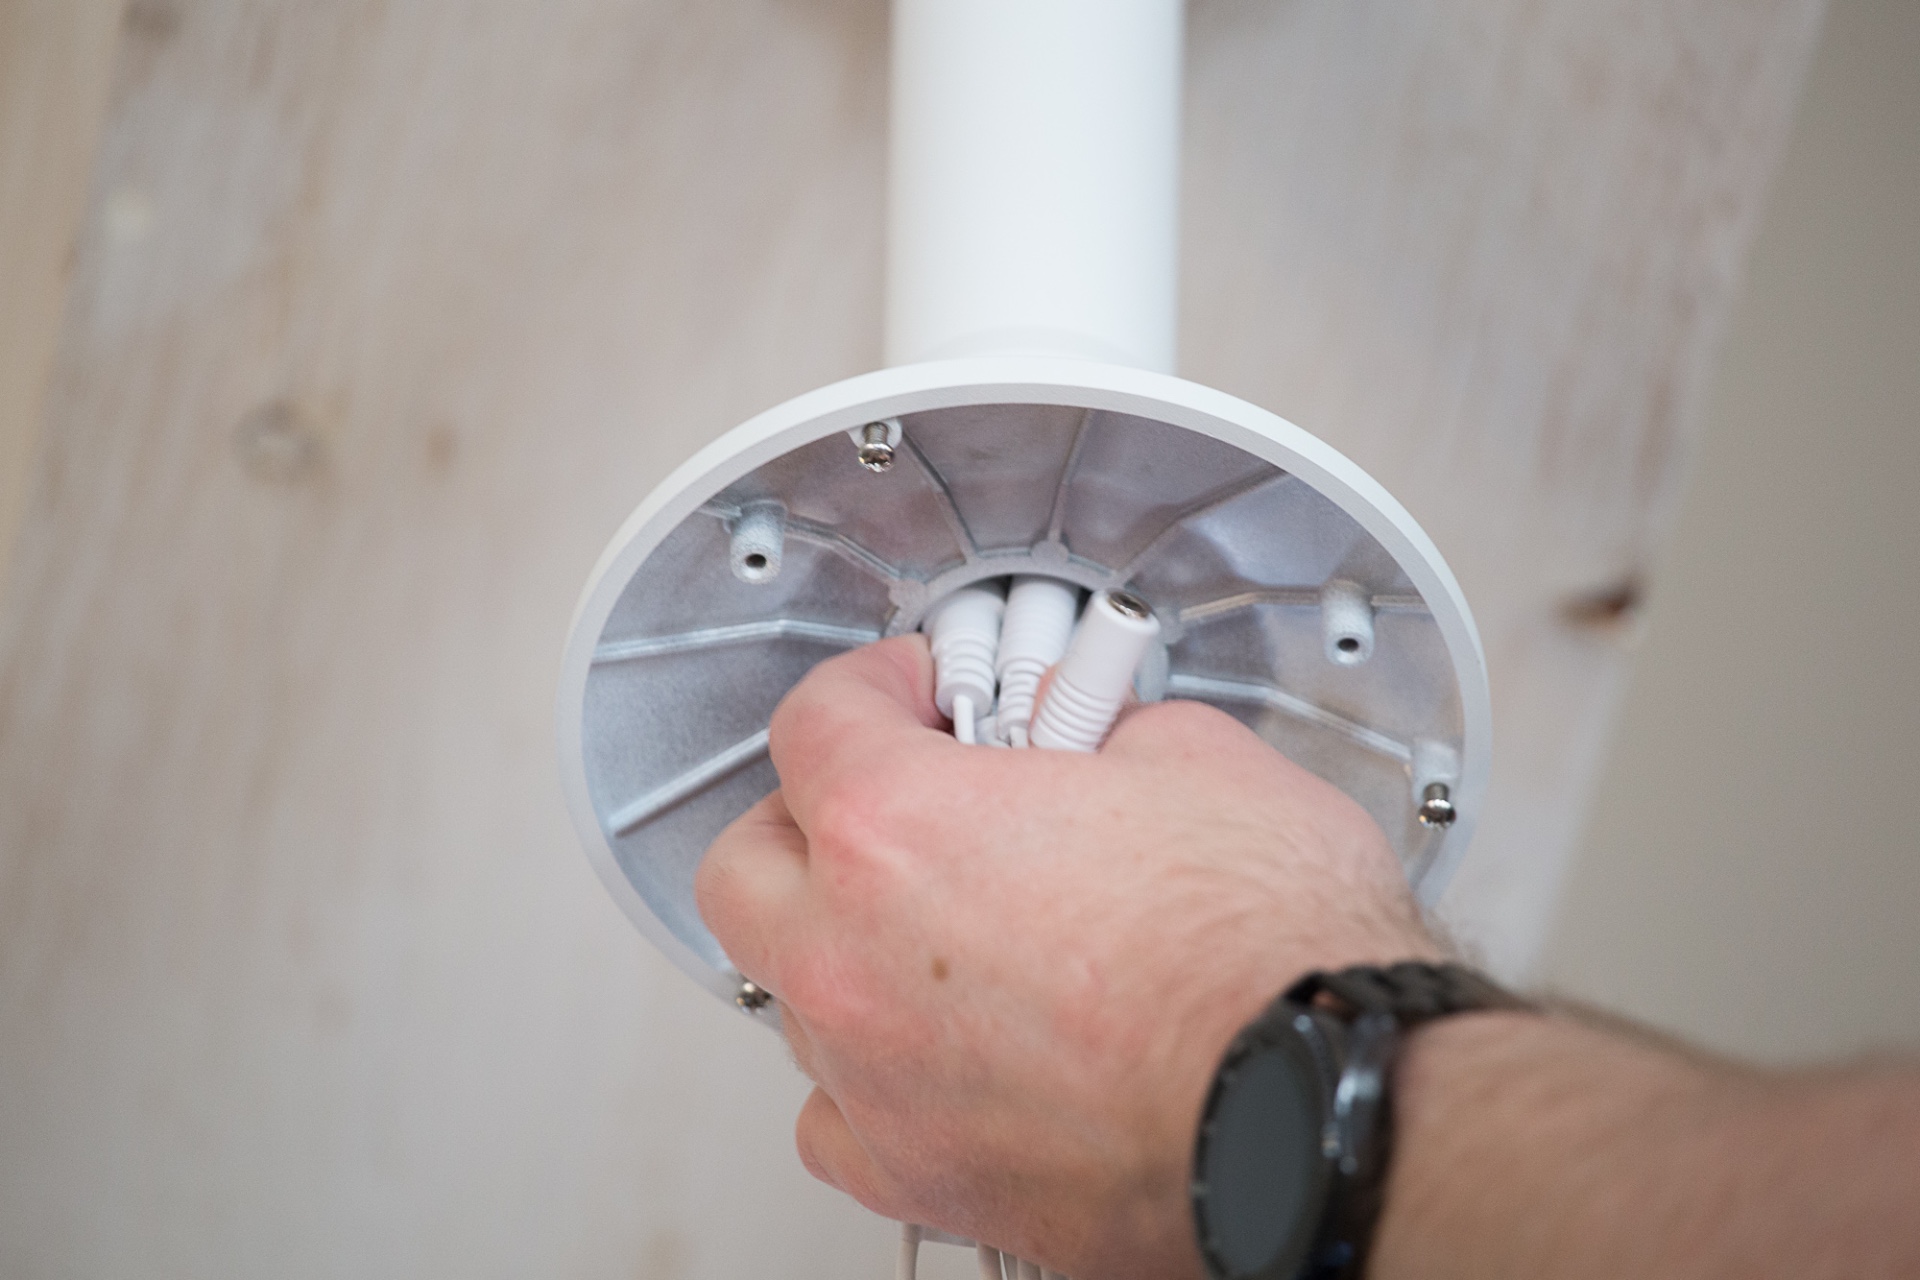
Crimp the Cat5 cables by following our cable crimping guide. Connect the cat5 cables and feed them into the pendant pole.
Step 8:
Remove the base screws from the Pendant Adapter Base.
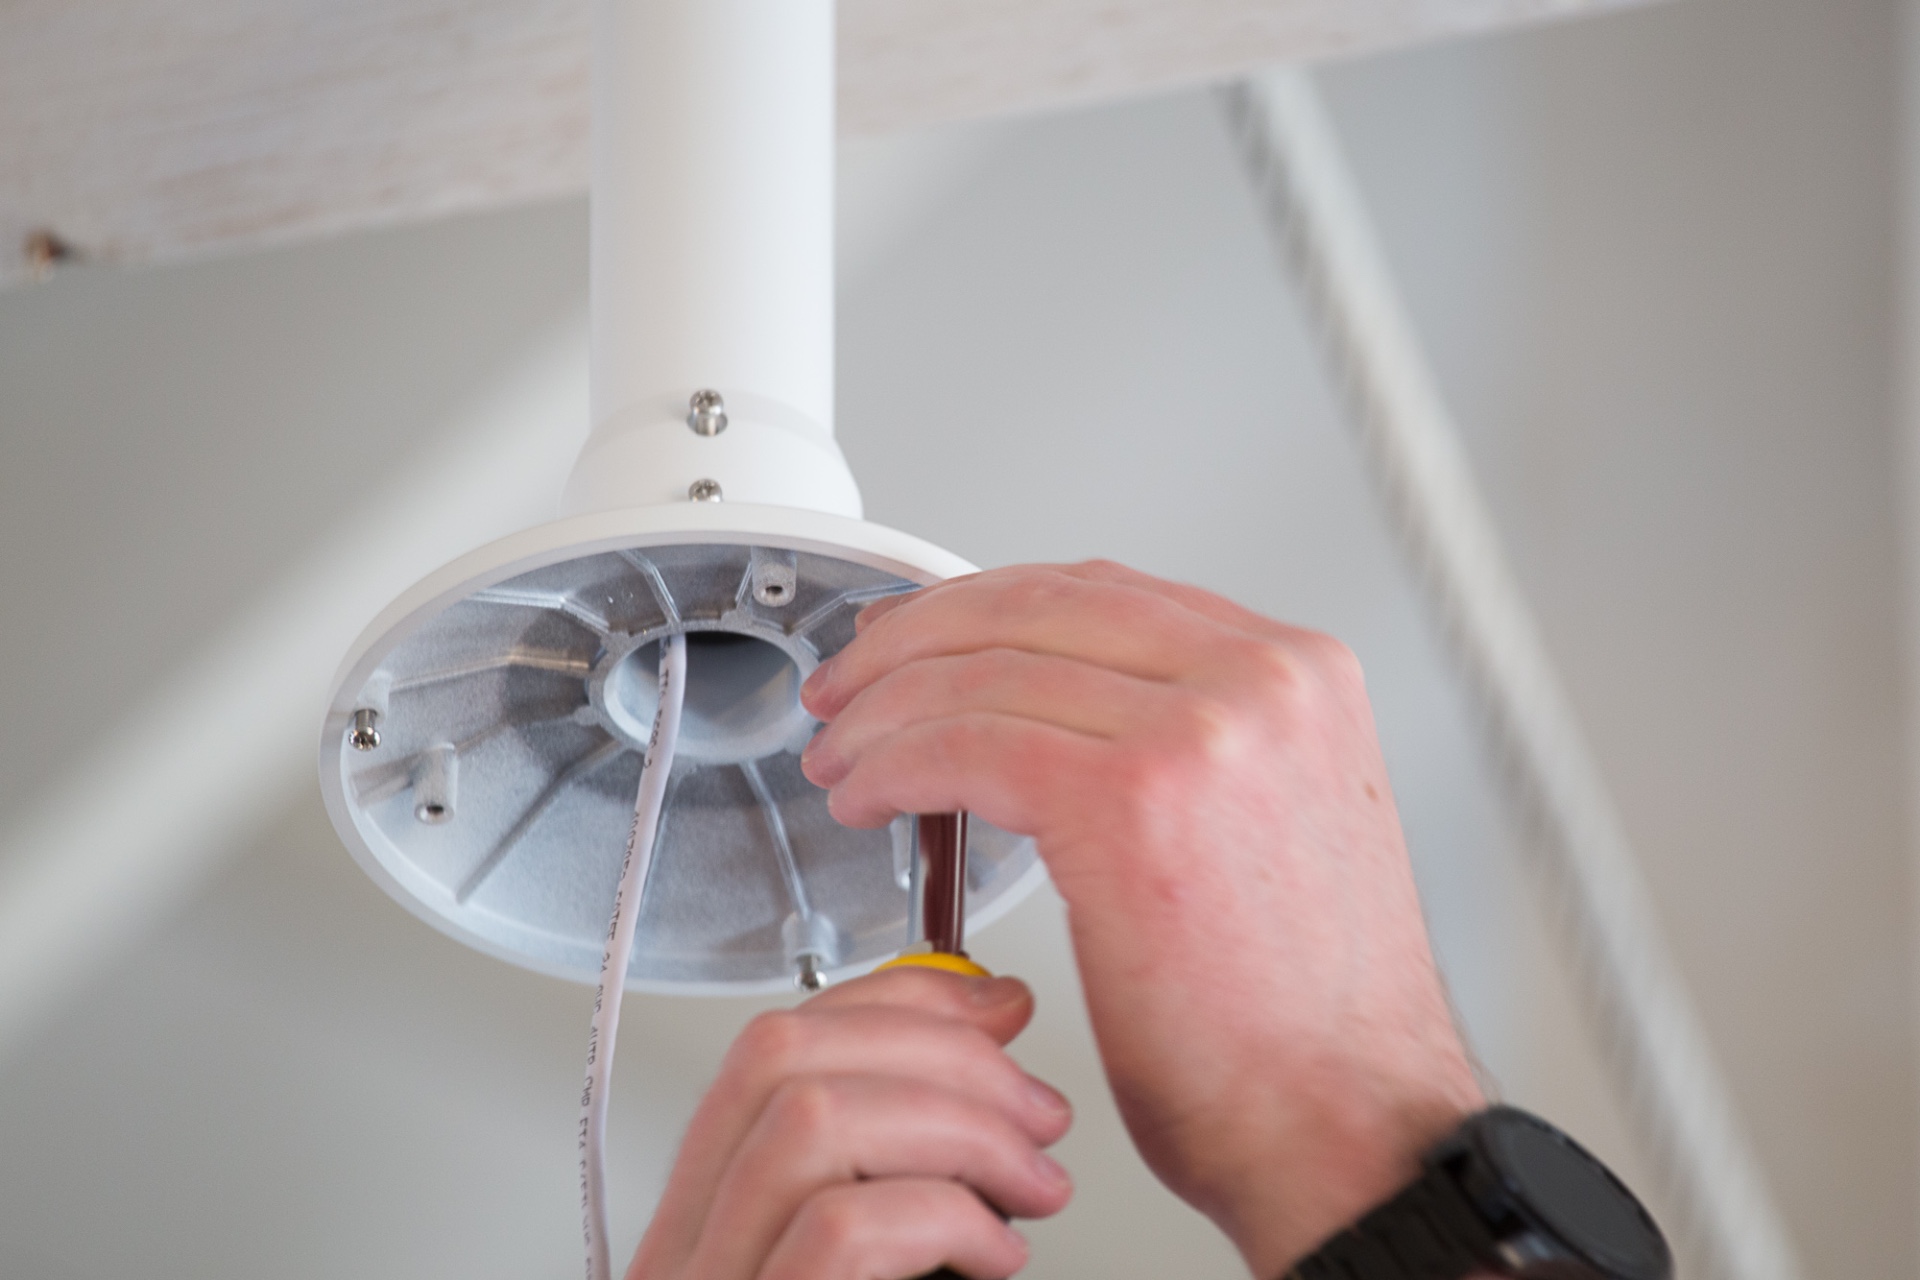
Step 9:
Feed the base screw that you just removed through the camera and back into their holes.
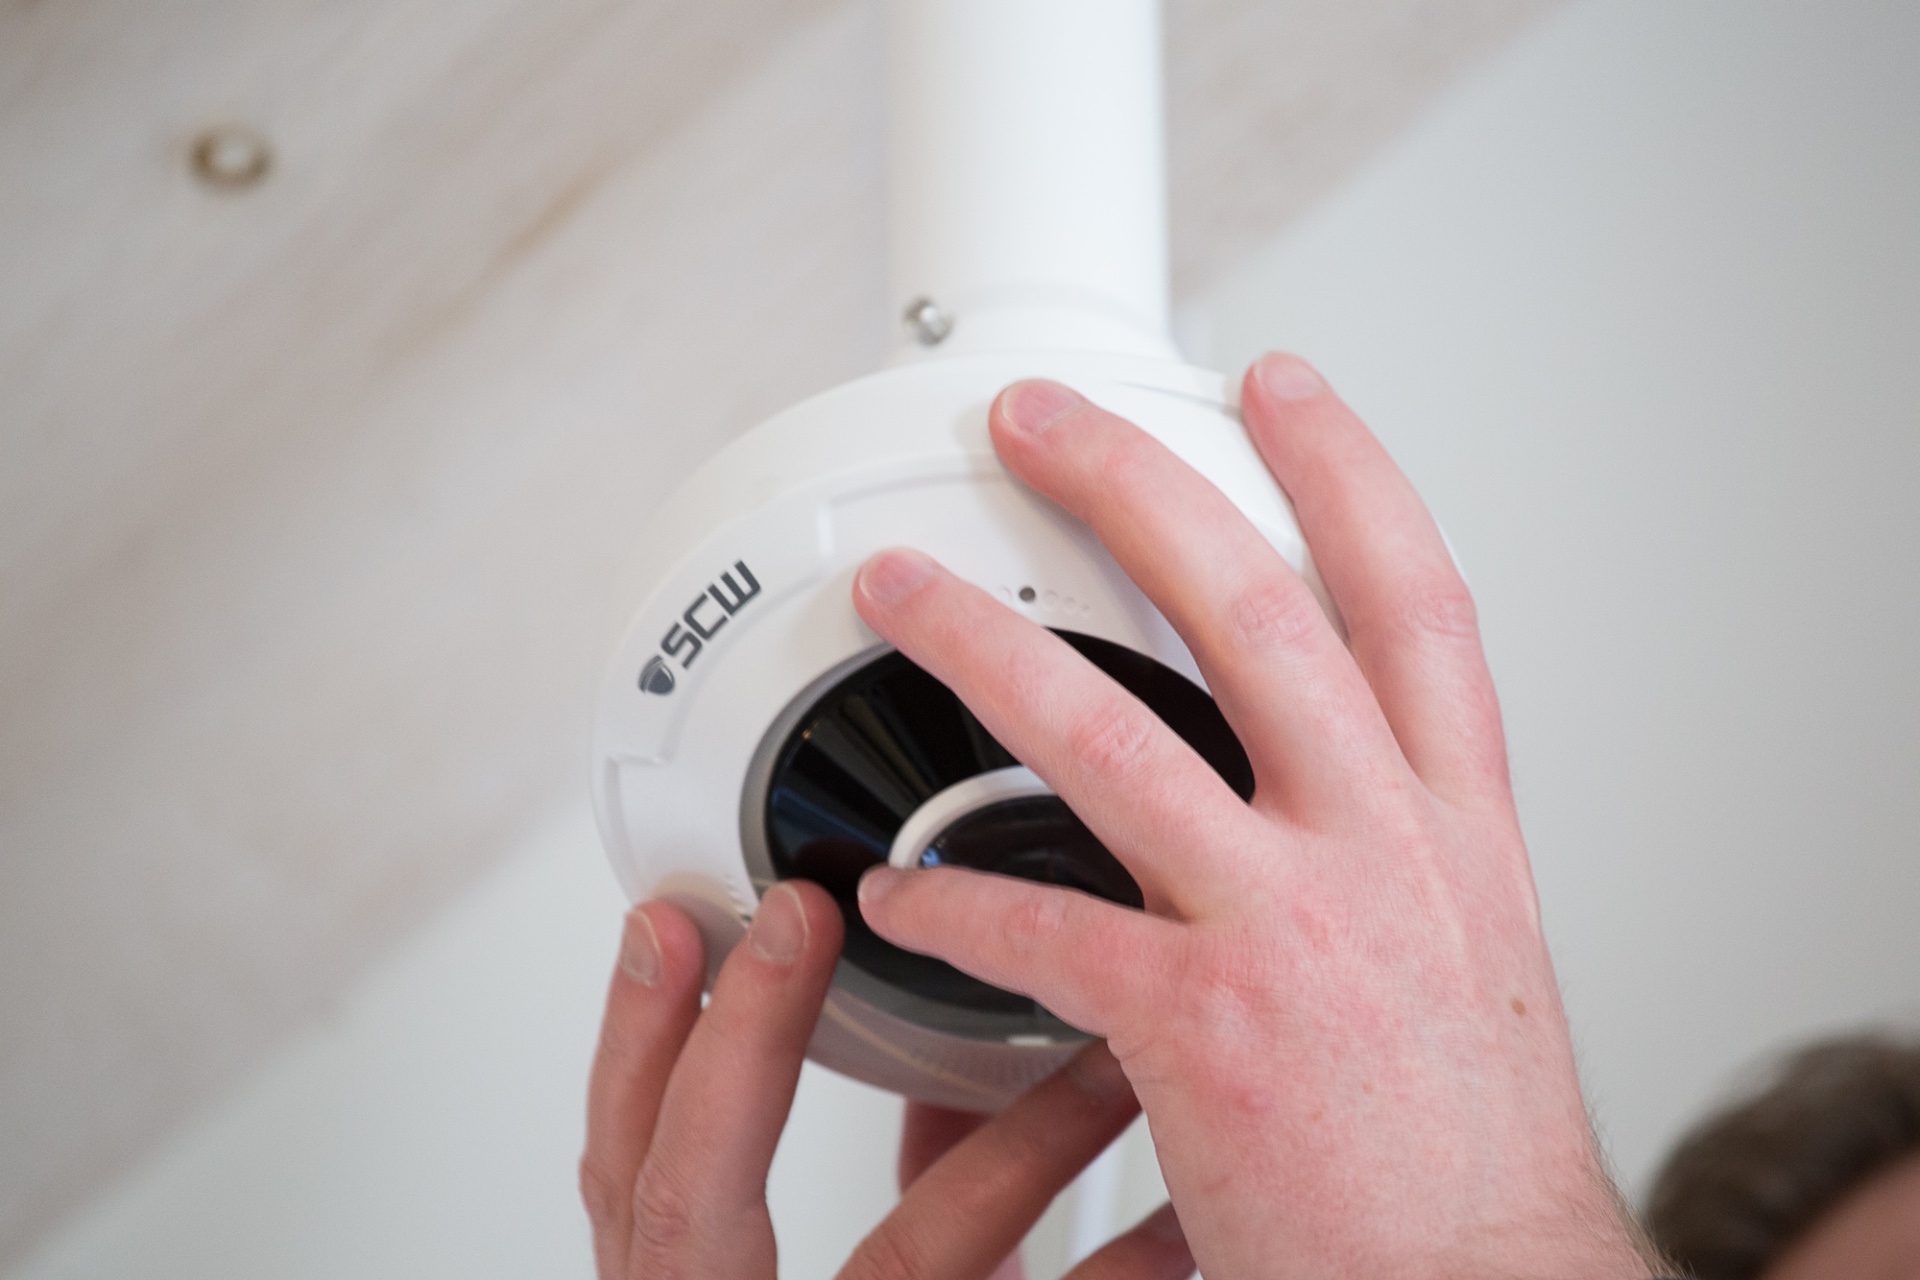
Step 10:
Reattach the beauty ring. It should twist and snap into place. Congrats! You installed a camera into a pendant mount!
This guide is applicable for: Radius 12.0 - 26P8, Judge 8.0 - 26DV8, Sheriff 4.0 - 26DF4-IK10, Lookout 2.0 - 26ZV, Laser 2.0 - 26ZV-LIR, and Spotlight 2.0 - 26ZV-W.